Plantronics Explorer 210 Series - Bluetooth Headset Manual
- User manual (18 pages)
Advertisement
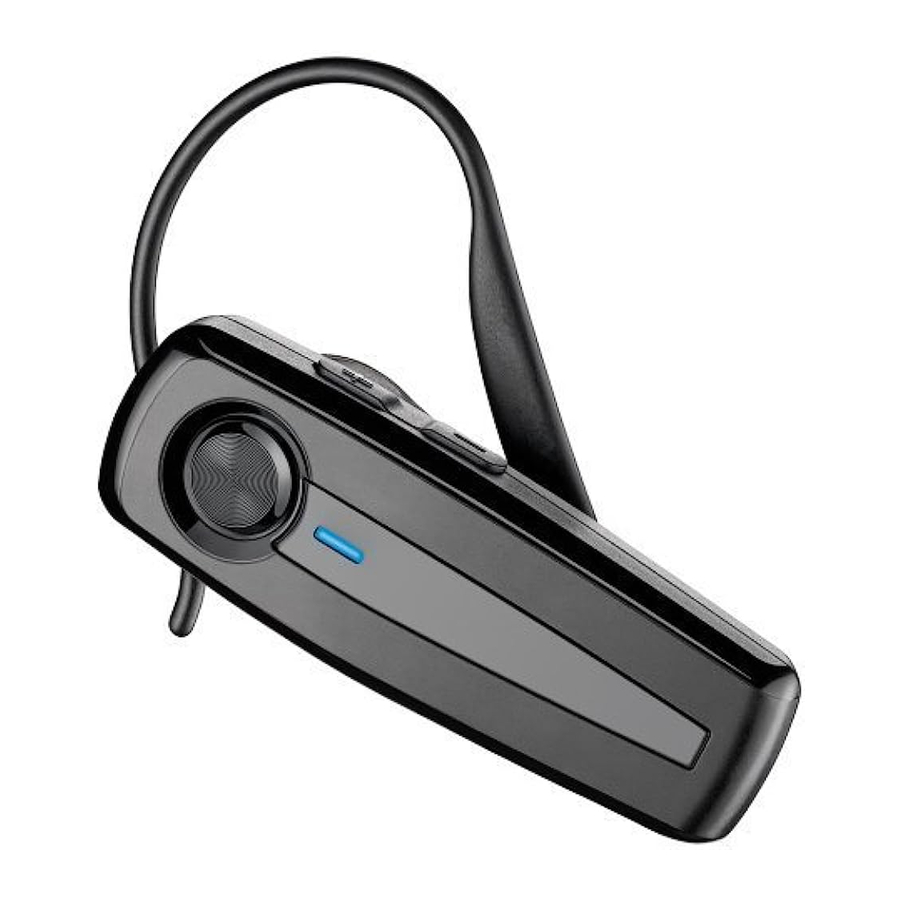
Package Contents and Features

Accessories

* Not included. To order, please contact your Plantronics supplier or go to www.plantronics.com
Charging Your Device
How to Charge Your Headset Using the AC Charger
Before using your headset for the first time, charge it for at least 20 minutes. A full charge takes approximately two hours.

- Connect the AC charger to a power outlet.
![]()
- Plug the AC jack into the charging jack on the headset.

While your headset is charging, the indicator glows red. When your headset is fully charged, the indicator turns off. Do not use your headset while it is connected to the charger.
NOTE Never charge the battery where the temperature may fall below 0°C (32°F) or rise above 40°C (104°F) – for example, in an unattended motor vehicle. Do not charge the battery while it is unattended.
Pairing your Device
Pairing is the process of introducing your headset to your phone. Before using your headset for the first time, you must pair it with your Bluetooth phone. Normally, you need to pair your headset with your phone only once.
Plantronics QuickPair Technology
Your new headset includes Plantronics QuickPair technology to simplify the Bluetooth setup process. The first time you turn your headset on, your headset automatically enters pairing mode for 10 minutes (the indicator light flashes red and blue). Once paired successfully, your headset stays on for instant use.
If not successfully paired after 10 minutes, your headset automatically goes to standby mode. When you turn the headset off then on again, it automatically goes into pairing mode until successfully paired with a Bluetooth phone.
How to Pair Your Phone With Your Headset for the First Time
- Turn on the Bluetooth feature on your phone.
For most phones, select Settings/Tools > Connections > Bluetooth > On. See your phone's user guide for more information.
![]()
- Turn the headset on.
Turn on your headset by sliding the power switch forward. Wait until the indicator light flashes blue and red.
If you don't see the red/blue flash, turn the headset off, wait, then turn it on again. Wait until you see the red/blue flash.
![]()
- Use the commands on your phone to locate your headset.
For most phones, select Settings/Tools > Connections > Bluetooth > Search > 2XXPlantronics. See your phone's user guide for more information.
![]()
- When prompted for the passkey, enter 0000.
Pairing is successful when the indicator on your headset flashes blue. Your headset is now connected and ready to use.


How to Pair Your Headset if it Has Been Previously Paired With Another Device
- Turn the headset off.
Slide the power switch off, then wait until the indicator turns red and then turns off.
![]()
- Turn the headset on.
Slide the power switch on. After the headset is powered on, press and hold the call control button until the indicator light continues to flash red and blue. - Use the commands on your phone to locate your headset.
For most phones, select Settings/Tools > Connections > Bluetooth > Search > 2XXPlantronics. See your phone's user guide for more information.

- When prompted for the passkey, enter 0000.
Pairing is successful when the indicator on your headset flashes blue. Your headset is now connected and ready to use.


Adjusting the Fit
- To remove the earloop, gently pull up on earloop near the Plantronics name until you hear a snap.
![]()
- Position earloop as shown above, then gently snap back onto post.

- Place the earloop behind your ear.
![]()
- Rotate the headset so that the speaker/eartip rests comfortably in your ear.
![]()
- Align the microphone with the corner of your mouth.
Callers can hear you best when you point the microphone towards the corner of your mouth.


Device Controls
| Turn on the headset | Slide the power switch on, then wait until the indicator glows blue. You will hear ascending tones. |
| Turn off the headset | Slide the power switch off, then wait until the indicator glows red. You will hear descending tones. When power is off, indicator stays off. |
| Answer a call | Briefly press the call control button. When you receive a call, your phone may ring before your headset rings. Wait until you hear the ring in your headset before you press the call control button to answer the call. |
| Reject a call | When phone rings, press and hold the call control button until you hear a single low tone. |
| Make a call | Enter number on your phone, press send, and the call is automatically transferred to headset; no need to press call control button. |
| Adjust the volume | Tap the volume + button to increase volume.
|
| Transfer a call from headset to phone | While in a call, press and hold the call control button until you hear a single low tone. |
| Transfer a call from phone to headset | While in a call, press and hold the call control button until you hear a single low tone. |

Range
To maintain a connection, keep your headset within 10 metres (33 feet) of the Bluetooth device. If there are obstacles between your headset and the device, you may experience interference. For optimal performance, place your headset and phone on the same side of your body.
Audio quality degrades as you move out of range. When you are far enough away to lose the connection, you hear a high tone in the headset.
NOTE The headset attempts to reconnect for 30 seconds. If you move back in range after 30 seconds pass, you can manually reconnect by pressing the call control button.
NOTE Audio quality is also dependent upon the device with which the headset is paired.
Indicator Lights
| Headset Status | Headset Indicator Light |
| Powering on | Steady blue, then intermittent flashes (changes to standby mode) |
| Powering off | Red appears and goes off |
| Standby | Blue intermittent flashes |
| Charging battery | Red solid light. Light indicator turns off when battery is fully charged and headset is off. |
| Low battery | Triple red flashes |
| Pairing mode | Blue/red alternating flashes |
| Missed call | Purple flashes. Press the call control button to cancel flashing light. |
| Incoming call | Triple blue flashes when ringing. |
Hands-Free Features
| Redial the last number | To activate last number redial, double press the call control button. You will hear a double tone after each doublebutton press. |
| Using Voice Dialling | With the headset on, press the call control button for 2 seconds to activate the voice dialling. NOTE To use voice-activated dialling, the voice-dialling feature must be enabled on your phone. See your Bluetooth phone manual for instructions. |
| Reject a call | When receiving an incoming call, press the call control button for 2 seconds to reject the call. |
Troubleshooting
My headset does not work with my phone | Headset was not in pairing mode when mobile phone menu selections were made. See "Pairing Your Headset." Incorrect menu selections were made on your mobile phone. See "Pairing Your Headset." |
I did not enter my passkey | Your phone did not locate the headset. Repeat the pairing process. Incorrect menu selections were made on your mobile phone. Repeat the pairing process. |
| Callers cannot hear me, or I cannot hear caller/dialling tone. | The headset is not turned on or the headset is not connected to mobile phone. Press the call control button for 2 seconds until you hear a beep or make sure the power switch is in the ON position by sliding switch up and down again. Your headset is out of range. Move the headset closer to the phone or Bluetooth device. Your headset battery is drained. Charge your battery using the AC power adapter supplied. The listening volume is too low. Tap the volume + key to increase the sound heard in the headset. |
Product Specifications
| Talk Time* | Up to 7 hours |
| Standby Time* | Approximately 8 days or 200 hours |
| Charge Time | 2 hours |
| Range | Up to Bluetooth standard 10 metres (33 feet) |
| Power Requirements | 5V DC – 180 mA |
| Battery Type | Rechargeable, non-replaceable, lithium ion polymer |
| Storage/Usage Temperature | 10°C – 40°C (50°F – 104°F) |
| Version | Bluetooth 2.0 |
| Supports Bluetooth hands-free and headset profiles. | |
* Battery enabled. Performance may vary by device.

Documents / Resources
References
Poly | Video Conferencing, Conference Phones & Headsets | Poly, formerly Plantronics & Polycom
Health & Safety Information | Poly, formerly Plantronics & Polycom
Download manual
Here you can download full pdf version of manual, it may contain additional safety instructions, warranty information, FCC rules, etc.
Download Plantronics Explorer 210 Series - Bluetooth Headset Manual
Advertisement
Thank you! Your question has been received!


Need Assistance?
Do you have a question about the Explorer 210 Series that isn't answered in the manual? Leave your question here.