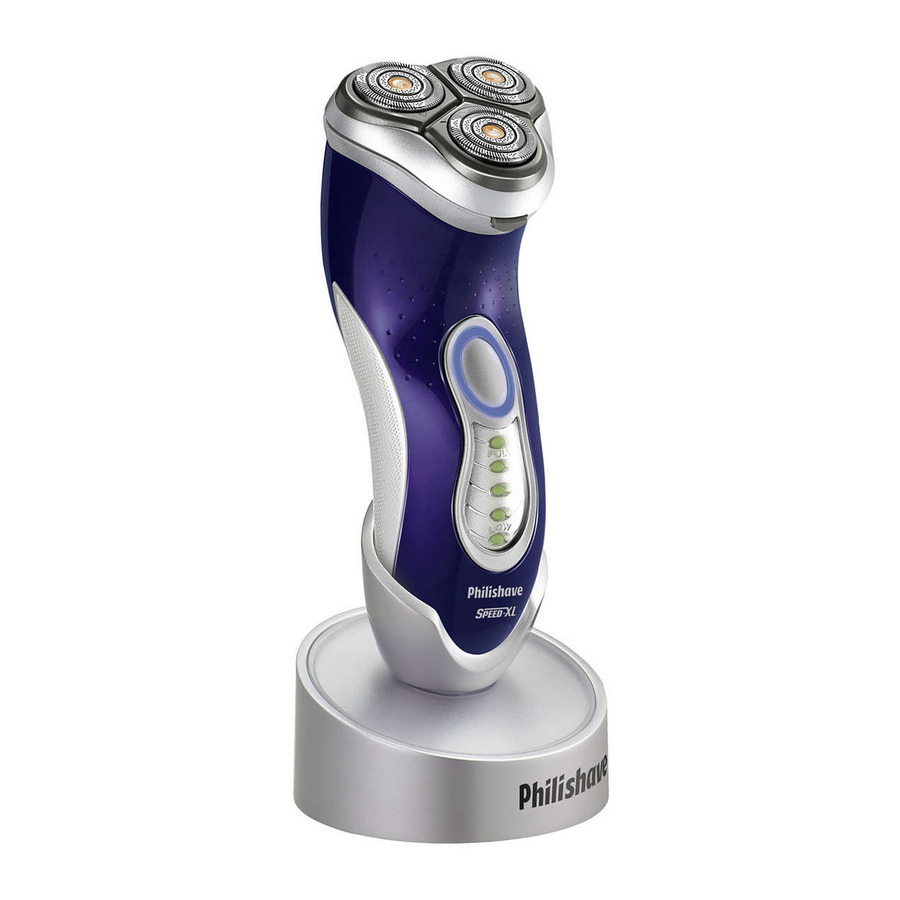
Philips HQ8160 User Manual
Washable shaver
Hide thumbs
Also See for HQ8160:
- User manual (96 pages) ,
- Specification sheet (3 pages) ,
- Specification sheet (2 pages)
Advertisement
Available languages
Available languages
Quick Links
Advertisement

Related Manuals for Philips HQ8160


Summary of Contents for Philips HQ8160
- Page 1 ENGLISH 4 ROMÂNĂ 31...
- Page 2 ENGLISH Important Read these instructions for use carefully before using the appliance and save them for future reference. Be careful with hot water. Always check if the water is not too hot, to prevent your hands from getting burnt. Only use the powerplug supplied. The powerplug transforms 100-240 volts to a safe low voltage of less than 24 volts.
- Page 3 Do not immerse the shaver in water. Water may leak from the socket at the bottom of the appliance, when you rinse it. This is normal and not dangerous because all electronics are enclosed in a sealed shell inside the shaver. Noise level: Lc = 60 dB [A] Charging Make sure the appliance is switched off before...
-
Page 4: Battery Fully Charged
ENGLISH Battery fully charged A few hours after charging, all lights go out. Remaining battery capacity - When all lights burn green, the battery is 100% - When the bottom light burns green, 20% of the Battery running low When you switch the shaver off, this light blinks a few times. -
Page 5: Using The Appliance
Put the powerplug in the wall socket. Remove the powerplug from the wall socket and pull the appliance plug out of the shaver when the battery has been fully charged. Charging stand You can also charge the appliance by placing it in the charging stand, if provided. - Page 6 The trimmer can be activated while the motor is running. Move the shaving heads quickly over your skin, making both straight and circular movements. accustomed to the Philips shaving system. Switch the shaver off by pressing the on/off button once. Clean the shaver (see chapter 'Cleaning and maintenance').
-
Page 7: Cleaning And Maintenance
Cleaning and maintenance Regular cleaning guarantees better shaving performance. If provided, use the washing machine to clean the shaver. See the seperate instruction booklet. The normal way to clean the appliance is to rinse the shaving unit and the hair chamber with hot water every time you have used the shaver. - Page 8 ENGLISH Never dry the shaving unit with a towel or tissue as this may damage the shaving heads. You can also clean the hair chamber without water by using the brush supplied. Every six months: shaving heads Do not clean more than one cutter and guard at a time, since they are all matching sets.
- Page 9 Close the shaving unit. Trimmer Clean the trimmer every time you have used it. Switch the shaver off, remove the powerplug from the wall socket and pull the appliance plug out of the shaver. Clean the trimmer with the brush supplied.
- Page 10 Replace the shaving heads every two years for optimal shaving results. Replace damaged or worn shaving heads with HQ9 Philips shaving heads only. Make sure that the projections of the shaving heads fit exactly into the recesses. The shaver can be stored in the charging stand, if provided.
- Page 11 Dispose of the battery at an official collection point for batteries. If you have trouble removing the battery, you can also take the appliance to a Philips service centre, which will remove the battery for you and will dispose of it in an environmentally safe way.
- Page 12 ENGLISH Disposal of the battery Only remove the battery if it is completely empty. Be careful, the hooks are very sharp. Be careful, the battery strips are very sharp. Remove the powerplug from the wall socket and pull the appliance plug out of the shaver.
-
Page 13: Guarantee And Service
If you need information or if you have a problem, please visit the Philips website at www.philips.com or contact the Philips Customer Care Centre in your country (you will find its phone number in the worldwide guarantee leaflet). If there is no... - Page 14 ENGLISH Cause 3: the shaving heads are damaged or worn. Replace the shaving heads. See chapter 'Replacement'. The shaver does not work when the on/off button is pressed. Cause 1: the battery is empty. Recharge the battery. See chapter 'Charging'. Cause 2: the appliance is not connected to the mains.
- Page 29 ROMÂNĂ Important...
- Page 30 ROMÂNĂ Încărcare Încărcare Baterie complet încărcată...
- Page 31 Capacitate rămasă Baterie relativ descărcată ROMÂNĂ...
- Page 32 ROMÂNĂ Utilizarea aparatului Atunci când porniţi aparatul, se vor aprinde toate ledurile şi timp de câteva secunde se va afişa capacitatea rămasă a bateriei.
- Page 33 Curăţare şi întreţinere ROMÂNĂ...
- Page 34 ROMÂNĂ Atunci când clătiţi aparatul, este posibil ca apa să curgă prin partea inferioară. Acest lucru este normal şi nepericulos.
- Page 35 ROMÂNĂ...
- Page 36 ROMÂNĂ Depozitarea...
- Page 37 Înlocuirea Nu amestecaţi cuţitele şi sitele de protecţie, pentru a asigura performanţe optime. ROMÂNĂ...
- Page 38 ROMÂNĂ Accesorii Protejarea mediului...
- Page 39 ROMÂNĂ...
- Page 40 ROMÂNĂ Garanţie şi service Depanarea Cauza 1: Capetele de bărbierire sunt murdare. Aparatul nu a fost clătit de foarte mult timp sau apa pentru clătire nu a fost suficient de caldă. Cauza 2: Fire lungi de păr blochează capetele de bărbierire.
- Page 41 Cauza 3: Capetele de bărbierire sunt deteriorate sau uzate. Cauza 1: Bateria este descărcată. Cauza 2: Aparatul nu este conectat la priză. Unitatea de bărbierire nu a fost corect poziţionată. ROMÂNĂ...
- Page 208 4222 002 45643...