Table of Contents
Advertisement
Quick Links
Download this manual
See also:
Owner's Manual
Advertisement
Table of Contents

Related Manuals for Magnavox VR402BMG


Summary of Contents for Magnavox VR402BMG
- Page 1 VR402BMG VR602BMG ideo Cassette Recor ideo Cassette Recor Hookup Pages Hookup Pages...
-
Page 2: Hookups Without A Cable Box/Direct Broadcast System
Cable Box or a Direct Broadcast System, please see pages eight-nine. If you have a Stereo TV, please see page 10. After you hook up the VCR, go to page 11 to turn on the VCR. (The VR602BMG is illustrated here. The VR402BMG has single AUDIO IN/OUT jacks.) Disconnect the antenna or cable from your TV. - Page 3 Set the TV to the same channel. For example, when playing a tape, if the CH3/CH4 switch is set to CH3, the TV should be on channel 03. You are ready to turn on the VCR. Please go to page 11 before turning on the VCR. AUDIO...
-
Page 4: Hookups With A Cable Box/Direct Broadcast System
You may not program channels at the VCR. You can only program a timer recording for one channel at a time. Set the TV and the VCR to the Cable Box/DBS output channel (channel 03 or 04); set the CH3/CH4 switch to the same channel. Set your Cable Box/DBS to the channel you want to record. -
Page 5: Recording One Channel/Watching Another
VCR’s CH3/CH4 switch. Set the TV to the Cable Box/DBS output channel (03 or 04). Then, with the VCR in VCR position (the VCR Light will appear on the display panel), use the CHANNEL o/p buttons to select the channel you want to record at the VCR. Start the recording. -
Page 6: Hookups With A Stereo Tv
AUDIO IN Jacks on your TV, again matching cable colors to the jack colors. VR402BMG: Connect an audio cable to the white AUDIO OUT Jack on the back of the VCR. Then, connect the other end of the audio cable to the AUDIO IN Jack on your TV. -
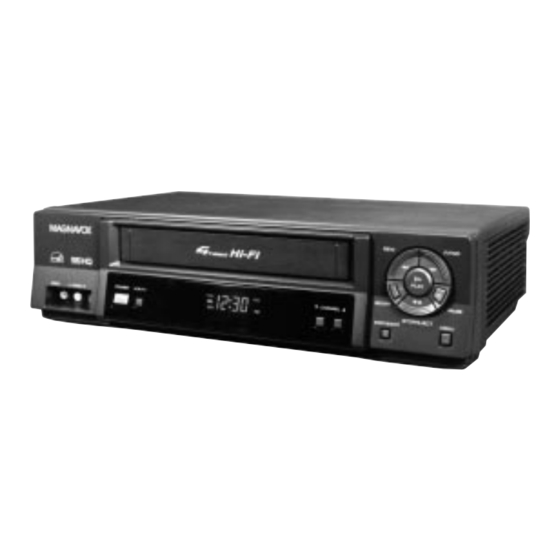
Page 7: Front Panel
VCR, or an audio source here. Details are on page 32. The VR602BMG is shown here. The VR402BMG has only one AUDIO IN jack. VCR/TV Button Press to select VCR or TV position. VCR Position... -
Page 8: Rear Panel
Connect audio cables going to the AUDIO IN Jacks of a camcorder, another VCR, or an audio system here. Details are on pages 32 and 38. The VR602BMG is shown here. The VR402BMG has only one AUDIO OUT jack. VR602BMG... -
Page 9: Helpful Hints
VCR 1 will play your tape. Put a prerecorded tape in VCR 1. VCR 2 will record your tape. Insert a blank tape in VCR 2. The VCR must be in VCR position. (The VCR Light will appear on the dis- play panel.