Table of Contents
Advertisement
Quick Links
Advertisement
Table of Contents

Related Manuals for AEG ATB48D1AW


Summary of Contents for AEG ATB48D1AW
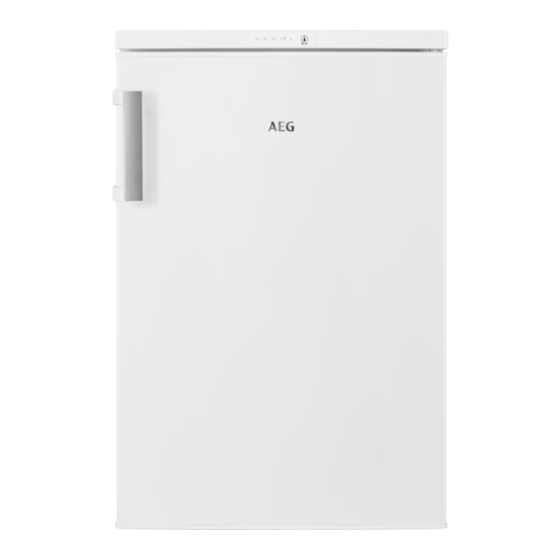
- Page 1 EN User Manual | Freezer ATB48D1AW...
-
Page 2: Table Of Contents
FOR PERFECT RESULTS Thank you for choosing this AEG product. We have created it to give you impeccable performance for many years, with innovative technologies that help make life simpler – features you might not find on ordinary appliances. Please spend a few minutes reading to get the very best from it. - Page 3 installation or usage. Always keep the instructions in a safe and accessible location for future reference. 1.1 Children and vulnerable people safety • This appliance can be used by children aged from 8 years and above and persons with reduced physical, sensory or mental capabilities or lack of experience and knowledge if they have been given supervision or instruction concerning the use of the appliance in a safe way and understand the...
-
Page 4: Safety Instructions
– clean regularly surfaces that can come in contact with food and accessible drainage systems; • WARNING: Keep ventilation openings, in the appliance enclosure or in the built-in structure, clear of obstruction. • WARNING: Do not use mechanical devices or other means to accelerate the defrosting process, other than those recommended by the manufacturer. - Page 5 • Do not install the appliance where there is direct sunlight. The appliance contains flammable gas, • Do not install this appliance in areas that isobutane (R600a), a natural gas with a high are too humid or too cold. level of environmental compatibility. Be •...
-
Page 6: Installation
must do the maintenance and the • Door gaskets will be available for 10 years recharging of the unit. after the model has been discontinued. • Regularly examine the drain of the 2.6 Disposal appliance and if necessary, clean it. If the drain is blocked, defrosted water collects in the bottom of the appliance. - Page 7 3.1 Dimensions necessary for free circulation of the cooling Overall dimensions ¹ Overall space required in use ³ ¹ the height, width and depth of the appliance 1165 without the handle ³ the height, width and depth of the appliance including the handle, plus the space Space required in use ²...
- Page 8 In case of different installation from freestanding respecting space required in use dimensions, the appliance will function If you have any doubts regarding where correctly but energy consumption might to install the appliance, please turn to the increase slightly. vendor, to our customer service or to the nearest Authorised Service Centre.
- Page 9 4. Lift the top cover and place it on a soft surface. 5. Unscrew the 4 screws that connect the upper hinge. Put the upper hinge in a safe place together with the screws. 1. Tilt the appliance carefully on a soft foam packaging or similar material to avoid any damage to the back of the appliance and 6.
-
Page 10: Operation
Install the door equipment. Wait at least 4 hours before connecting the appliance to the power supply. 3.7 Installation of a door handle If there is a door handle provided in a bag separately, you can install it as follows: 1. -
Page 11: Daily Use
4.4 Temperature regulation 4.5 Super Freeze function To set the temperature, press the Control The Super Freeze function performs pre- button repeatedly until you reach the desired freezing and fast freezing in sequence in the temperature. freezer compartment. This function accelerates the freezing of fresh food and, at Recommended set temperature is: the same time, protects foodstuffs already... -
Page 12: Hints And Tips
Small pieces may even be cooked still frozen, directly from the freezer: in this case, cooking will take longer. 6. HINTS AND TIPS 6.1 Hints for energy saving temperature before placing it inside the compartment. • The internal configuration of the appliance •... -
Page 13: Care And Cleaning
• Place the frozen foods immediately in the • Respect the expiry date and the storage freezer after coming back from the shop. information on the package. • If food has defrosted even partially, do not re-freeze it. Consume it as soon as possible. -
Page 14: Troubleshooting
1. Clean the inside and accessories with 3. Leave the door open. Protect the floor lukewarm water and some neutral soap. from the defrosting water e.g. with a cloth 2. Regularly check the door seals and wipe or a flat vessel. them clean to ensure they are clean and 4. - Page 15 8.1 What to do if... Problem Possible cause Solution The appliance does not operate. The appliance is switched off. Switch on the appliance. The mains plug is not connected to Connect the mains plug to the the mains socket correctly. mains socket correctly.
- Page 16 Problem Possible cause Solution The water outlet is clogged. Clean the water outlet. Water flows on the floor. The melting water outlet is not con‐ Attach the melting water outlet to nected to the evaporative tray above the evaporative tray. the compressor.
-
Page 17: Noises
9. NOISES SSSRRR! BRRR! CLICK! HISSS! BLUBB! 10. TECHNICAL DATA The technical information is situated in the It is also possible to find the same information rating plate on the internal side of the in EPREL using the link https://eprel.ec.europa.eu and the model appliance and on the energy label. -
Page 18: Environmental Concerns
12. ENVIRONMENTAL CONCERNS appliances marked with the symbol with Recycle materials with the symbol . Put the the household waste. Return the product to packaging in relevant containers to recycle it. your local recycling facility or contact your Help protect the environment and human municipal office. - Page 20 804182773-A-142023...