Table of Contents
Advertisement
Quick Links
Advertisement
Table of Contents

Summary of Contents for AEG ATB8112VAX
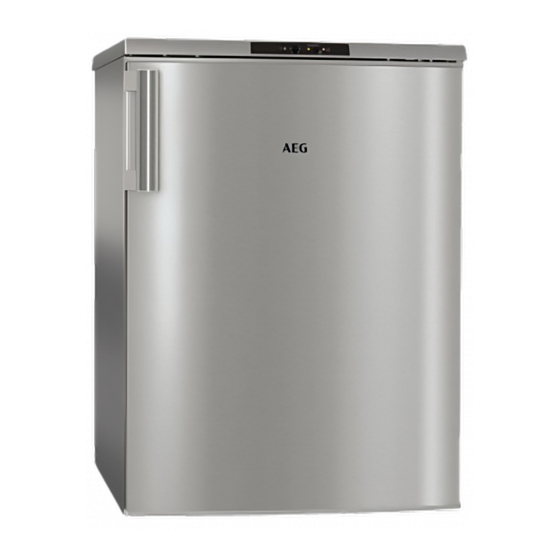
- Page 1 ATB8112VAX User Manual Freezer USER MANUAL...
-
Page 2: Table Of Contents
9. TECHNICAL DATA....................16 FOR PERFECT RESULTS Thank you for choosing this AEG product. We have created it to give you impeccable performance for many years, with innovative technologies that help make life simpler features you might not find on ordinary appliances. Please spend a few minutes reading to get the very best from it. - Page 3 ENGLISH 1.1 Children and vulnerable people safety This appliance can be used by children aged from 8 • years and above and persons with reduced physical, sensory or mental capabilities or lack of experience and knowledge if they have been given supervision or instruction concerning the use of the appliance in a safe way and understand the hazards involved.
-
Page 4: Safety Instructions
Clean the appliance with a moist soft cloth. Only use • neutral detergents. Do not use abrasive products, abrasive cleaning pads, solvents or metal objects. Do not store explosive substances such as aerosol • cans with a flammable propellant in this appliance. - Page 5 ENGLISH • Do not put electrical appliances (e.g. • This appliance contains hydrocarbons ice cream makers) in the appliance in the cooling unit. Only a qualified unless they are stated applicable by person must do the maintenance and the manufacturer. the recharging of the unit.
-
Page 6: Operation
3. OPERATION 3.1 Control panel Green On/Off Power Indicator Light Acoustic Signal Stop and FROSTMATIC Switch Temperature Regulator and On/Off Switch Red Alarm Indicator Light Yellow FROSTMATIC Indicator Light 3.2 Switching on 3.3 Switching off Leave the appliance to stand upright for 1. -
Page 7: Daily Use
ENGLISH 3.5 Temperature regulation 1. Press the FROSTMATIC button for 2-3 seconds to activate the CAUTION! FROSTMATIC function 6-24 hours Do not place heavy nor hot before placing the fresh food in the objects on top of the freezer, the Yellow FROSTMATIC appliance to avoid any Indicator Light will illuminate. -
Page 8: Hints And Tips
4.3 Thawing in the compartment let the appliance run at least 2 hours on the higher settings. Deep-frozen or frozen food, prior to In the event of accidental being used, can be thawed in the defrosting, for example due... -
Page 9: Care And Cleaning
ENGLISH • not open the door frequently or leave • do not exceed the storage period it open longer than absolutely indicated by the food manufacturer. necessary; • once defrosted, food deteriorates rapidly and cannot be refrozen; 6. CARE AND CLEANING WARNING! CAUTION! Refer to Safety chapters. -
Page 10: Troubleshooting
In order to speed up the defrosting About 12 hours prior to process, place a pot of warm water in defrosting, set a lower the freezer compartment. In addition, temperature, in order to remove pieces of ice that break away build up sufficient chill before defrosting is complete. - Page 11 ENGLISH Problem Possible cause Solution The mains plug is not con- Connect the mains plug to nected to the mains socket the mains socket correctly. correctly. There is no voltage in the Connect a different electrical mains socket. appliance to the mains sock- et.
- Page 12 Problem Possible cause Solution There is too much frost and The door is not closed cor- Refer to "Closing the door". ice. rectly or the gasket is de- formed/dirty. The water drainage plug is Position the water drainage not correctly positioned.
-
Page 13: Installation
ENGLISH Problem Possible cause Solution Door does not open easily. You attempted to re-open Wait a few seconds between the door immediately after closing and re-opening of closing. the door. 2. If necessary, adjust the door. Refer to If the advice does not lead "Installation". - Page 14 100 mm . Ideally, however, the 3. Unscrew the screws of the door appliance should not be positioned bottom hinge. below overhanging wall units. Accurate 4. Take off the appliance door by levelling is ensured by one or more pulling it slightly downwards.
- Page 15 ENGLISH Do a final check to make sure that: • All screws are tightened. • The magnetic seal adheres to the cabinet. • The door opens and closes correctly. If the ambient temperature is cold (i.e. in Winter), the gasket may not fit perfectly to the cabinet.
-
Page 16: Technical Data
9. TECHNICAL DATA 9.1 Technical data Height Width Depth Rising time Hours Voltage Volts 230 - 240 Frequency The technical information is situated in internal side of the appliance and in the the rating plate, on the external or energy label. - Page 17 ENGLISH...
- Page 18 www.aeg.com...
- Page 19 ENGLISH...
- Page 20 www.aeg.com/shop...


