Table of Contents

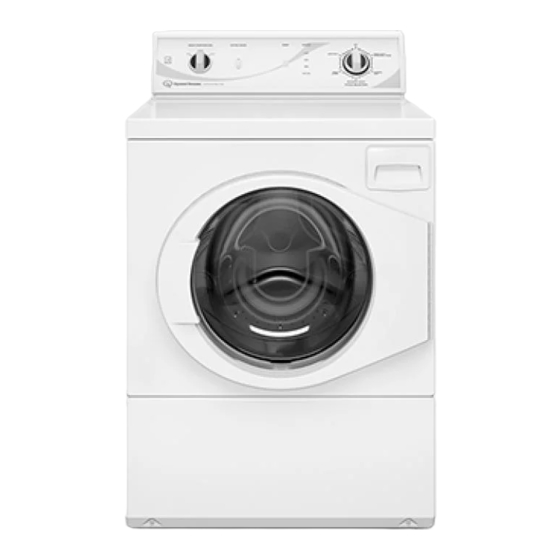
Summary of Contents for Speed Queen AFN50RSP113TW01
- Page 1 Installation Instructions for Frontload Washers Original Instructions Keep These Instructions for Future Reference. (If this machine changes ownership, this manual must accompany machine.) Part No. 805470 www.speedqueen.com August 2014...
-
Page 3: Table Of Contents
Table of Contents Washer Dimensions................4 Installation..................... 5 Before You Start.....................5 Tools......................5 Parts Included....................5 Order of Installation Steps................5 Position Unit Near Installation Area..............5 Remove Shipping Materials................5 Connect Fill Hoses..................6 Water Supply Requirements................. 6 Connecting Hoses..................7 Connect Drain Hose to Drain Receptacle............7 Standpipe Installation.................. -
Page 4: Washer Dimensions
Washer Dimensions Washer Dimensions FLW2392N_SVG Figure 1 24.06 in. [611 mm] 22.38 in. [568 mm] 40.77 in. [1036 mm] 43 in. [1092 mm] 32 in. [813 mm] 36 in. [914 mm] 14.6 in. [371 mm] 26.875 in. [683 mm] 2.04 in. [52 mm] 27.73 in. -
Page 5: Installation
Installation Installation Before You Start • Two fill hoses with washers and filter screens • Four rubber feet • Beaded strap Tools • Installation Instructions • User’s Guide For most installations, the basic tools you will need are: • Warranty Bond Order of Installation Steps The proper order of steps must be followed to ensure correct in- stallation. -
Page 6: Connect Fill Hoses
Installation 2. Remove two 9/16 inch bolts and washers holding shipping IMPORTANT: Do not lift or transport unit from front brace to weight. or without shipping materials installed. Refer to the User’s Guide for proper instructions on reinstalling 3. Remove two 9/16 inch bolts and washers holding shipping the shipping materials. -
Page 7: Connecting Hoses
Installation Turn on the water supply faucets and flush the lines for approxi- IMPORTANT: mately two minutes to remove any foreign materials that could Hoses and other natural rubber parts deteriorate after ex- clog the screens in the water mixing valve. This is especially im- tended use. -
Page 8: Wall Installation
Installation FLW2301N_SVG FLW2302N_SVG 1. 24 to 36 in. [610 to 914 mm] Recommended Height 1. Drain Hose 2. Beaded strap from accessory bag 2. Beaded Strap (tape if necessary) 3. Standpipe 2 in. [51 mm] or 1-1/2 in. [40 mm] Figure 10 Figure 8 Position and Level the Washer... -
Page 9: Wipe Out Inside Of Wash Drum
Installation NOTE: DO NOT slide unit across floor if the leveling WARNING legs have been extended. Legs and base could be- come damaged. 7. Remove rubber feet from accessories bag and place on all To reduce the risk of fire, electric shock, serious in- four leveling legs. -
Page 10: Earth/Ground Instructions
Installation WARNING Improper connection of the equipment earth/ground conductor can result in a risk of electric shock. Check with a qualified electrician or service person if you are in doubt as to whether the washer is prop- erly connected to a protective earth/ground. W822 •... -
Page 12: Installer Checklist
Installer Checklist Installer Checklist Fast Track for Installing the Washer Position Washer Near Installation Area. Position and Level the Washer. CHECK CHECK FLW2299N_SVG1 Remove the Ship- Wipe Out Inside of ping Materials and Washer. Install Plugs. CHECK CHECK FLW2303N_SVG FLW2359N_SVG Connect Fill Hoses.


