Advertisement
PRODUCT FEATURES
Register Your New Product Today!
By registering your new Remington® product, you will receive special offers.
Register online at: RemingtonProducts.com
HC9000 REMINGTON CORDLESS HAIRCUT KIT
Inside this manual you will find tips on using and caring for your hair clipper.

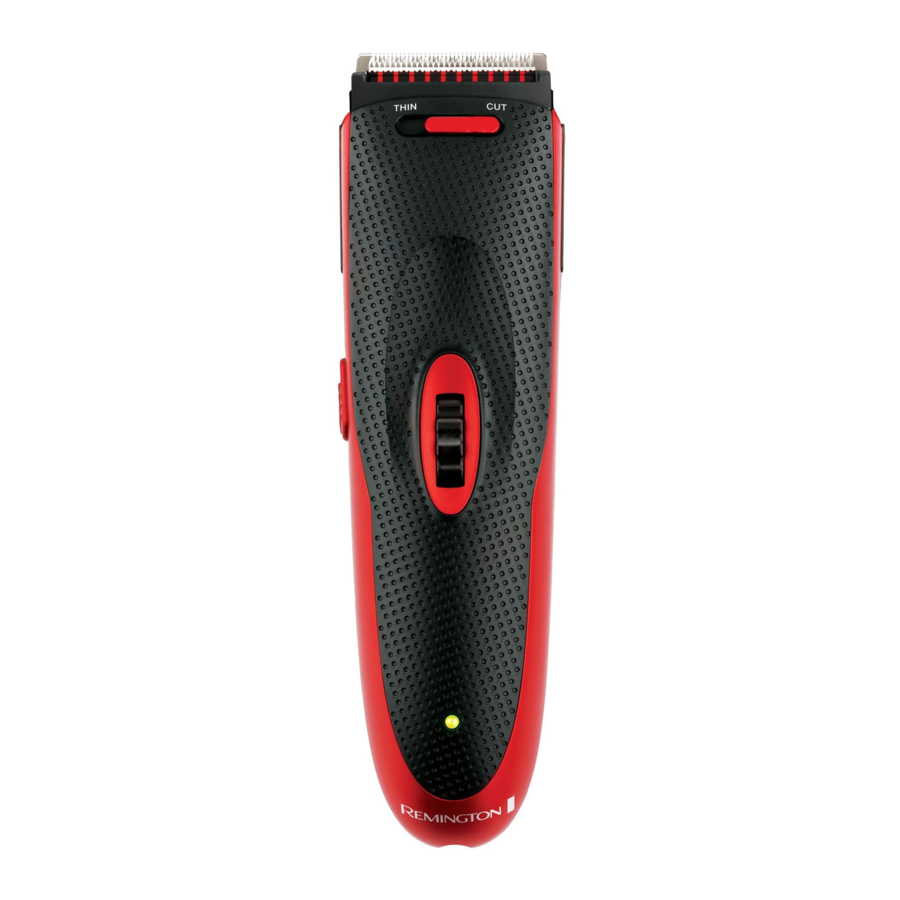
KEY PARTS
- On/Off Switch
- Comb Length Setting Indicator
- Adjustable Comb (3-15mm)
- Adjustable Comb (18-30mm)
- Integrated Hair Texture Function
- Comb Length Adjustment Wheel
- Charging Indicator Light
Also Includes:
- Scissors
- Barber Comb
- Travel Pouch
- Lubricating Oil
- Cleaning Brush
- Power Adaptor
HC9000 SPECIFICATIONS
| Power System | Cord/Cordless |
| Full Charge Time | 16 Hours |
| Run Time | 45 Minutes |
| Indicators | Charging |
| Worldwide Voltage | Yes |
Power System
Cord/Cordless – can be used with or without the power cord.
Charging Indicator
Red light that glows when the hair clipper is being charged.
Voltage Type
Worldwide Voltage – automatically adapts to an outlet voltage between 100-240V.
CHARGING YOUR CLIPPER
Cordless Use
- Before using your hair clipper for the first time, charge it for 16 hours. Run time from fully charged is up to 45 minutes.
- Ensure the product is switched off.
- Connect the charging adaptor to the product and then to the power outlet. The charging LED light will display on the clipper.
- If the product is not going to be used for an extended period time (2-3 months), unplug it from the power outlet and store.
- Fully recharge your hair clipper when you would like to use it again.
- It is not recommended to use this hair clipper directly from the power outlet when it has been fully charged. However, while using the hair clipper in cordless mode, if there is a noticeable drop in power, you can use the hair clipper directly from the power outlet.
- To preserve the life of your batteries, let them run out every six months then recharge for 24 hours.
Corded Use
- Connect the charging adaptor to the product and then to the power outlet.
- When the cord is connected to the power outlet, a charging LED light is displayed on the hair clipper.
![]()
Extended corded-only use will result in reduced battery life.

HOW TO USE
Before Starting to Cut
- Inspect the hair clipper making sure that it is free from hair and dirt.
- Ensure that the hair is thoroughly dry and tangle free.
- The blades on your hair clipper should be oiled before every haircut.
Lubricating the Hair Clipper Blades
Place a few drops of oil on the teeth of the blades. Use only the light grade oil supplied or a suitable alternative like sewing machine oil. Do not use hair oil, grease or any oil mixed with kerosene or any solvent as the solvent will evaporate and leave the thick oil, slowing the blades.
If oil is not applied to the blades or only a small amount of oil is applied, this may cause cutting problems. Blades will wear prematurely and not cut properly if they are not sufficiently lubricated. There may also be a pulling sensation on the hair.
Instructions for Hair Cutting
NOTE: For even cutting, allow the trimmer comb/blade to cut its way through the hair. Do not force it through quickly. If you are cutting for the first time, start with the maximum length trimmer comb, until you know how short you would like your hair to be.
Comb Settings
| MARK | LENGTH SETTING | |
| Comb 1 - Short | Comb 2 - Long | |
| 1 | 3mm | 18mm |
| . | 4.5mm | 19.5mm |
| 3 | 6mm | 21mm |
| . | 7.5mm | 22.5mm |
| 5 | 9mm | 24mm |
| . | 10.5mm | 25.5mm |
| 7 | 12mm | 27mm |
| . | 13.5mm | 28.5mm |
| 9 | 15mm | 30mm |
NOTE: The comb guide lengths described for use in the steps below are an example only, if you want a longer or shorter hair cut you will need to adjust the comb guide lengths to suit your requirements.
Step 1 - Nape of the Neck
- Use 3mm or 6mm setting.
- Hold the hair clipper with the blade teeth pointing upwards. Begin starting at the center of the head at the base of the neck.
- Slowly lift the hair clipper, working upwards and outwards through the hair, trimming just a little at a time.
Step 2 - Back and Side of the Head
With the 9mm or 12mm setting in place, cut the hair at the back and sides of the head using upward strokes.
Step 3 - Sideburns
With the 9mm or 12mm setting in place, trim sideburns.
Step 4 - Top of the Head
- With the setting of your choice, cut the hair on top of the head against the direction in which the hair normally grows.
- For longer hair on top, use scissors. Lift the hair on top of the head with styling comb. Cut over the styling comb with the hair lifted or hold the hair between the fingers to lift it and cut it to the desired length.
- Always work from the back of the head.
Step 5 - The Finishing Touches
- Use the hair clipper without an attachment comb for close trimming around the base and sides of the neck.
- To produce a clean straight line at the sideburns, reverse the hair clipper. Place the reversed hair clipper at right angles to the head, tips of the blades lightly touching the skin and then work downwards.
CLEANING AND MAINTENANCE
To ensure long lasting performance of your hair clipper, clean the blades and unit regularly.
NOTE: Ensure that the hair clipper is turned off and unplugged when cleaning.
After Each Use
- Ensure the hair clipper is switched off and disconnected from the power outlet household power outlet.
- Brush the accumulated hair from the blades. Do not submerge the hair clipper in water.
- To clean the body of the unit, wipe with a damp cloth and dry immediately.
- Gently brush the remaining hairs away from the hair clipper comb and hair clipper blade.
Every Six Months
At regular intervals the blade set should be removed and cleaned.
- Ensure that the hair clipper is empty of power, is switched off and disconnected from the mains household power outlet.
- Remove the comb attachment.
- Hold the hair clipper in one hand so that the blades are at the top, and the front of the hair clipper is facing you.
- Place your thumb of the opposite hand underneath the blades at the front of the unit, hold the back of the blade set with your fore finger and middle finger and firmly press upwards with your thumb. The blade set will detach from the hair clipper.
- Brush the accumulated hair from the hair pocket and blades.
- Replace the blade set by inserting the notch (on the inside at the bottom of the blade set) into the groove of the hair pocket and firmly push down with the palm of your hand until you hear an audible 'click' and the blade set is locked into place.
Storage
When not in use, unplug the hair clipper and store it out of reach of children in a safe dry place. Never wrap the cord around the hair clipper as this will cause the cord to wear prematurely and break. Handle the cord carefully for long life and avoid jerking, twisting or straining especially at the plug connections.
TROUBLESHOOTING
The hair clipper does not work when turned on
Hair clipper must be charged for a full 16 hours, or use hair clipper while plugged into wall.
Hair clipper cutters do not move
The cutting unit may be dirty and clogged. Clean the unit as directed in Cleaning & Maintenance section.
Hair clipper does not hold charge
Fully discharge the battery by running hair clipper until it stops; then follow recharging instructions in Charging Your Clipper section.
THIS PRODUCT IS NOT SUITABLE TO USE IN THE BATH OR SHOWER.

VideosShort Review : Remington HC9100 Heritage HairClipper & Remington HC4255 QuickCut Video
Documents / Resources
References
Download manual
Here you can download full pdf version of manual, it may contain additional safety instructions, warranty information, FCC rules, etc.
Advertisement
Thank you! Your question has been received!


Need Assistance?
Do you have a question about the HC9000 that isn't answered in the manual? Leave your question here.