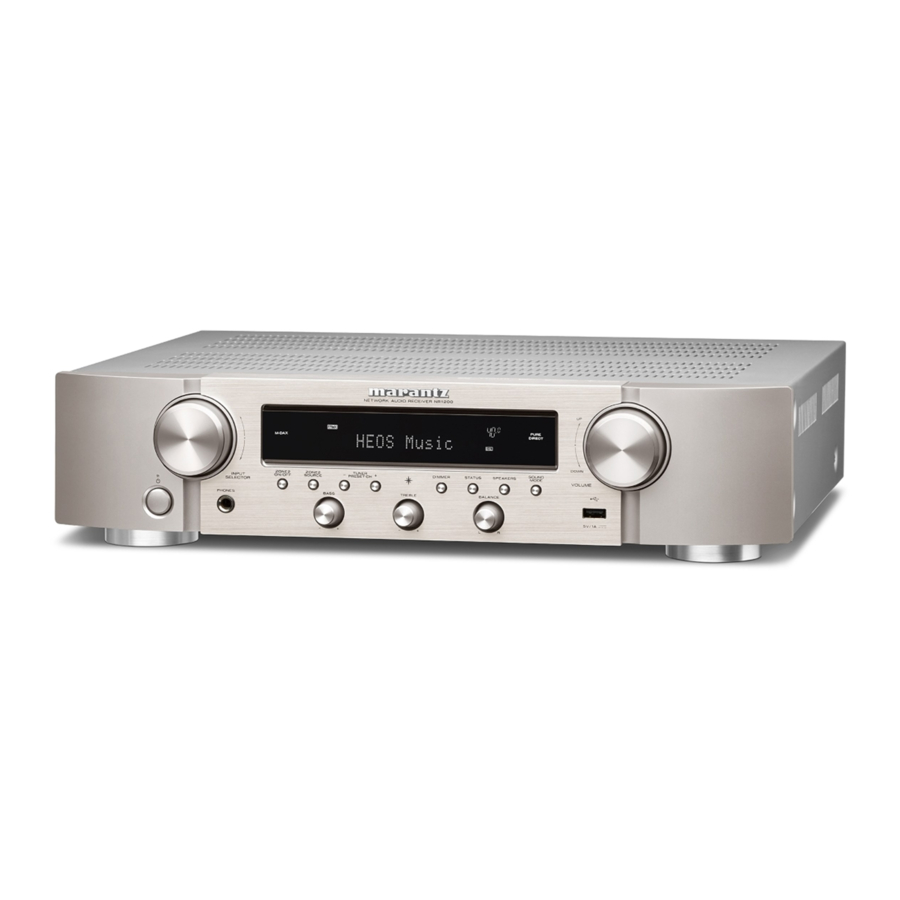
Marantz NR1200 - Network Audio Receiver Quick Start Guide
- Owner's manual (235 pages) ,
- Service manual (144 pages) ,
- Quick start manual (24 pages)
Advertisement
Before You Begin
Please do not return this unit to the store – call for assistance.
If you need help... :
If you need additional help in solving problems, contact Marantz customer service in your area. www.marantz.com
Required for Setup

Optional


- When connecting this unit to a device that is compatible with the Deep Color, 4K and ARC functions, use a "High Speed HDMI cable with Ethernet" that displays the HDMI logo.
- These drawings are for illustrative purposes only and may not represent the actual product(s).
What's In the Box

Important: External Antennas
The removable external antennas are required for both Bluetooth and Wireless network connectivity. Please make sure to connect the antennas before attempting to use the Bluetooth or Wi-Fi features of the NR1200.
Connecting the external antennas for Bluetooth / Wireless connectivity
For each of the two antennas:
- Place the antenna evenly over the antenna terminal located at the upper left or right corner of the rear panel.
- Turn the antenna clockwise until it is fully connected. Do not over tighten.
- Rotate the antenna upwards for the best possible reception.
![]()

Setup
Installing batteries in the remote control unit

Setup by connecting to TV
- Place the receiver near your TV and connect the power cord

- Connect the receiver to your home network
Wired LAN
Connect an Ethernet cable (not included) between your receiver and your network router.

Wireless LAN
When connecting to wireless LAN (Wi-Fi), follow the instructions in "Connecting the external antennas for Bluetooth / Wireless connectivity" and connect the antennas.

- Connect the receiver to your TV with an HDMI cable

ARC (Audio Return Channel): If your TV supports ARC, your TV can send audio back to the receiver when you are using your TV's built-in video sources (TV tuner, Smart TV streaming services, etc.) ARC requires that you enable HDMI CEC on your TV. Please refer to your TV's Owner's Manual for instructions on how to setup HDMI CEC. Note that some TV Manufacturers use other names for the HDMI CEC function. - Turn on the TV

- Select the appropriate HDMI input on your TV

- Turn on the receiver


- Press
![]() to turn on the receiver.
to turn on the receiver.
![]()


- Verify the connection
- Verify that you can see this screen on your TV.

If this screen is not displayed, please go back and retry the steps again in the recommended sequence.

- Now TV is connected to the receiver, please follow the on-screen setup assistant
The Setup Assistant will walk you through connecting and configuring your speakers and components to your Marantz receiver. Please use the remote control and follow the on-screen instructions.


Setup without connecting to TV
- Connecting to speakers

- Connecting to the playback equipment in accordance with instruction on the rear panel
Ex.) Connecting to CD player

- Connecting to antenna of tuner

- Connecting to an Ethernet cable
If you want to connect the receiver to your Home Network via Wireless LAN, you can skip this step and go to "5) Connect the power cord".

- Connect the power cord

- Turn on the receiver
![]()
- On the display of "Setup on TV", use
![]() to select "No", then press ENTER
to select "No", then press ENTER
![]()
On-Screen Setup Assistant is cancelled and the receiver is available to use. In addition, the receiver is able to be set up from Setup Menu whenever you want. - Connect Wireless LAN
- Connect the two antennas.
When connecting to wireless LAN (Wi-Fi), follow the instructions in "Connecting the external antennas for Bluetooth / Wireless connectivity" and connect the antennas.

- Press SETUP on the remote control.
![]()
You can see the following on the display.
![]()
- Use
![]() to select "Network", then press ENTER.
to select "Network", then press ENTER.
![]()
- Use
![]() to select "Connection", then press ENTER.
to select "Connection", then press ENTER.
![]()
![information]() "Connection" can't be selected while network module is setting up. Please wait for the completion of this setting up. This might take up to 1 minute.
"Connection" can't be selected while network module is setting up. Please wait for the completion of this setting up. This might take up to 1 minute.
- Select "Connect: Wi-Fi".
![]()
- Connect the two antennas.


 to select "No", then press ENTER


![information]() If "Connect: Wired" is displayed, press ENTER, use o p to select "Wi-Fi" and press ENTER.
If "Connect: Wired" is displayed, press ENTER, use o p to select "Wi-Fi" and press ENTER.
- Use
![]() to select "Wi-Fi Setup", then press ENTER.
to select "Wi-Fi Setup", then press ENTER.
![]()
- Choose from one of the following options.

| Scan Network Select the network from the network list.  |
|
| Use iOS Device (iOS version 7 or later) By connecting the receiver with iOS Device (iPhone/ iPod/iPad), the receiver can be connected to the network automatically.  |
|
| WPS Router Use a WPS-compatible router to connect using the push button method.  |
|
| Manual Enter the name (SSID) and password of the network you wish to connect to. |
|
| Confirm "Success" on the display and press SETUP on the remote to exit the menu. Wi-Fi Connected! | |

 to select "Rescan" if your network name is not listed.)


The display of inputting characters and how to input
The display is showed as below when the input of SSID or password is required.

- Shows a current selected character.
- Shows current input text.
How to input
The characters are arranged as shown in the below tables. The Upper case / Lower case is switched by selecting [a/A].
- Use
![]()
![]() to select the character to be input.
to select the character to be input. - Press ENTER to input the selected character.

Lower case characters

Upper case characters
Example
Input the "A".

- Press
![]() four times. [a] is changed to [a/A].
four times. [a] is changed to [a/A].
![]()
- Press ENTER. Character table is switched.
![]()
- Press
![]() four times. [a/A] is changed to [A].
four times. [a/A] is changed to [A].
![]()
- Press ENTER. "A" is input.
![]()


- Network Control Setting
Setting the Network Control to on enabled to control your receiver using smartphone apps, home automation system, Apple AirPlay or Amazon Alexa voice service.- Press SETUP on the remote control.
![]()
You can see the following on the display.
![]()
- Use
![]() to select "Network", then press ENTER.
to select "Network", then press ENTER.
![]()
- Use
![]() to select "Network Control", then press ENTER.
to select "Network Control", then press ENTER.
![]()
- Press ENTER, then use
![]() to set the Network Control setting, after that press ENTER again.
to set the Network Control setting, after that press ENTER again.
![]()
Select "NetCtrl" (Network Control) to "Off" to reduce the power consumption during standby. You can not turn on your receiver from your smartphone or use Bluetooth/Apple AirPlay/HEOS App/Amazon Alexa until your receiver is powered on manually and connects to your network.
![]()
Select "NetCtrl" (Network Control) to "Always" to control your receiver from your smartphone, use Bluetooth/Apple AirPlay/HEOS App/Amazon Alexa voice service and maintain constant network access. Power consumption during standby power will be slightly higher. - Press SETUP to exit the setup menu.
- Press SETUP on the remote control.


Downloading the Mobile Apps
Download both the "HEOS" App and the "Marantz 2016 AVR Remote" App for the full home entertainment experience.
The HEOS App is required to access online music through your AVR.
HEOS

The HEOS App allows you to explore, browse, and play music from many online streaming services or from your own music library.

Marantz 2016 AVR Remote

Control your new AVR with the latest Marantz 2016 AVR Remote App. Volume control, sound mode selection and advanced settings are always only a tap away.


- For more information, visit www.marantz.com

Documents / Resources
References
Download manual
Here you can download full pdf version of manual, it may contain additional safety instructions, warranty information, FCC rules, etc.
Download Marantz NR1200 - Network Audio Receiver Quick Start Guide
Advertisement
Thank you! Your question has been received!


Need Assistance?
Do you have a question about the NR1200 that isn't answered in the manual? Leave your question here.