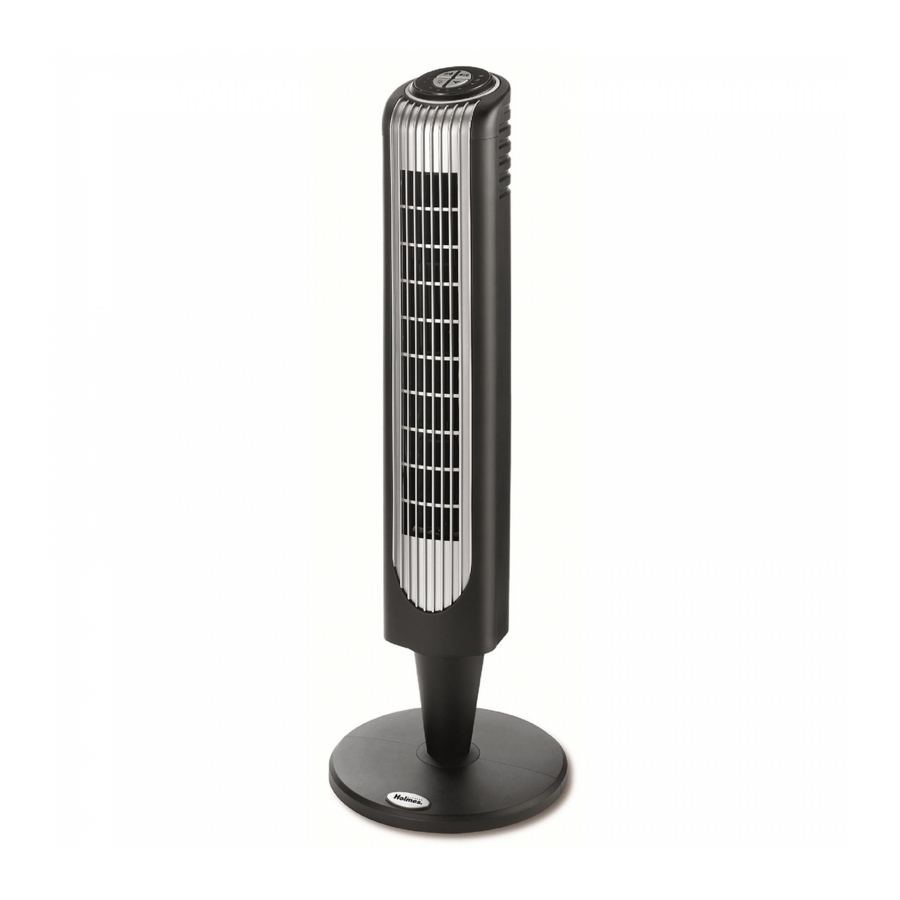
Holmes HT38R, HT38RB2, HTF3610AR - Remote Control Tower Fan Manual
- Owner's manual (8 pages)
Advertisement
FEATURES - OPERATIONS
ASSEMBLY INSTRUCTIONS
Assembly Time: 10-15 minutes.
Tools Required: Phillips head screw driver.
NOTE: MAKE SURE YOU REMOVE ALL CONTENTS FROM THE PACKAGE. PLEASE CHECK PACKAGING MATERIALS FOR PARTS THAT COULD BE REQUIRED TO OPERATE YOUR FAN. LOCATE THE BELOW PARTS FROM THE BOX TO PREPARE FOR ASSEMBLY:
- Fan housing
- 2 pedestal halves
- 2 base halves
- 8 M4x8mm screws (4 pcs for pedestal assembly and 4 pcs for base assembly)
- Cord clip with 2 M4x12mm screws (affixed underneath the base inside the package box)
- Remote Control (placed in a plastic bag inside the package box)
Follow the steps below in order to assemble the fan pedestal and base before operating your fan:
- To assemble the pedestal, simply snap the 2 pedestal halves together.
![]()
- Pull the power cord through the assembled pedestal, making sure the wider end of the pedestal is facing towards the fan housing.
![]()
- Align marking "A", located at the bottom of the fan housing, with marking "A" on the top end of the pedestal. Insert the alignment post from the pedestal into the alignment hole on fan housing for proper alignment.

- Use 4 screws (M4x8mm) provided to attach the assembled pedestal to the bottom of the fan housing. Secure the screws with a screwdriver.

- Snap the 2 base halves together by sliding the posts of one base half into the slots of the second base half.

- Pull the power cord through the center hole of the assembled base.
![]()
- Align marking "B", located at the center hole of the assembled base, with marking "B" at the bottom end of the pedestal. Insert the alignment post from the pedestal into the alignment hole on base for proper alignment.

- Use 4 screws (M4x8mm) provided to attach the assembled base to the pedestal. Secure the screws with a screwdriver.

- Wind the power cord underneath the base. Loosen the cord clip and place cord inside the clip. Secure the cord clip onto the base bottom with the 2 screws (M4x12mm) provided.

- Turn fan right side up and place on a dry and level surface before operating.


OPERATING INSTRUCTIONS
- Power/Speed Settings
![]() /
/ ![]()
Press![]() /
/ ![]() = On, I, II, III, Off
= On, I, II, III, Off - Timer Control
![]()
Press![]() = Turns Off in 1, 2, 4, 8 hours
= Turns Off in 1, 2, 4, 8 hours - Oscillation Control
![]()
Press![]() = Oscillation On, Off
= Oscillation On, Off - Natural Breeze, Sleep Breeze Modes
![]() /
/ ![]()
Press![]() /
/ ![]() = Natural Breeze, Sleep Breeze
= Natural Breeze, Sleep Breeze
Natural Breeze Mode![]() will cycle through the fan speed settings randomly.
will cycle through the fan speed settings randomly.
Sleep Breeze Mode![]() will cycle through the fan speed settings in order.
will cycle through the fan speed settings in order.
 /
/ 


 /
/ 


FCC STATEMENT
Potential for Radio/Television interference
This device complies with Part 15 of the FCC Rules.
Operation is subject to the following two conditions:
- This device may not cause harmful interference, and
- this device must accept any interference received, including interference that may cause undesired operation.
This product has been tested and found to comply with the limits for a Class B digital device, pursuant to part 15 of the FCC rules.
REMOTE CONTROL
This fan includes a remote control requiring two (2) AAA batteries, 1.5V (not included).
Battery Replacement
- Remove battery cover from remote control.
- Remove old batteries from the remote control.
- Insert two new batteries, pressing them firmly into their slot.
- Replace the battery cover.
NOTES:
- Replace all batteries of a set at the same time.
- Being careful not to bend or damage the contact spring, clean the battery contacts and devices' contacts prior to installing the batteries.
- Remove the batteries from the equipment when it is not being used for an extended period of time.
- Remove the used batteries promptly.
- Do not mix old and new batteries. Do not mix alkaline, standard (carbon-zinc), or rechargeable batteries.
- Do not discard used batteries into household trash containers. Contact your local government for disposal or recycling practices in your area.
CLEANING/MAINTENANCE INSTRUCTIONS
Follow these instructions to correctly and safely care for your Tower Fan. Please remember:
REPLACEABLE FUSE
If your (5 Amp, 125 Volt) replaceable fuse blows, please visit our website at www.holmesproducts.com for information on how to order a new fuse. Follow the below instructions to replace the fuse on the plug.
User Servicing Instructions
- Unplug your fan. Grasp plug and remove from the receptacle or other outlet device. Do not unplug by pulling on cord.
- Open fuse cover, located on the top of the plug, by using your thumb or a flathead screwdriver to slide the cover down towards the prongs.
Note: Ensure that fuse cover is completely open before attempting to remove fuse. - Remove fuse carefully by using a small screwdriver to pry the fuse out of the compartment by the metal ends of the fuse.
![]()
- Place plug on a solid, flat surface. Insert new 5 Amp, 125 Volt fuse into fuse compartment and use a small screwdriver to secure the metal ends of the fuse into the compartment.
![burn hazard]()
![]()
![burn hazard]()
Risk of fire. Replace fuse only with 5 Amp, 125 Volt fuse. - Slide fuse cover closed completely. If fuse cover is difficult to close, make sure fuse is secured in place completely by pressing down on metal ends of the fuse.
![burn hazard]() Risk of fire. Do not replace attachment plug. Contains a safety device (fuse) that should not be removed. Discard product if the attachment plug is damaged.
Risk of fire. Do not replace attachment plug. Contains a safety device (fuse) that should not be removed. Discard product if the attachment plug is damaged.


FAN CLEANING
- Always unplug the fan before cleaning.
- Clean the fan with a soft cloth moistened with a mild soap solution.
- Do not allow water to drip on or into the fan motor housing.
- Do not use any of the following as a cleaner: gasoline, thinner, benzene.
- You may also clean the front grill of the fan by lightly running a vacuum cleaner nozzle over the grill surface.
FAN STORAGE
In the off-season, it is important to keep your fan in a safe, dry location.
- We recommend using the original (or appropriately sized) box.
- Please remember to protect the fan from dust or moisture.
If you have any questions regarding your product or would like to learn more about other Holmes® products, please visit our website at www.holmesproducts.com. For inquiries regarding recycling and proper disposal of this product, please contact your local waste management facility.

Documents / ResourcesDownload manual
Here you can download full pdf version of manual, it may contain additional safety instructions, warranty information, FCC rules, etc.
Download Holmes HT38R, HT38RB2, HTF3610AR - Remote Control Tower Fan Manual
Advertisement
Thank you! Your question has been received!


Need Assistance?
Do you have a question about the HT38R that isn't answered in the manual? Leave your question here.