Garmin eTrex 30 Quick Start Manual
Hide thumbs
Also See for eTrex 30:
- Owner's manual (60 pages) ,
- Manual (2 pages) ,
- Owner's manual (30 pages)
Table of Contents
Advertisement
Advertisement
Table of Contents

Related Manuals for Garmin eTrex 30


Summary of Contents for Garmin eTrex 30
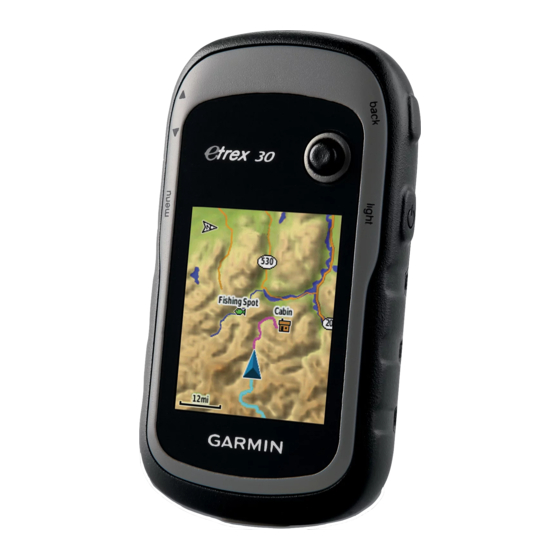
- Page 1 eTrex ® quick start manual for use with models 20 and 30...
-
Page 2: Getting Started
warninG ‹ See the Important Safety and Product Information guide in the product box for product warnings and other important information. When using your device the first time, you should complete these tasks to set up the device and get to know the basic features. -
Page 3: Installing Aa Batteries
➏ ➐ ➑ ➒ Mini-USB port (under weather cap) ➏ Battery cover ➐ Battery cover locking ring ➑ Mounting spine ➒ eTrex 20/30 Quick Start Manual Battery information warninG ‹ The temperature rating for the device (-4°F to 158°F, or -20°C to 70°C) may exceed the usable range of some batteries. -
Page 4: Satellite Signals
Rechargeable NiMH. Turning the Device On or Hold (page registering Your Device • Go to http://my.garmin.com. • Keep the original sales receipt, or a photocopy, in a safe place. Satellite Signals After the device is turned on, it begins acquiring satellite signals. The device may need a clear view of the sky to acquire satellite signals. -
Page 5: Calibrating The Compass
1. While the device is on, press . 2. Move the Thumb Stick left and right to adjust the brightness level. Calibrating the Compass notice Calibrate the electronic compass outdoors. To improve heading accuracy, do not stand near objects that influence magnetic fields, such as cars, buildings, or overhead power lines. -
Page 6: Where To? Menu
You can save your current location as a waypoint. 1. Select Mark Waypoint. 2. Select an option: • To save the waypoint without changes, select Done. • To make changes to the waypoint, select an attribute, make changes to the attribute, and select Done. -
Page 7: Creating A Route
2. Select All PoIs. 3. Enter the name or part of the name. 4. Select Done. Creating a route A route is a sequence of waypoints that leads you to your final destination. 1. Select Route Planner > Create Route > Select First Point. 2. -
Page 8: Navigating To A Destination
• Select an option to record tracks more or less often. NoTe: Using the Most often interval provides the most track detail, but fills up the device memory quicker. • Enter a time or distance, and select Done. As you move with the device turned on, a track log is created. -
Page 9: Connecting To A Computer
the bearing pointer points to your destination, regardless of the direction you are moving. 1. Begin navigation to a destination (page 2. Select Compass. 3. Turn until points toward the top of the compass, and continue moving in that direction to the destination. -
Page 10: Optional Accessories
2. Pull up the weather cap from the mini-USB port. 3. Plug the small end of the USB cable into the mini-USB port. 4. Open the “Garmin” drive or volume. 5. Open the Garmin\Documents folder or volume. 6. Double-click START HeRe.html. - Page 12 , the Garmin logo, and eTrex ® USA and other countries. Thumb Stick may not be used without the express permission of Garmin. Other trademarks and trade names are those of their respective owners. Garmin International, Inc.,1200 East 151 Liberty House, Hounsdown Business Park, Southampton, Hampshire, SO40 9LR UK No.