Garmin eTrex 20 Manual
How to record a track
Hide thumbs
Also See for eTrex 20:
- Getting started (8 pages) ,
- Owner's manual (168 pages) ,
- Quick start manual (13 pages)
Advertisement
Quick Links
How to - record a track using an eTrex 10/20/30
To record and store a track, the stages are.....
1.
Remove any previous data from the GPS memory
2.
Re-set the odometer
3.
Walk around the chosen path
4.
Store the data on the GPS
1 Removing previous data
If you do not remove previous data then it will end up being attached to your new track. If the
old data was recorded elswhere, then the two sets will be joined by a straight line.
To record and store a track, begin by.....
Switch on and wait until the satellites are located
Press the Menu button to get a menu looking somewhat like this one.....
Use joystick to go to "Track Manager" on the menu and press
Select "Current Track" and press joystick
Select "Clear Current Track"
☆
(This may need scrolling to see the menu item on some models)
You have now cleared the GPS working memory (an essential task)
Press the Menu button for Main Menu
2 Re-set the Odometer
These notes are here because the routines needed are hidden in the menus of the GPS
There is no advice in the Garmin operating manual for the unit
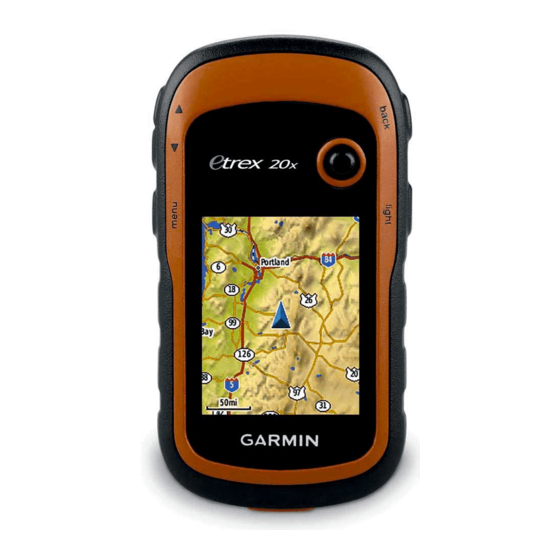
1.....Zoom buttons
2.....Back button
3.....Joystick
4.....Menu button
5.....Power on/off
Introduction
(Optional, but usual)
and press joystick
☆
....(Wait not strictly necessary)
Advertisement

Related Manuals for Garmin eTrex 20


Summary of Contents for Garmin eTrex 20
- Page 1 How to - record a track using an eTrex 10/20/30 These notes are here because the routines needed are hidden in the menus of the GPS There is no advice in the Garmin operating manual for the unit 1..Zoom buttons 2..Back button...
- Page 2 All three types allow saving to GPS memory. But my earlier hopes are dashed... Sadly there is no option on the eTrex 20 and eTrex 30 to save tracks on their microSD card. N.B. Easiest file name is the date (Default Name) Scroll directly to "Done"...