Advertisement
- 1 Parts list
- 2 Connecting the transmitter
- 3 Switching on the transmitter
- 4 Charging the headphones
- 5 Switching on the headphones
- 6 Controlling the volume
- 7 Adjusting the sound balance
- 8 Enhancing the sound
- 9 Improving the audio quality
- 10 Switching between modes
- 11 Specifications
- 12 Declaration of Conformity
- 13 Documents / Resources
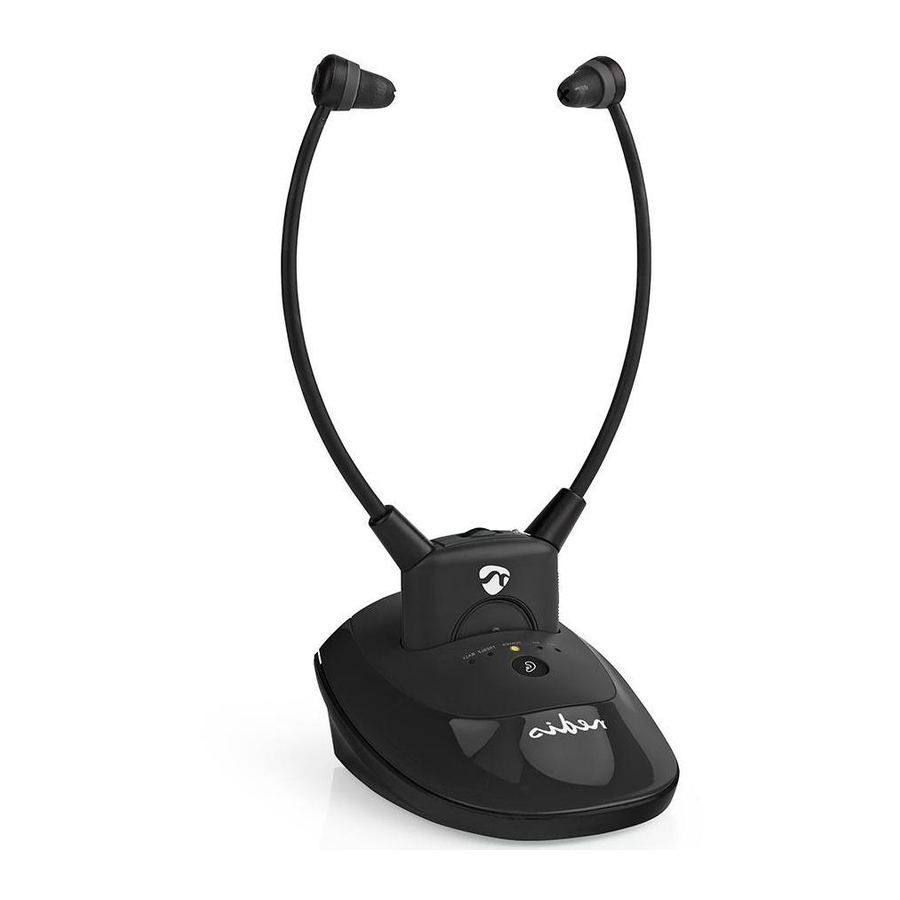
Parts list

- Headphones
- Earbuds
- Volume wheel
- Status indicator LED
- Mute button
- Microphone
- Transmitter
- Charging pins
- Charging indicator LED
- Audio signal indicator LED
- Power indicator LED
- Bass indicator LED
- Treble indicator LED
- Tone button
- Auto tune button
- Sound balance switch
- Power switch
- Charging contacts
- Audio port (3.5mm)
- Frequency channel switch
- Optical audio port
- Power switch
- Power supply port
- DC-8V power cable
- Optical audio cable
Connecting the transmitter
- Plug the provided DC-8V power cable
![]() into the power supply port
into the power supply port ![]() of the transmitter.
of the transmitter. - Plug the other side of the DC-V power cable into a power socket.
- Plug the optical audio cable
![]() into the optical audio port of the transmitter
into the optical audio port of the transmitter ![]() .
. - Plug the other end of the optical audio cable into your audio source (e.g. TV set Hi-Fi system).
- Switch on the transmitter by sliding the power switch
![]() to the ON position.
to the ON position.
 into the power supply port
  of the transmitter.
 into the optical audio port of the transmitter
  .
. to the ON position.
 If there is no audio signal from the audio source, or if the signal is too weak for proper reception, the transmitter turns off automatically after about 5 minutes. As soon as the audio signal returns, the transmitter turns back on automatically.
Switching on the transmitter
- Switch on the transmitter by sliding the power switch
![]() to the ON position. The power indicator LED on the transmitter
to the ON position. The power indicator LED on the transmitter ![]() lights up green.
lights up green.
 to the ON position. The power indicator LED on the transmitter
  lights up green.
Charging the headphones
- Switch off the headphones by sliding the power switch
![]() to the OFF position.
to the OFF position. - Place the headphones with the charging contacts
![]() onto the charging pins
onto the charging pins ![]() of the transmitter.
of the transmitter.
 to the OFF position.
 onto the charging pins
  of the transmitter.
The charging indicator LED on the transmitter lights up red to indicate that the headphones are charging, and turns green when the battery is fully charged.
The signal indicator LED on the headphone receiver blinks when the battery level is low. There are about 20 minutes of operating time left before the headphones turn off. Follow these steps to charge the battery:
Switching on the headphones
- Switch on the headphones by sliding the power switch
![]() to the ON position.
to the ON position.
The status indicator LED![]() on the headphones lights up red.
on the headphones lights up red.
 to the ON position.
 on the headphones lights up red.
Controlling the volume
- Turn the volume wheel
![]() to adjust the volume to the desired sound level.
to adjust the volume to the desired sound level.
 to adjust the volume to the desired sound level.
Adjusting the sound balance
- Rotate the sound balance switch
![]() to adjust the volume balance between the left and the right earbud.
to adjust the volume balance between the left and the right earbud.
 to adjust the volume balance between the left and the right earbud.
Enhancing the sound
- Shortly press the tone button
![]() to switch between the modes. Adjust the tone to your preference:
to switch between the modes. Adjust the tone to your preference: - Enhanced bass: The bass indicator LED
![]() lights up blue.
lights up blue. - Enhanced treble: the treble indicator LED
![]() lights up yellow.
lights up yellow. - Neutral: No LED's light up.
- Enhanced bass: The bass indicator LED
 to switch between the modes. Adjust the tone to your preference:
  lights up blue.
 lights up yellow.
Improving the audio quality
- Press the auto tune button
![]() on the headphone receiver to match the frequency of the transmitter. Wait a few seconds for the audio to resume.
on the headphone receiver to match the frequency of the transmitter. Wait a few seconds for the audio to resume.
 on the headphone receiver to match the frequency of the transmitter. Wait a few seconds for the audio to resume.
In case the sound quality is not improved, follow these steps:
- Switch between the two frequency channels by sliding the frequency channel switch a on the transmitter. Select the channel that produces better audio quality.
- Press the auto tune button
![]() on the headphones for better reception.
on the headphones for better reception.
Switching between modes
To switch between listening mode and conversation mode without taking off the headphones, follow these steps:
- Press the mute button
![]() to stop listening to your audio device. The microphone is activated. Sounds and voices picked up by the microphone are amplified through the headphones.
to stop listening to your audio device. The microphone is activated. Sounds and voices picked up by the microphone are amplified through the headphones. - Press the mute button
![]() again to resume listening to your audio device. The microphone is turned off. The audio from the connected audio device is amplified through the headphones.
again to resume listening to your audio device. The microphone is turned off. The audio from the connected audio device is amplified through the headphones.
 to stop listening to your audio device. The microphone is activated. Sounds and voices picked up by the microphone are amplified through the headphones.
Specifications
| Headphone Type | In-ear headphones |
| Article number | HPRF020AT |
| Frequency Range | 863 - 865 MHz |
| Wireless Transmission effective distance | Up to 25 meters |
| Maximum Playback Time | Up to 6 hours |
| Maximum Standby Time | Up to 4 hours |
| Maximum Charging time | Up to 3 hours |
| Frequency Response | 30 Hz - 10 KHz |
| Maximum Transmission power | 5 dBm |
| Battery Capacity | 380 mAh built-in Lithium battery |
| Transmission Power Supply | 8 V-DC - 400 mA |
| Maximum Antenna gain | 0 dBi |
| S/N ratio | >65 dB |
Declaration of Conformity
We, Nedis B.V. declare as manufacturer that the product HPRF020AT from our brand Nedis®, produced in China, has been tested according to all relevant CE standards and regulations and that all tests have been passed successfully. This includes, but is not limited to the RED 2014/53/EU regulation.
The complete Declaration of Conformity (and the safety datasheet if applicable) can be found and downloaded via webshop.nedis.com/HPRF020AT#support
For additional information regarding the compliance, contact the customer service: Web: www.nedis.com
E-mail: service@nedis.com
Phone: +31 (0)73-5991055 (during office hours)
Nedis B.V., de Tweeling 28
5215 MC 's-Hertogenbosch, the Netherlands

Documents / Resources
References
Download manual
Here you can download full pdf version of manual, it may contain additional safety instructions, warranty information, FCC rules, etc.
Download Nedis HPRF020AT - Wireless Audio Amplifying Headphones Quick Start
Advertisement
Thank you! Your question has been received!


Need Assistance?
Do you have a question about the HPRF020AT that isn't answered in the manual? Leave your question here.