Advertisement
SAFETY RULES FOR BLUETOOTH® SPEAKER

To reduce the risk of injury, do not attempt to use this product until you have read thoroughly and understand completely this operator's manual and the operator's manual for the RYOBI garage door opener. Ensure compatibility and fit before using this accessory. Do not use this accessory if a part is damaged or missing.
- Do not overreach. Keep proper footing and balance at all times. Proper footing and balance enable better control of the accessory in unexpected situations.
- Do not use the accessory if the indoor keypad or smartphone app does not turn it on or off. A accessory that cannot be controlled with the keypad or app is dangerous and must be repaired.
- Deactivate accessory ports before making adjustments, cleaning, or changing accessories. Such preventive safety measures reduce the risk of starting the accessory accidentally.
- Keep the accessory dry, clean and free from oil and grease. Always use a clean cloth when cleaning. Never use brake fluids, gasoline, petroleum-based products, or any strong solvents to clean your accessory. Following this rule will reduce the risk of loss of control and deterioration of the enclosure plastic.
- Clean only with dry cloth.
- Do not operate near any heat sources such as radiators, heat registers, stoves, or other apparatus (including amplifiers) that produce heat.
- Save these instructions. Refer to them frequently and use them to instruct others who may use this tool. If you loan someone this tool, loan them these instructions also to prevent misuse of the product and possible injury.
ONE WORLD TECHNOLOGIES, INC.
1428 Pearman Dairy Road, Anderson, SC 29625 • Phone 1-877-205-5714
www.ryobitools.com
SYMBOLS
| The following signal words and meanings are intended to explain the levels of risk associated with this product. | ||
| SYMBOL | SIGNAL | MEANING |
 | DANGER: | Indicates a hazardous situation, which, if not avoided, will result in death or serious injury. |
| | WARNING: | Indicates a hazardous situation, which, if not avoided, could result in death or serious injury. |
| | CAUTION: | Indicates a hazardous situation, that, if not avoided, may result in minor or moderate injury. |
| NOTICE: | (Without Safety Alert Symbol) Indicates information considered important, but not related to a potential injury (e.g. messages relating to property damage). | |
| Some of the following symbols may be used on this product. Please study them and learn their meaning. Proper interpretation of these symbols will allow you to operate the product better and safer. | ||
| SYMBOL | NAME | DESIGNATION/EXPLANATION |
 | Safety Alert | Indicates a potential personal injury hazard. |
 | Read Operator's Manual | To reduce the risk of injury, user must read and understand operator's manual before using this product. |
 | Electrocution/ Electric Shock | Do not touch electrical connections, do not install with wet hands, and keep accessory away from water to reduce the risk of electrocution or electric shock. |
ASSEMBLY
PACKING LIST
Speaker Accessory, Icon Label, and Operator's Manual.
Ensure accessories are properly and securely connected to their port on the garage door opener. Failure to properly secure the accessory can cause it to fall and could result in serious personal injury or property damage.
Use extreme care if you need to stand on a ladder to install or adjust this accessory. Ensure someone is holding the ladder on the ground to keep it stable. Failure to safely use a ladder can cause a fall and result in death or serious personal injury.
INSTALLING/REMOVING THE SPEAKER ACCESSORY
See Figure 1.

A - Accessory Port #1
B - Latch
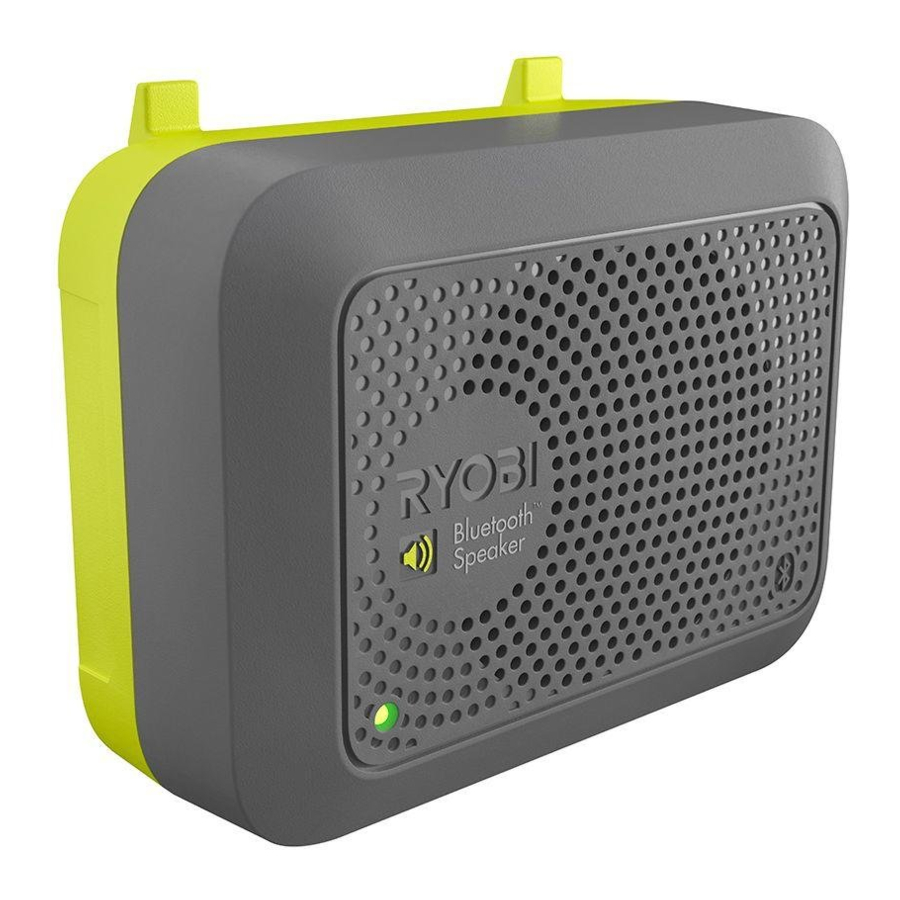
C - Speaker Accessory
D - Hooks
- Assemble and mount the garage door opener as described in the garage door opener manual.
- Connect the garage door opener to an AC power supply.
- Select one of the seven DC accessory ports to power your accessory.
- Attach the accessory to the top of the garage door opener by inserting the hooks on the accessory into the slots on the accessory port. Ensure the bottom latch on the accessory is secured to the port on the garage door opener.
![warning]()
NOTE: DC accessories will not receive power unless the accessory port has been activated. See Activating/Deactivating DC Accessory Ports later in this manual. - Depress latch to release and remove the accessory.
OPERATION
Always deactivate accessory ports when you are assembling parts, making adjustments, cleaning, or when not in use. Deactivating accessory ports will prevent accidental starting that could cause serious personal injury.
ACTIVATING/DEACTIVATING DC ACCESSORY PORTS
See Figure 2.

A - Indoor keypad
B - Icon label
C - Number 2
D - Accessory Port #2
- To activate a DC accessory port, press the number on the indoor keypad (not included) corresponding with the desired port. For example, to activate accessory port #2 press NUMBER 2 on your keypad.
NOTE: Multiple ports can be activated at once.
- To deactivate a DC accessory port, press the number on the indoor keypad (not included) corresponding with the port.
STARTING/STOPPING THE SPEAKER ACCESSORY
See Figure 2.
- Install the accessory and activate the appropriate accessory port by pressing the corresponding number on the keypad.
NOTE: For quick identification, the supplied icon label can be placed over the keypad number.
- After the accessory port is activated, the speaker accessory can be controlled through the app on your Bluetooth® enabled device (not included).
NOTE: The built-in microphone can be enabled/disabled only through the app.
USING A BLUETOOTH® ENABLED DEVICE (NOT INCLUDED)
The Bluetooth® feature lets you connect to the speaker using a smartphone, laptop computer, tablet, or Bluetooth® enabled MP3 player.
No password or PIN is required for connection.
- Activate the appropriate accessory port by pressing the corresponding number on the keypad. When activated, the LED will begin to blink and the unit will sound 3 beeps.
- The speaker accessory immediately goes into pairing mode.
NOTE: The speaker will connect with only one device at a time.
- Select "Ryobi Garage Speaker" from the list of available devices in the Bluetooth® menu of your controlling device.
NOTE: The LED will stay on and 3 beeps will sound to indicate your device is paired. If no device connects within five minutes of activation, the speaker will automatically return to standby mode and the LED will go off.
- Musicselections and volume are controlled using the device you have paired with the accessory.
- The next time you wish to connect your device to the speaker, it will pair with your device automatically.
- If you w ish to connect a different device to the speaker, disconnect your device and the speaker will automatically go into pairing mode.
This product has a Three-Year Limited Warranty. For Warranty details go to www.ryobitools.com
BLUETOOTH® LICENSE STATEMENT
The Bluetooth® word mark and logos are registered trademarks owned by Bluetooth SIG, Inc. and any use of such marks by RYOBI™is under license. Other trademarks and trade names are those of their respective owners.

Documents / Resources
References
Download manual
Here you can download full pdf version of manual, it may contain additional safety instructions, warranty information, FCC rules, etc.
Download RYOBI GDM120 - Bluetooth Speaker For Ryobi Garage Door Opener Manual
Advertisement
Thank you! Your question has been received!


Need Assistance?
Do you have a question about the GDM120 that isn't answered in the manual? Leave your question here.