
Related Manuals for Daikin 4MWXM52A2V1B9


Summary of Contents for Daikin 4MWXM52A2V1B9
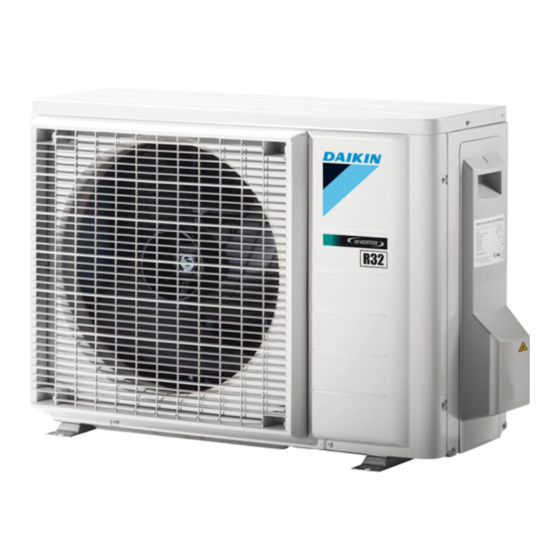
- Page 1 Installation manual R32 Split series Installation manual English R32 Split series 4MWXM52A2V1B9...
- Page 2 4P710996-2...
- Page 3 4P710996-2...
-
Page 4: Table Of Contents
To finish the outdoor unit installation......... 13 ▪ Installer reference guide: 9 Maintenance and service ▪ Preparation of the installation, reference data, … 10 Configuration ▪ Format: Digital files on https://www.daikin.eu. Use the search 10.1 About standby electricity saving function ........14 function to find your model. -
Page 5: Specific Installer Safety Instructions
2 Specific installer safety instructions ▪ The full set of latest technical data is available on the Daikin CAUTION Business Portal (authentication required). ▪ Incomplete flaring may cause refrigerant gas leakage. ▪ Do NOT re-use flares. Use new flares to prevent refrigerant gas leakage. -
Page 6: About The Box
3 About the box WARNING CAUTION If the supply cord is damaged, it MUST be replaced by the ALWAYS wear safety glasses and protective gloves. manufacturer, its service agent or similarly qualified DANGER: RISK OF EXPLOSION persons in order to avoid a hazard. ▪... -
Page 7: Preparing The Installation Site
4 Unit installation The outdoor unit is designed for outdoor installation only, and for Preparing the installation site ambient temperatures within the following ranges (unless otherwise specified in the operation manual of the connected indoor unit): WARNING DX operation range The appliance shall be stored so as to prevent mechanical Cooling mode Heating mode... -
Page 8: To Install The Outdoor Unit
5 Piping installation To close the drain holes and attach the drain socket 1 Install drain caps (accessory f) and (accessory g). Make sure the edges of the drain caps close off the holes completely. 2 Install the drain socket. Drain hole. -
Page 9: Refrigerant Piping Insulation
5 Piping installation 5.1.2 Refrigerant piping insulation CAUTION Do NOT connect the embedded branch piping and the ▪ Use polyethylene foam as insulation material: outdoor unit when only carrying out piping work without ▪ with a heat transfer rate between 0.041 and 0.052 W/mK (0.035 connecting the indoor unit in order to add another indoor and 0.045 kcal/mh°C) unit later. -
Page 10: Checking The Refrigerant Piping
6 Charging refrigerant 5.3.2 To perform vacuum drying WARNING Connect the refrigerant piping securely before running the DANGER: RISK OF EXPLOSION compressor. If the refrigerant piping is NOT connected and the stop valve is open when the compressor is run, air will Do NOT open the stop valves before the vacuum drying is be sucked in. -
Page 11: To Determine The Additional Refrigerant Amount
7 Electrical installation Prerequisite: Before charging refrigerant, make sure the refrigerant WARNING piping is connected and checked (leak test and vacuum drying). The appliance shall be stored so as to prevent mechanical 1 Connect the refrigerant cylinder to the service port. damage and in a well-ventilated room without continuously operating ignition sources (e.g. -
Page 12: Specifications Of Standard Wiring Components
7 Electrical installation WARNING Specifications of standard wiring ALWAYS use multicore cable for power supply cables. components WARNING NOTICE Use an all-pole disconnection type breaker with at least We recommend using solid (single-core) wires. If stranded 3 mm between the contact point gaps that provides full wires are used, twist the conductor to consolidate the end disconnection under overvoltage category III. -
Page 13: Finishing The Outdoor Unit Installation
Maintenance and service NOTICE General maintenance/inspection checklist. Next to the maintenance instructions in this chapter, a general maintenance/inspection checklist is also available on the Daikin Business Portal (authentication required). general maintenance/inspection checklist complementary to the instructions in this chapter and can be used as a guideline and reporting template during maintenance. -
Page 14: About Standby Electricity Saving Function
10 Configuration 10.2.1 To set the priority room function 10.1 About standby electricity saving function 1 Remove the switch cover on the service PCB. 2 Set the switch (SW4) for the indoor unit for which you want to INFORMATION activate the priority room function to ON. This function is available only for the indoor units listed below. -
Page 15: Commissioning
General commissioning checklist. Next commissioning instructions in this chapter, a general commissioning checklist is also available on the Daikin 11.3 Trial operation and testing Business Portal (authentication required). Before starting the test run, measure the voltage at the The general commissioning checklist is complementary to primary side of the safety breaker. -
Page 16: To Perform A Test Run
DHW tank unit. Daikin website (publicly accessible). INFORMATION ▪ The full set of latest technical data is available on the Daikin Business Portal (authentication required). If the unit runs into an error during commissioning, see the service manual for the detailed troubleshooting guidelines. -
Page 17: Piping Diagram: Outdoor Unit
13 Technical data Symbol Meaning Symbol Meaning Symbol Meaning Circuit breaker Protective earth Swing motor MR*, MRCW*, MRM*, MRN* Magnetic relay Neutral n=*, N=* Number of passes through ferrite core Connection Protective earth (screw) Pulse-amplitude modulation Connector Rectifier PCB* Printed circuit board Earth Relay connector Power module... - Page 18 13 Technical data 4MWXM52 Heat exchanger 4-way valve Thermistor (gas) Outdoor air temperature Muffler Room (A, B, C) and Domestic hot thermistor water tank (W) Heat exchanger thermistor Discharge pipe thermistor Field piping – liquid Refnet header Compressor Field piping – gas Fan motor Accumulator Twin-branched muffler...
- Page 20 3P600450-7T 2022.09 Verantwortung für Energie und Umwelt...