Advertisement

For more information see the extended manual online: ned.is/htpl20fwt | ned.is/htpl20fbk
Intended use
The product is intended for indoor use only. This product is only suitable for well insulated spaces or occasional use.
It can be used in wet and damp environments. Any modification of the product may have consequences for safety, warranty and proper functioning.
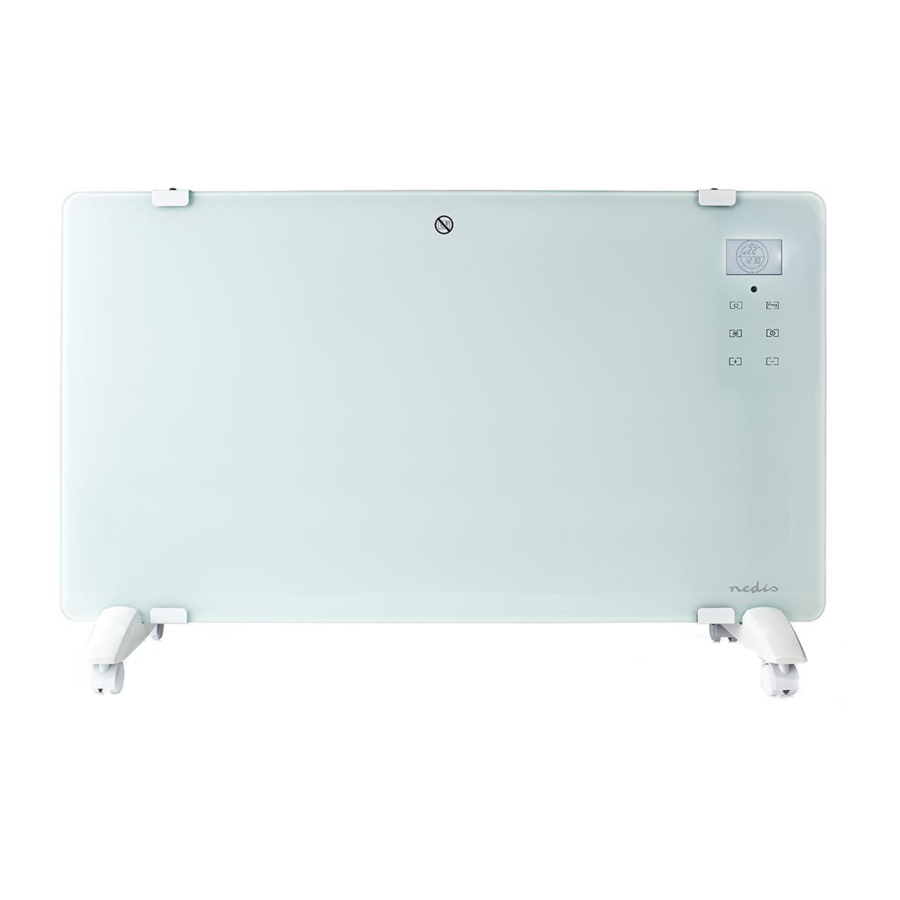
Parts list
[Image A]

- Panel convection heater
- Remote control
- Plug
- Power switch
- Screw for wall mount
- Anchor
- Foot with wheels
- Screw for wheel mount
- Display
- On/off button
- Mode button
- + button
- Program button
- Time button
- button
- On/off button
- Mode button
- Window open button
- Time button
- + button
- button
- Day of the week
- Timer
- Heating interval display
- Child lock
- Temperature
- Time
- Heating on/off indication
- Programming mode
- Comfortable mode
- ECO mode
- Anti-frost mode
- Window open mode
- Heating display
Safety instructions

- Only use the product as described in this manual.
- Do not use the product if a part is damaged or defective. Replace a damaged or defective device immediately.
- This product may only be serviced by a qualified technician for maintenance to reduce the risk of electric shock.
- Disconnect the product from the electrical outlet and other equipment if problems occur.
- Do not drop the product and avoid bumping.
- Do not use the product in rooms where flammable liquids or gases are used or stored.
- Avoid direct sunlight.
- Do not place near other heat sources.
- Connect to a grounded socket only.
- Do not place the heater directly under a wall socket.
- Do not locate the product immediately below a power outlet.
- Do not immerse the product in water.
- Do not subject the product to water jets.
- Do not cover the product when in use.
- Do not insert any objects into the product.
- Do not use solvents to clean the product.
- Do not extend the power cord.
- Do not use the product on a mobile socket.
- Do not pull the power cord to shut down the heater, always use the on/off switch.
- In case of failure, shut down the heater, unplug the power cord and have it serviced by a qualified technician.
Movable with wheels
[Image B]

- Turn the heater upside down.
- Take a foot A
![]() and 2 screws A
and 2 screws A ![]() .
. - Use a screw driver to mount the foot to the heater.
- Repeat for the other foot.
- Turn the heater upright and plug the power cord in a grounded wall socket.
 and 2 screws A
  .
.Wall mounted heater
[Image C]

- Mount the product at least 150 mm from the floor and at least 500 mm from the ceiling.
- Do not mount the product directly under a wall socket.
- Check whether the wall can hold the weight of the product.
- Use anchors suitable for your type of wall only.
- Drill 3 holes, as indicated.
![information]() The vertical measurement of 275 mm can deviate per product. Always check measurements before drilling.
The vertical measurement of 275 mm can deviate per product. Always check measurements before drilling. - Insert the anchors A
![]() .
. - Insert the screws A
![]() , let them protrude 6mm from the wall.
, let them protrude 6mm from the wall. - Hang the heater on the wall.
- Plug the power cord in a wall socket.
 .
. , let them protrude 6mm from the wall.
Use
 The product will switch off automatically when overheating.
Setting date and time
- Turn on the power switch A
![]() .
. - Press A
![]() to turn on the heater.
to turn on the heater. - Press A
![]() to turn on the display.
to turn on the display. - Press A
![]() to open the date and time setting.
to open the date and time setting. - Press A
![]() for 3 seconds to change the time.
for 3 seconds to change the time. - Press A
![]() or A
or A ![]() to change the hour.
to change the hour. - Press A
![]() for 3 seconds.
for 3 seconds. - Press A
![]() or A
or A![]() to change the minutes.
to change the minutes. - Press A
![]() to confirm the time and exit or wait for 5 seconds.
to confirm the time and exit or wait for 5 seconds.
 .
. to turn on the heater.
 to turn on the display.
 to open the date and time setting.
Setting the temperature manually
Press A  or A
or A  to change the temperature.
Using the child lock
When activated, the child lock prevents operations on the control panel.
To activate the child lock, press A and A simultaneously for 3 seconds. The child lock symbol on the display A  lights up.
To deactivate the child lock, press Aand A again simultaneously for 3 seconds. The child lock symbol on the display disappears.
Using the remote
The remote control can only be used when the heater is not running in programmed mode.
- Open the lid on the backside of the remote and install batteries.
A 
|
Switch the heater on and off |
A 
|
Set Eco Mode, Comfortable Mode, or Anti-Frost Mode |
A 
|
Set Window Open Mode |
A
|
Set time (same as Aon the control panel)
|
A
|
+ (same as A on the control panel)
|
A
|
- (same as A  on the control panel) on the control panel)
|
Specifications
| Product | Panel convection heater |
| Article number | HTPL20FWT / HTPL20FBK |
| Dimensions (l x w x h) |
830 x 260 x 520 mm (with wheels) 830 x 90 x 465 mm (wall mounted) |
| Weight | 7.9 kg |
| Input voltage | AC 220 - 240 V ~ 50 / 60 Hz |
| Rated input power | 1800 - 2000 W |
| Setting | 1000 W / 2000 W |
| Overheating protection temperature | 105°C |
| IP rating | IP24 |


ned.is/htpl20fwt
ned.is/htpl20fbk
Nedis BV
De Tweeling 28, 5215 MC 's-Hertogenbosch – The Netherlands

Documents / Resources
References
Download manual
Here you can download full pdf version of manual, it may contain additional safety instructions, warranty information, FCC rules, etc.
Advertisement
Thank you! Your question has been received!


Need Assistance?
Do you have a question about the Subheader that isn't answered in the manual? Leave your question here.