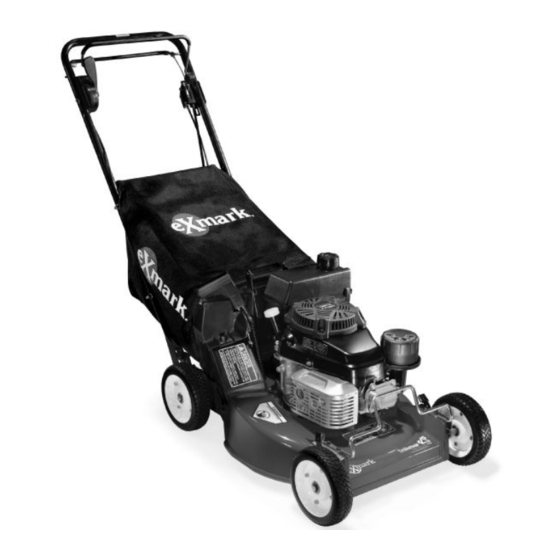
Exmark METRO 21 Setup Instructions
Hide thumbs
Also See for METRO 21:
- Operator's manual (48 pages) ,
- Parts manual (16 pages) ,
- Operator's manual (32 pages)
Advertisement
Quick Links
Loose Parts
Use the chart below to verify that all parts have been shipped. Part numbers not shown are available on the dealer
extranet.
Dealer Pack
Part #
322-17
3290-456
3296-29
3230-4
3256-23
3296-29
109-4982
32111-7
104-1326
3229-3
32111-7
46-8091
321-4
3296-42
3290-378
—
Literature Pack
Part #
—
—
—
—
© 2008—Exmark Mfg. Co., Inc.
P.O. Box 808
Beatrice, NE 68310
Description
Screw, HH 5/16-18 x 1 3/8 inch
Washer, Spring Disc
Nut, Nyloc 5/16-18 inch
Bolt, Carriage 5/16-18 x 1 1/2 inch
Washer, 5/16 SAE
Nut, Nyloc 5/16-18 inch
Rod, Bag Support
Nut, Cap 1/4-20 inch
Plate, Bag Aligning
Bolt, Carriage 1/4-20 x 1 1/4
Nut, Cap 1/4-20
Screws, HWH 1/4-10 x .82 inch
Plastite
Screw, HH 1/4-20 x 3/4
Nut, Nyloc 1/4-20
Tie, Cable
Warranty Registration Reminder
Description
Manual, Operator's
Manual, Parts
Manual, Engine Operator's
Manual, Engine Operator's
Setup Instructions
For Serial Nos. 790,000 & Higher
Qty.
2
2
All Units: Installing the handle.
4
2
2
All Units: Installing the handle latch.
4
1
All Units: Installing the grass bag
support rod.
2
1
Honda Units - Components to install
1
bag alignment plate
1
MPKA21, MSKA21, and MSKA21B
2
Units Only: Installing the fuel tank
and fuel line.
2
MPKA21CA, MSKA21CA, and
MSKA21BCA Units Only: Installing
2
the fuel tank.
All Units - Component to secure
3
control cables
Fill out the online warranty registration
form.
Qty.
1
Read before operating the machine.
1
1
For Units with Honda Engines
1
For Units with Kawasaki Engines
METRO
21
®
Use
Use
Part No. 4500-402 Rev. A
Printed in the USA
All Rights Reserved
Advertisement

Summary of Contents for Exmark METRO 21
- Page 1 Manual, Engine Operator’s For Units with Honda Engines — Manual, Engine Operator’s For Units with Kawasaki Engines © 2008—Exmark Mfg. Co., Inc. Part No. 4500-402 Rev. A P.O. Box 808 Printed in the USA Beatrice, NE 68310 All Rights Reserved...
- Page 2 Remove Unit from Box Remove the mower from the box. Installing the Handle and Handle Latch 1. Mount the handle to the outside of the lawn mower housing (using the top hole) with 2 hex head cap screws (Figure 1), spring disc washers, and nyloc nuts.
-
Page 3: Installing The Starter Rope
end with a cap locknut (Figure 1). The bag support rod 2. Hook the plastic clips on the front of the fuel tank mounting hole location corresponds with the mounting onto the fuel tank bracket. hole location for the handle latches as shown in the 3. -
Page 4: Installing The Discharge Tunnel Plug
Installing the Discharge Tunnel Plug 1. Open the discharge door by pulling forward on the handle and moving it rearward (Figure 7). Hold the discharge door handle to prevent the spring-loaded door from closing while you insert the plug. Figure 8 1. - Page 5 For Units with Kawasaki Engines: Initially, fill the crankcase with 30 ounces (0.88 liters) of oil. Use only high-quality SAE 30 or SAE 10W-30 weight detergent oil that has the American Petroleum Institute (API) service classification SF, SG, SH, or SJ. Oil Capacity With Oil Filter 30 ounces (0.88 L)


