Advertisement
Quick Links
80877952
Easy Setup Guide
Introduction
This document explains the procedures for use of mC-Print3. Please store it carefully after reading it.
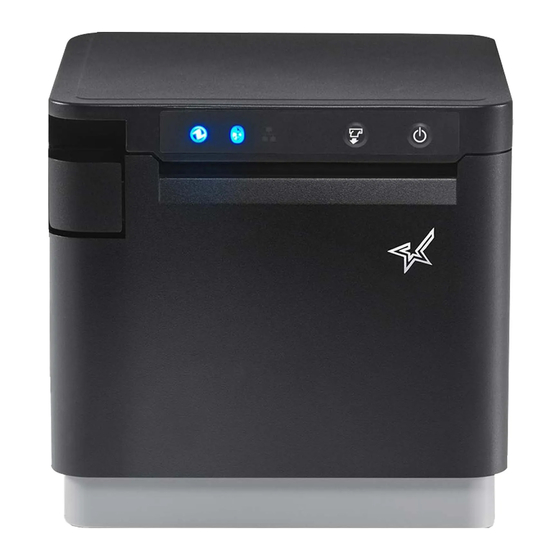
Note: MCP31L is used for an illustration as representative.
Check the Supplied Accessories
AC Adapter
Power Cable
USB Cable
MCP31L
What the utility can do
The utility can be used to change the settings of the printer and peripheral devices.
Examples) • Bluetooth pairing
• memory switch changes, logo registration
• Bluetooth settings, LAN settings
• Sample printing etc.
• Firmware update/diagnosis
● To use the utility, download it from the site at right.
● To perform setup using this manual, proceed to Step
In Case of Trouble
If you experience trouble with the setup procedure, refer to the Online Manual.
Place the enclosed flyer close to the printer and use it when necessary.
Installing the Printer
1
Installing the paper roll
When using a 58 mm roll, install the pro-
vided paper roll guide.
Pull the open lever
and open the printer
With the notch part A (triangle mark) of the
.
cover
paper roll guide facing down, angle the guide
to the right and insert it
Position so that the notch part A is aligned
with the main unit rib B, then slide the guide
2
from the right
1
Take the slack of the paper roll before paper
setting, insert the paper roll as shown in the
illustration.
When the slid paper roll guide stops, stand
it up vertical
place
Pull the end of the paper roll out straight
,
and use both hands to close the printer cover
.
To change the paper width, it is necessary to
3
4
change the memory switch setting. For de-
tails, refer to the Online Manual.
4
Accessories vary depending on the model.
This Manual
Easy
Paper Roll
Safety
Paper Roll
Guide
Instructions
Setup Guide
mC-Print3 Utility Download
www.star-m.jp/mcprint-app.html
1
.
mC-Print3 Online Manual
www.star-m.jp/mcprint3-oml.html
2
Turning ON the main unit power
Place your nails into the gaps in the right and
left sides of the rear cover on the back of the
printer, and then remove the cover.
.
.
B
2
Connect the power cable to the AC adapter
A
1
, and connect the cable connector to the
printer as shown in the illustration
the plug into the outlet
2
, and press until it clicks into
.
Press the power button
3
the LED (blue) illuminates
4
5
Connectin g a Tablet or PC to the Printer
3
-A
Connecting an iOS terminal to the printer
You will need:
• Commercially available Lightning
cable or Lightning cable that
was provided with the smart-
phone/tablet.
Flyer
(Q&A reference)
Image of connection
Connect the Lightning cable to the printer USB port (2.4A)
Connect the other plug to the smartphone/tablet
. Insert
.
3
1
and confirm that
.
4
USB
interface
You will need:
• Commercially-available LAN cable
Printer-side plug
(Type A)
Image of connection
.
Connect the LAN cable to the printer LAN connector
iPad
2.4A
1
Connect the other plug to the connector of the router, hub, or other
.
LAN device
2
DHCP is enabled by default for the wired LAN settings. To
continually use the same IP address, set a static IP address
before use.
For the static IP address setting procedure, refer to the On-
line Manual.
Wired LAN
interface
Printer-side plug
.
LAN
1
.
2
Advertisement

Related Manuals for Star Micronics mC-Print3 MCP31L


Summary of Contents for Star Micronics mC-Print3 MCP31L
- Page 1 80877952 Easy Setup Guide Connectin g a Tablet or PC to the Printer Connecting an iOS terminal to the printer Introduction This document explains the procedures for use of mC-Print3. Please store it carefully after reading it. Wired LAN interface interface Note: MCP31L is used for an illustration as representative.
- Page 2 Check that the printer power is OFF. Press and hold the FEED button to con- firm. For the owners of other companies’ trademarks mentioned in this document, see Trademarks in our website (https://www.star-m.jp/eng/trademarks.html). © 2018-2021 Star Micronics Co., Ltd.