Advertisement
- 1 IMPORTANT SAFETY INSTRUCTIONS
- 2 Product Features
- 3 Charging
- 4 Shaving
- 5 Shaving Tips With Gel or Foam (In Shower or Over the Sink)
- 6 Shaving Tips (Dry)
- 7 Cleaning & Care
- 8 Battery Removal
- 9 Product Registration
- 10 How To Order Shaver Accessories
- 11 Warranty
- 12 Performance Guarantee
- 13 Documents / Resources
IMPORTANT SAFETY INSTRUCTIONS
When using an electrical appliance, basic precautions should always be observed, including the following. Read all instructions before using this shaver.

TO REDUCE THE RISK OF FIRE OR ELECTRIC SHOCK, CAREFULLY FOLLOW THESE INSTRUCTIONS:
- For connection of the power supply unit to a power source not in the U.S.A. and Canada, use an attachment plug adaptor of the proper configuration for the power outlet.
- Do not reach for an appliance that has fallen into water. Unplug it immediately.
- Detach the appliance from the power supply cord before cleaning.
- Except when charging, always unplug this appliance from the electrical outlet immediately after using.
- Unplug this appliance before cleaning.

To reduce the risk of burns, fire, electric shock, or injury to persons:
- An appliance should never be left unattended when it's plugged in, except when charging a rechargeable appliance.
- Close supervision is necessary when this appliance is used by, on, or near children, or individuals with certain disabilities or special needs.
- Use this appliance only for its intended use as described in this manual. Do not use attachments not recommended by the manufacturer.
- Never operate this appliance if it has a damaged cord or plug or if it is not working properly, if it has been dropped or damaged.
- Keep the cord away from heated surfaces.
- Never drop or insert any object into any of the appliance's openings.
- Household use only.
- Do not use outdoors or operate where aerosol (spray) products are being used or where oxygen is being administered.
- Always attach the plug to the appliance, then to outlet. To disconnect, turn all controls to OFF, then remove plug from outlet.
- Always pull on cord plug to unplug from wall socket. Never pull on electric cord.
- Do not plug or unplug this appliance when your hands are wet.
- Do not use an extension cord or a voltage converter with this appliance.
- Do not wrap the cord around the appliance.
- Always store this appliance and cord in a moisture-free area. Do not store it in temperatures exceeding 140°F (60°C).
- Detach removable power cords from appliance for storage.
- Do not use this appliance with a damaged or broken head or cutters, as injury may occur.
- The power unit is intended to be correctly oriented in a vertical or floor mount position.
- Shavers, including the trimmer, are for use on facial, body, and pubic hair. They should not be used for shaving hair on your head.
SAVE THESE INSTRUCTIONS
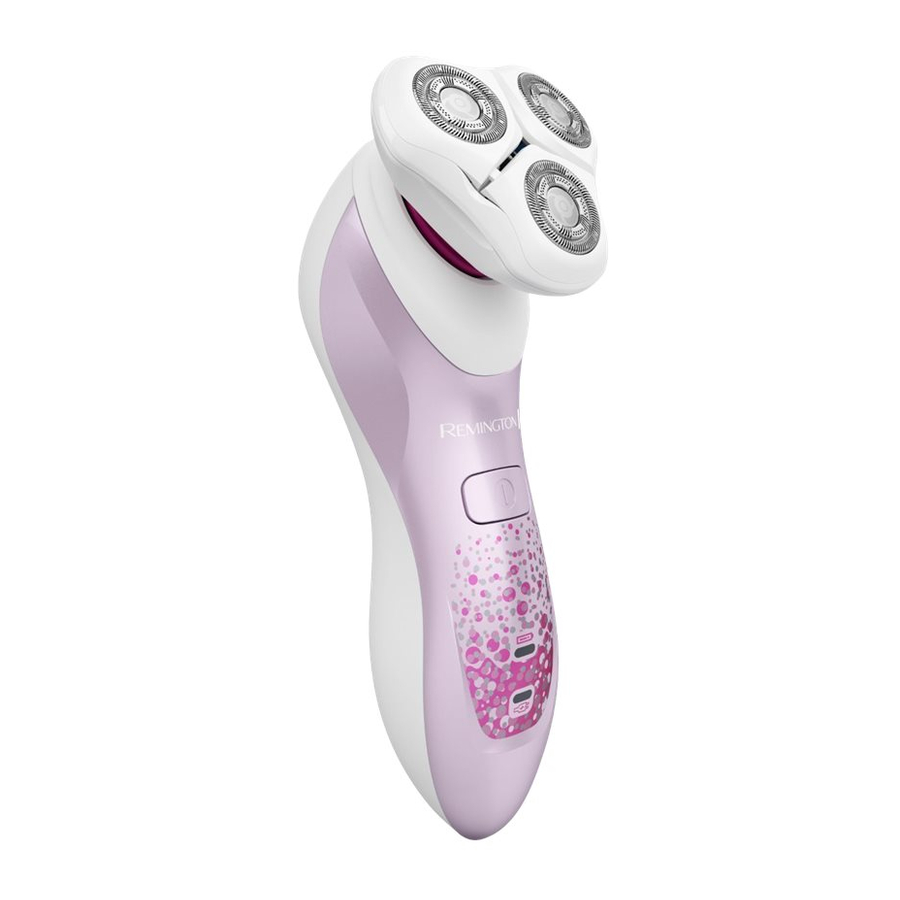
Product Features

SHAVER PARTS
- Head and Cutter Assembly
- On/Off Button
- Power Port Charge Pins
- Low Battery Indicator
- Charging Indicator
- Pop-up Trimmer
- Charging Stand
| Feature | WR5100 |
| Power System | Lithium Rechargeable |
| Full Charge Time | 4 hours |
| Cordless Run Time | 50 minutes |
| Charging Indicator | Green light |
| Low Battery Indicator | Red light |
| Voltage Type | Worldwide |
| Replacement Cutting Head | SPRXR |
| Wet/Dry | Yes |
Use with gel or foam in the shower for ultimate comfort.
Charging

Before using, read the important safety instructions in front of the manual.
- Plug power adaptor into charging stand. (Diagram A)
- Place shaver into charging stand. (Diagram B)
- Charge shaver for 24 hours before its first use. Note: During initial charge ignore the electronic indicators as they are in "start up cycle". (Diagram C) After the initial charge, a full recharge will take four hours.
- Use shaver until recharge is required, indicated by the red low battery indicator light.

- Make sure the shaver and your hands are dry when charging the shaver.
- Always charge the shaver in a cool, dry place.
Shaving
- Press power button to turn on. (Diagram D)
![]()
- Shave desired area using short, circular strokes.
For optimal results, shave with gel in shower.

Shaving Tips With Gel or Foam (In Shower or Over the Sink)
We recommend that you use the shaver in the shower for optimal performance.
NOTE: In order to ensure optimal performance, thoroughly rinse the shaver head under water during and after shaving.
- Apply water to desired shaving area.
- Apply shaving cream to desired shaving area.
- Rinse shaver head under water.
- Shave using short, circular strokes.
- Throughout the shave, regularly rinse shaver head under water to avoid residue build up.
- When finished shaving, rinse shaved area.
- Thoroughly rinse shaver head of all gel or foam.
- Follow cleaning and care instructions.
Shaving Tips (Dry)
- Always hold the shaver at a right angle to the skin so that all three heads are touching the skin with equal pressure.
- Stretch skin with the free hand so hairs stand upright, making it easier for them to enter the cutting chamber.
- Use moderate to slow, circular stroking movement.
- The use of short, circular motions in stubborn areas may obtain a closer shave.
- Do not press hard against the skin to avoid skin irritation and/or damage to the rotary heads.
Cleaning & Care

The shaver is a wet/dry appliance. The shaver may be cleaned under warm water.
NOTE: When cleaning your shaver, make sure the shaver is turned off and disconnected from the power cord.
- To clean the external surfaces of the shaver, use a damp cloth. Do not use strong detergents or other chemicals.
- To dry, wipe the surface of the shaver with a dry towel. Do not use a hair dryer or heater to dry the shaver.
Daily Care

- Pull rotary head face of shaver off of lower hairpocket. (Diagrams I and J)
- Tap out excess hair shavings. (Diagram K)
- Rinse the head of the shaver in running water.
- Close head assembly.
Weekly Care
- Perform the daily cleaning steps 1 and 2.
- Remove the cover from the hair pocket assembly. (Diagram L).
- Release the inner cutter lock by sliding out of support. (Diagram M)
- Remove the inner cutter carrier away from the cutters. (Diagram M)
- Remove the cutters. (Diagram N)
- Thoroughly rinse away any debris from inner and outer cutters. (Diagram O)
- Replace the inner cutters by matching the color of the inner cutters to the corresponding outer cutter hub. (Diagram P)
- Place inner cutter lock back into position by sliding it back into the support until it snaps into place. (Diagram Q)
- Lubricate each cutter with household oil.
- Snap head assembly back onto neck/hair pocket.
Trimmer: Lubricate teeth with oil every six months
Battery Removal
When your rechargeable shaver reaches the end of its useful life, the LiFePO4 batteries must be removed from the shaver and be recycled or disposed of properly in accordance with your state and local requirements. If this is not required by law, you may elect to dispose of the shaver with the batteries.
Do not put in fire or mutilate your batteries when disposing as they may burst and release toxic materials. Do not short circuit as it may cause burns. Dispose of properly in accordance with your local and state requirements.
To Remove the Rechargeable Battery:
- Unplug the shaver
- Run shaver until the motor stops
- Remove the head from the shaver (Pull head up and off)
- Using a small screwdriver, pry the 'collar' off of the top of the handle
- Using a small screwdriver, pry the front cover from the body
- Remove three screws located on front of shaver
- Using a small screw driver, pry up the newly unsecured inner housing to expose the battery
- Pry battery free from circuit board
- Dispose of battery properly
Product Registration
By registering your new Remington® product you will receive these important benefits:
- Proof of ownership
- Product protection
- Product registration
- Special offers
Register online at: RemingtonProducts.com
How To Order Shaver Accessories
It is very important to replace your head and cutters when necessary to ensure a close, comfortable shave without irritation. We recommend they be replaced every 12 months. Here are some signs of head and cutter wear, indicating that replacement is needed:
- Irritation: As the heads get excessively worn you may experience some skin irritation. This would be especially noticeable when you apply moisturizing lotion.
- Pulling: When the cutters wear you may feel a sense of pulling and a loss of closeness when you shave. This is an indication that it is time to replace your heads and cutters.
Maintain your shaver's peak performance!
Keep Your Shaver Performing Like New!
- Because your satisfaction is important to us, we want to make it simple for you to keep your new shaver performing at its peak.
- Did you know that for the best possible shave, it is necessary to replace the heads and cutters on your shaver every 12 months?
- Remington makes this easy!
Two Easy Ways to Order!
- Call! U.S. Residents call 1-800-392-6544 Canadian Residents call 1-800-268-0425
- Order Online at RemingtonProducts.com
![]()

Warranty
Limited Two-Year Warranty
Spectrum Brands, Inc. warrants this product against any defects that are due to faulty material or workmanship for a two-year period from the original date of consumer purchase. This warranty does not include damage to the product resulting from accident or misuse. If the product should become defective within the warranty period, we will replace it free of charge. Return your product and sales receipt with your name, address and day time phone number to: Remington Returns Center, 507 Stokely Dr., P.O. Box 1, Deforest, WI 53532. For more information call 800-7364648 in the US or 800-268-0425 in Canada.
Warranty excludes:
- Heads and cutters
KEEP ORIGINAL SALES RECEIPT AS PROOF OF PURCHASE FOR WARRANTY PURPOSES.
This warranty does not cover products damaged by the following:
- Accident, misuse, abuse or alteration of the product
- Servicing by unauthorized persons
- Use with unauthorized accessories
- Connecting it to incorrect current and voltage
- Wrapping cord around appliance causing premature wear & breakage
- Any other conditions beyond our control
SPECTRUM BRANDS, INC. SHALL NOT BE RESPONSIBLE FOR ANY INCIDENTAL, SPECIAL OR CONSEQUENTIAL DAMAGES RESULTING FROM THE USE OF THIS PRODUCT. ALL IMPLIED WARRANTIES, INCLUDING BUT NOT LIMITED TO IMP LIED WARRANTIES OF FITNESS AND MERCHANTABILITY, ARE LIMITED IN DURATION TO TWO YEARS FROM DATE OF ORIGINAL PURCHASE.
This warranty gives you specific legal rights and you may also have other rights which vary from state to state or province to province. Some states do not allow the exclusion or limitation of incidental, special or consequential damages.
Performance Guarantee
Spectrum Brands, Inc. Money-back Offer
If within 30 days after you have purchased your Remington® branded product, you are not satisfied and would like a refund, return it with the sales slip indicating purchase price and date of purchase to the retailer from whom it was purchased. Spectrum Brands, Inc. will reimburse all retailers who accept the product within 30 days from the date of purchase. If you have any questions concerning the moneyback guarantee, please call 800-736-4648 in the US or 800-268-0425 in Canada.
Remington Guarantees Satisfaction After 30 Days!
Remington® 60-Day Money Back Guarantee*
If within 60 days after purchasing any Remington® branded product, you are not completely satisfied and would like a refund, return it with the original dated sales receipt directly to Remington and receive a full refund.** For questions concerning the money-back guarantee, please call 800-736-4648 in the US or 800-268-0425 in Canada.
*Applies to US and Canadian customers' returns only.
**Terms and conditions apply.
Terms and Conditions
- Refund will be in the form of a check issued in US Dollars and will be provided only if all Terms and Conditions are met.
- The following items must be returned to Remington and postmarked no later than 60 days after purchase of the Remington branded product:
- The Remington product;
- The original sales receipt indicating price and date purchased; and
- The completed 60-day money back guarantee form located at RemingtonProducts.com/60day.
- In addition, Remington, in its discretion, must determine that the returned product was used in accordance with the instruction booklet (included with the product at the time of purchase).
- Returns should be mailed prepaid (no collect returns accepted) to:
Remington 60-Day MBG
507 Stokely Drive, Box 1
DeForest, WI 53532 - Refund does not include postage costs for the return of the product, but will include applicable taxes paid by customer, if any.
- No responsibility will be accepted for late, lost, stolen, misdirected or damaged product.
- Please allow 4-6 weeks to receive your refund by check.
Questions or comments: Call 800-736-4648 in the US or 800-268-0425 in Canada. Or visit RemingtonProducts.com
Dist. by: Spectrum Brands, Inc., Middleton, WI 53562
Dist. by: Spectrum Brands Canada, Inc., 131 Saramia Crescent, Vaughan, ON L4K 4P7
® Registered Trademark and TM Trademark of Spectrum Brands, Inc.
© 2015 Spectrum Brands, Inc. 1/15 11631-00
Made in China
T22-0003184
Contains a Listed Adaptor

Documents / ResourcesDownload manual
Here you can download full pdf version of manual, it may contain additional safety instructions, warranty information, FCC rules, etc.
Advertisement
Thank you! Your question has been received!


Need Assistance?
Do you have a question about the WR5100 that isn't answered in the manual? Leave your question here.