Juniper EX Series Manual
Hide thumbs
Also See for EX Series:
- User manual (280 pages) ,
- Complete hardware manual (194 pages) ,
- Quick start manual (7 pages)
Table of Contents
Advertisement
Quick Links
Day One+
EX4100
IN THIS GUIDE
Step 1: Begin | 1
Step 2: Up and Running | 7
Step 3: Keep Going | 11
Step 1: Begin
IN THIS SECTION
Meet the EX4100 Ethernet Switches | 2
Install the EX4100 | 3
Power On | 6
In this guide, we provide a simple, three-step path, to quickly get you up and running with your new EX4100 switch.
We've simplified and shortened the installation and configuration steps, and included how-to videos. You'll learn how to
install an AC-powered EX4100 in a rack, power it up, and configure basic settings.
NOTE: Are you interested in getting hands-on experience with the topics and operations covered in this guide?
Visit
Juniper Networks Virtual Labs
Experience sandbox in the stand alone category. Because EX switches are not virtualized, in the demonstration,
focus on the virtual QFX device. Both the EX and QFX switches are configured with the same Junos commands.
and reserve your free sandbox today! You'll find the Junos Day One
Advertisement
Table of Contents

Related Manuals for Juniper EX Series


Summary of Contents for Juniper EX Series
- Page 1 NOTE: Are you interested in getting hands-on experience with the topics and operations covered in this guide? Visit Juniper Networks Virtual Labs and reserve your free sandbox today! You’ll find the Junos Day One Experience sandbox in the stand alone category. Because EX switches are not virtualized, in the demonstration,...
- Page 2 EX4100-48T Switches" on page EX4100 switches are cloud native switches that you can manage in a cloud network by using Juniper Mist™ cloud. EX4100 switches support Virtual Chassis technology, making it easy for you to scale the network without increasing the number of devices to manage.
-
Page 3: What's In The Box
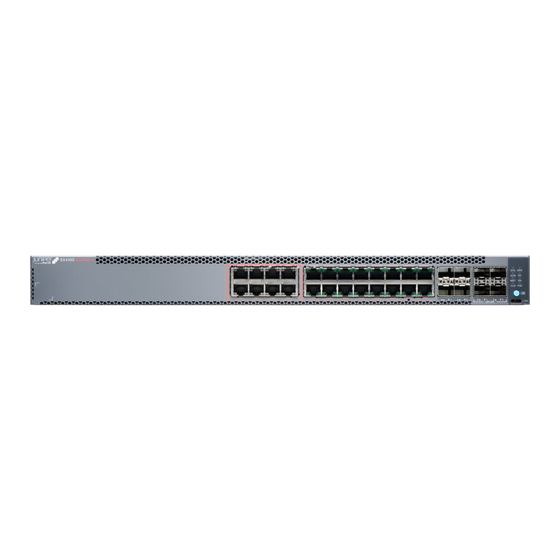
EX4100-48P EX4100-48T Here are the port configuration details for the EX4100 switch models: Models Access Ports EX4100-24P, EX4100-24T, EX4100-24T-DC Twenty four 10/100/1000-Mbps RJ-45 ports, four 10/25 Gbps SFP28 Virtual Chassis ports, and four 1/10 Gbps SFP+ uplink ports on the front panel. EX4100-24P has PoE+ enabled ports. EX4100-48P, EX4100-48T, EX4100-48T-AFI, EX4100-48T-DC Forty eight 10/100/1000-Mbps RJ-45 ports, four 10/25 Gbps SFP28 Virtual Chassis ports, and four 1/10 Gbps SFP+ uplink... -
Page 4: What Else Do I Need
• AC power cord retainer • Eight preinstalled dust covers for SFP ports • Four rubber feet • RJ-45 cable and RJ-45 to DB-9 serial port adapter What Else Do I Need? • Someone to help you secure the switch to the rack •... - Page 5 2. Attach an ESD grounding strap to your bare wrist, and connect the strap to the ESD grounding point on the switch. 3. Lift the switch and position it in the rack. Position the switch so that the AIR IN labels on the fan modules are facing the cold aisle or the AIR OUT labels on the fan modules are facing the hot aisle.
- Page 6 Power On Now you’re ready to connect the EX4100 switch to a dedicated AC power source. The switch comes with the AC power cord for your geographic location. Here's how to connect the switch to AC power: Attach an ESD grounding strap to your bare wrist, and connect the strap to the ESD grounding point on the switch. Connect one end of the grounding cable to a proper earth ground, such as the rack .
-
Page 7: Step 2: Up And Running
It’s simple to provision and manage the switch and other devices on your network. Choose the configuration tool that’s right for you: • Juniper Mist. To use Mist, you’ll need an account on the Mist Cloud Platform. See Overview of Connecting Mist Access Points and Juniper EX Series Switches. - Page 8 • Sets Ethernet switching and storm control on all interfaces • Sets Power over Ethernet (PoE+) on all RJ-45 ports of models that provide PoE+ • Enables the following protocols: • Internet Group Management Protocol (IGMP) snooping • Rapid Spanning Tree Protocol (RSTP) •...
- Page 9 NOTE: EX Series switches running current Junos software are enabled for Zero Touch Provisioning (ZTP). However, when you configure an EX Series switch for the very first time, you’ll need to disable ZTP. We show you how to do that here. If you see any ZTP-related messages on the console, just ignore them.
- Page 10 Configure the hostname. {master:0}[edit] root# set system host-name name 10. Configure the IP address and prefix length for the management interface on the switch. As part of this step, you remove the factory default DHCP setting for the management interface. {master:0}[edit] root# delete interfaces vme unit 0 family inet dhcp root# set interfaces vme unit 0 family inet address address/prefix-length...
-
Page 11: What's Next
Download, activate, and manage your software licenses to Activate Junos OS Licenses in the Juniper Licensing Guide unlock additional features for your EX series switch. Configure, monitor, and troubleshoot various interfaces Interfaces Fundamentals for Junos OS installed on the switch... -
Page 12: General Information
You’ll find the Junos Day One Experience sandbox in the stand alone category. EX Series switches are not virtualized. In the demonstration, focus on the virtual QFX device. Both the EX Series and QFX Series switches are configured with the same Junos commands. - Page 13 Juniper Learning Portal Juniper Juniper Networks, the Juniper Networks logo, Juniper, and Junos are registered trademarks of Juniper Networks, Inc. in the United States and other countries. All other trademarks, service marks, registered marks, or registered service marks are the property of their respective owners.