
Related Manuals for Broan HRV650


Summary of Contents for Broan HRV650
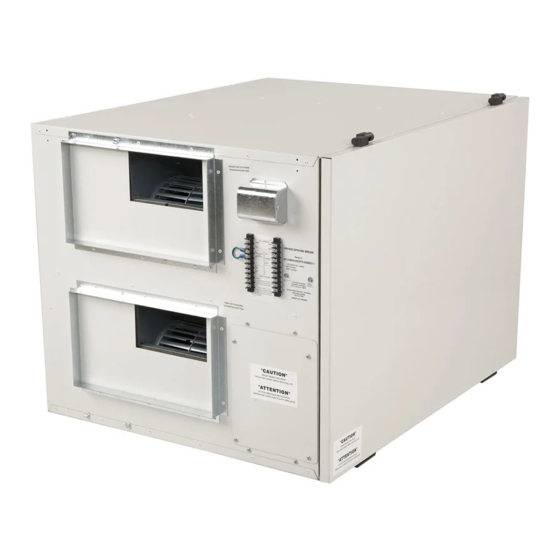
- Page 1 Installation, Operation and Maintenance Instructions HRV650 • HRV700 • HRV1150 HRV1150...
-
Page 2: Table Of Contents
Table of Contents Safety Considerations ..............3 Installation Inspection . -
Page 3: Safety Considerations
Safety Considerations Hazards may exist within this equipment because it The unit can also be hung with 3/8" [10mm] threaded contains electrical and powerful moving components. rod and U channels or angles (not supplied) as shown in Only qualified service personnel should install or service Appendix A. -
Page 4: Internal Grilles And Diffusers
To change the "Fresh Air From Outside" from the side Electrical Connections to the top use the following directions. For port locations Power see Appendix B. A terminal block and strain relief bushing or a junction Remove the cover of the damper motor with a flat screw box is provided for line voltage to make the necessary driver. -
Page 5: Frost Control
Unit Check Points: Remote Wall Control (Optional) ___ Power connected, no ventilation call - Both fans are Remote mounted wall control options are solid state off, frost control damper (if equipped) closes off controls that can be used to control the ventilators from a fresh air from outside. -
Page 6: Balancing Procedure
With airflow measuring stations permanently installed, Washable Foam Filter balancing is done by measuring airflow on one side of the heat recovery ventilator and then the other. Adjustments can then be made to the damper to equalize airflows. When using the temporary method, an FMS is installed in one air duct of the heat recovery ventilator and the flow recorded. - Page 7 Fans Motor and Blower Removal and Installation Disconnect power from the unit. To determine if the fan WARNING motor is burned out, disconnect the four-wire service con- nector between the motor and cabinet. Connect the motor Hot water and strong cleaning agents could damage directly to a 120 volt power source with an electrical cable the polypropylene heat exchanger.
-
Page 8: Appendix A Mounting Diagrams
Appendix A Mounting Diagrams 600 cfm and 1150 cfm NOTE: Diagrams show standard unit configuration. Reinforced For units with the reversed door option, the Rubber Strap door will be located here. Recirculation Module 3/8" [10mm] Threaded Rod Recirculation Module (Supplied by others) U Channel (Supplied by others) Recirculation Module... -
Page 9: Appendix B Unit Dimensions
Appendix B Unit Dimensions B-1: 600 cfm (without recirculation module) - 9 -... - Page 10 Appendix B Continued Unit Dimensions B-2: 600 cfm with recirculation module - 10 -...
- Page 11 Appendix B Continued Unit Dimensions B-3: 1150 cfm (without recirculation module) - 11 -...
- Page 12 Appendix B Continued Unit Dimensions B-4: 1150 cfm with recirculation module - 12 -...
- Page 13 Appendix B Continued Unit Dimensions B-5: 700 cfm - 13 -...
-
Page 14: Appendix C Flow Station Positions
Appendix C Flow Station Positions 600 cfm and 1150 cfm Reverse Door Option Balancing Damper Flow Measuring Station (FMS) Min. 8" [203mm] (Optional) Canvas Vibration Isolator Fresh Air From Outside Min. 12" [305mm] Min. 30" [762mm] Exhaust Air From Building Canvas Vibration Isolator Min. -
Page 15: Appendix D Drain Connections
Appendix D Drain Connections 600 cfm and 1150 cfm Plastic Drain Fitting Min. 3" Min. 3" [76mm] [76mm] 3/4" NPT Coupler To Drain Min. 1" Min. 1" [25mm] [25mm] Copper or Plastic Pipe Water Trap To Drain Plastic Hose NOTE: All hose, pipe and couplers to be supplied by others. 700 cfm Plastic Drain Fitting Min. -
Page 16: Appendix E: Terminal Control Diagrams
Appendix E Terminal Control Diagrams E-1: Terminal Label E-2: Wall Control Connection A low voltage remote control wiring interface is Three types of remote wall controls are available: provided on the unit. The connections for the low voltage 1. Standard Wall Control with fan switch and dehu- remote wiring are located on two terminals adjacent to midistat control. - Page 17 Appendix E Continued Terminal Control Diagrams E-3: Occupied Timer/Sensor Connection E-4: Remote Fan Control Occupancy control is achieved by connection to the Remote fan control can be achieved by connecting dry terminal interface shown below. These terminals require contact controls to the terminal interface at terminals a dry contact which could be provided by a number of labeled: LOW - COM - HIGH.
-
Page 18: Appendix F: Electrical Connection Diagrams
Appendix F Electrical Connection Diagrams Control Box Assembly 600 cfm and 1150 cfm Remote control access plate Remote wiring terminal block Control box HRV Cabinet Control cover plate Low Speed Setting Wire Connections 600 cfm and 1150 cfm CR1029 PJ2003 CR1023 PJ2014 NOTE: Low speed motor selection may be... -
Page 19: Appendix G: Make-Up Heat Requirements
Appendix G Make-up Heat Requirements 600 cfm and 700 cfm 1150 cfm - 19 -... -
Page 20: Appendix H Trouble Shooting
Appendix H Trouble Shooting SYMPTOMS POSSIBLE CAUSES SOLUTIONS Inside air is too dry. Over ventilation - speed setting Adjust speed setting. too high. Dehumidistat setting is too low. Set dehumidistat control in a higher position (if applicable). Persistent condensation on Improper adjustment of Adjust dehumidistat control knob windows, walls, ceilings, etc.