
Related Manuals for Autopage RF-320

Summary of Contents for Autopage RF-320
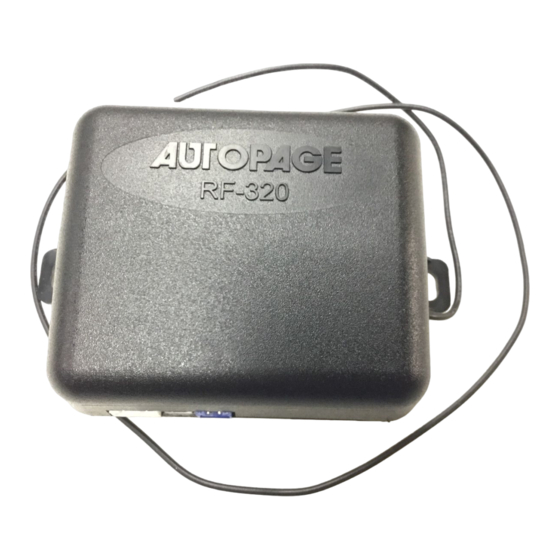
- Page 1 RF-320 PROFESSIONAL VEHICLE SECURITY SYSTEM INSTALLATION MANUAL (FOR AUTHORIZED DEALERS ONLY) THIS PRODUCT IS DESIGNED FOR PROFESIONAL INSTALLATION ONLY...
-
Page 2: Wiring Diagram
WIRING DIAGRAM H7 3-Pin Green: (-) Lock Pulse or (+) Unlock Pulse H1 Main 5-Pin White Blue: (-) Unlock Pulse or (+) Lock Pulse White Harness Dual Stage H6 2-Pin White LED Indicator Shock Sensor H5 2-Pin Blue Valet Switch H2 4-Pin Orange H3 8-Pin Mini White Connector... - Page 3 WIRING Keep wiring away from moving engine parts, exhaust pipes and high-tension cable. Tape wires that pass through holes on the firewall to prevent fraying. Be careful of sharp edges that may damage wires and causes short circuit. CAUTION: Do not connect the wire harness to the control module until all wiring to vehicle is complete.
- Page 4 H3: 8-PIN MINI CONNECTOR WIRE HARNESS. H3/1. BROWN/ WHITE WIRE -- (-) HORN OUTPUT -- This wire i s provided to use the existing vehicle's horn as the alarm system's optional warning audible device. It's a transistorized low current output, and should only be connected to the low current negative (-) output from the vehicle's horn switch.
- Page 5 H3/8 . GRAY WIRE – (-) 200mA PROGRAMMABLE OUTPUT – CHANNEL 2 OUTPUT (Factory default setting) This wire will provide a 1 second pulse ground when you press and hold the button on the transmitter for two seconds. The current capacity of this wire is 200 mA. This feature allows you to operate remote control trunk release or other electric devices.
- Page 6 VACUUM OPERATED CENTRAL LOCKING Green Wire Door Switch +12V 3 Pin Plug To Compressor Alarm Blue Wire VACUUM OPERATED DOOR LOCKING SYSTEM: TYPICAL OF MERCEDES BENZ AND AUDI. Locate the wire under the driver's kick panel. Use the voltmeter connecting to ground, verify that you have the correct wire with the doors unlocked, the voltmeter will receive "12 volts".
- Page 7 2 STEP DOOR UNLOCK WIRE CONNECTION FOR POSITIVE SWITCHED DOOR LOCKS +12V OEM Door Master Lock Switch 6-Pin H3/8 Plug Gray Wire From Unlock Lock Alarm Existing Pos. Unlock Wire + 12V Existing Pos. Lock Wire H7/3 Green Wire Door Lock + 12V H7/1 Blue Wire...
-
Page 8: Feature Programming
FEATURE PROGRAMMING: FEATURE “A” PROGRAMMING: Turn the Ignition ‘switch ‘ON/OFF’ 3 TIMES and stay in OFF position. 2. Push the Valet switch 3 times (holding in on the 3rd push) until one chirp with a long chirp is heard, then release the valet switch. You are now in the Alarm feature ‘A’ programming mode. - Page 9 FEATURE “B” PROGRAMMING: Turn the Ignition ‘switch ‘ON/OFF’ 3 TIMES and stay in OFF position. Push the Valet switch 5 times (holding in on the 5th push) until two chirps with a long chirp is heard then release the valet switch. You are now in the Alarm feature ‘B’ programming mode.
-
Page 10: Optional Accessories
(2) CR2016 3-Volt Battery XT-33 OPTIONAL ACCESSORIES RK-2: Dual Relay & Socket Door Lock kit RK-3: Trunk Release Relay & Socket Kit RS-325: Perimeter / Radar Sensor AC-78: Window Roll Up or Down Module SIS-10: Air vibration sensor SIS-11: Dual Stage Shock / Glass Sensor SIS-12: Dual Stage Infrasonic Sensor AC434CE: Single Channel Expander AC434G: Garage Door Interface Module... - Page 11 H1 Main 5-Pin White Harness 15A FUSE 1. Red / White Wire: Parking Light Relay input 2. White Wire: Parking Light Relay Output Green: (-) Lock Pulse or (+) Unlock Pulse H7 3-Pin 3. Black Wire: Ground to Vehicle FRAME White 4.
- Page 12 960 Knox Street Unit B Torrance, California 90502 Main Office: 310-323-1800 Technical Support: 800-945-2527 (For Authorized Dealers Only) www.autopageusa.com...