Advertisement
Quick Links
Advertisement

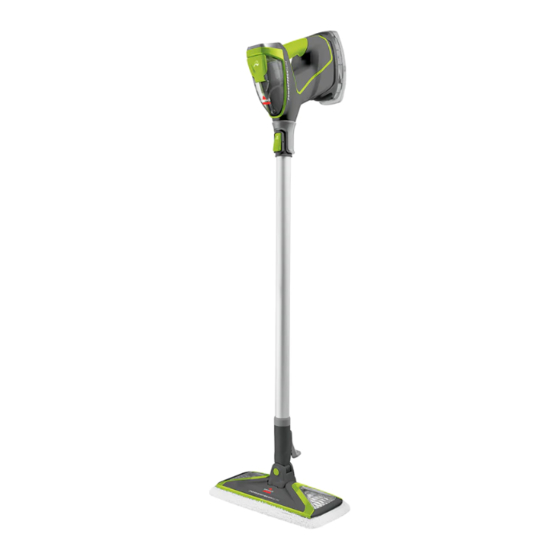
Summary of Contents for Bissell POWERFRESH SLIM 2233G
- Page 1 POWERFRESH™ SLIM STEAM MOP MODEL 2233G...
-
Page 2: Safety Instructions
» Do not pick up toxic material (chlorine bleach, ammonia, drain cleaner, etc.). THIS SYMBOL MEANS WARNING: DANGER OF SCALDING SAVE THESE INSTRUCTIONS FOR OPERATION ON A 220-240 VOLT A.C. 50-60 HZ POWER SUPPLY ONLY. This model is for household use only. 2 BISSELL.com... -
Page 3: Table Of Contents
Thanks for buying a BISSELL® steam mop We love to clean and we’re excited to share one of our innovative products with you. We want your steam mop to work like new for the years to come, so this guide has tips on how to use, maintain and, if there’s a problem, troubleshoot. -
Page 4: Product View
Extension Wand Release Pedal Power Cable with Wrap Strap 10 Mop Pad Foot Extension Wand Wall Mount Handheld Pod 12 Tool Box NOTE: Tool Box stores Green Bristle Brush, Angle Concentrator Tool, Grout Tool, and Flat Scraper Tool. 4 BISSELL.com... -
Page 5: Assembly
Tinted plates on foot may get hot while steam mop is in use. Do not touch while hot. Upright storage of the steam mop with a wet mop pad may result in the formation of white marks on your floor. To remove the white marks, clean area with vinegar. BISSELL.com 5... -
Page 6: Operations
The Scrubby stitching is on the front of the foot and Mop Pad is recommended for durable the quick grip release tab is on the back. surfaces like tile. 6 BISSELL.com... - Page 7 NOTE: You must wait until the STEAM READY light is a solid colour before selecting your desired steam level. Upon the first use of your steam mop or first use after refilling the water tank, the pump may make a “knocking” sound. This is normal and will diminish after a few seconds. BISSELL.com 7...
- Page 8 When finished cleaning, using continuous steam. turn OFF the machine by Remove the pad after pressing the PAUSE button use and wash. and unplugging it 8 BISSELL.com...
- Page 9 Push the trigger under nozzle by releasing the handheld pod the handle of the trigger and pressing the from the extension handheld pod to PAUSE button. Then wand. release steam. connect the desired tool. BISSELL.com 9...
- Page 10 Use the green bristle brush to clean countertops, around stove tops, sinks, showers, etc. stairs, etc. NOTE: Additional tools are available for purchase on BISSELL.com.au. When finished cleaning, turn OFF the machine by pressing the PAUSE Wait for the steam to stop, then remove tools...
-
Page 11: Maintenance & Care
NOTE: Steam mop does not stand up on its own. If you are not using the wall mount, make sure your steam mop is stored in a safe place, in the upright position against a firm surface to prevent from falling over. BISSELL.com 11... - Page 12 Find the clip on the back of the tool box and hook it Place each screw through the two holes into the right side in the wall mount. Use a screwdriver or of the wall mount. drill to affix to the wall. 12 BISSELL.com...
- Page 13 Find the opening on the back of the handheld pod and hook it onto the top Hang the power lip of the wall cable and tool mount. bag on the left- side hook. BISSELL.com 13...
-
Page 14: Troubleshooting
First use or water tank is empty. Fill tank and knocking will diminish after a few seconds. Knocking noise Metal tube cannot reach water. Shake the pod to let the tube reach the water level. 14 BISSELL.com... -
Page 15: Warranty
NOTE: Please keep your original sales receipt. It provides proof of the date of purchase in the event of a warranty claim. See warranty for details. Consumer Care If your BISSELL product should require service or to claim under our limited warranty, please contact us as follows: Australia Telephone: 1300 247 735 Website: www.BISSELL.com.au... - Page 16 ©2021 BISSELL Inc. All rights reserved. Part Number 1627027 03/21 RevB...


