Advertisement
Quick Links
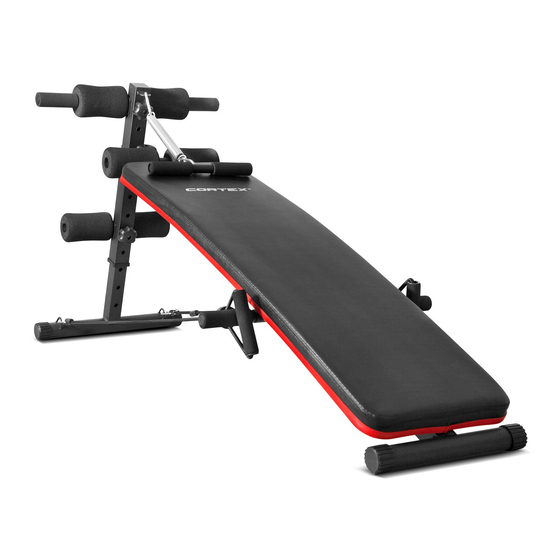
AB-10 AB BENCH
OWNER'S MANUAL
Product may vary slightly from the item pictured due to model upgrades
Read all instructions carefully before using this product. Retain this owner's manual for future
reference.
NOTE: This manual may be subject to updates or changes. Up to date manuals are available through our website at www.lifespanfitness.com.au
Advertisement

Related Manuals for Cortex AB-10


Summary of Contents for Cortex AB-10
- Page 1 AB-10 AB BENCH OWNER’S MANUAL Product may vary slightly from the item pictured due to model upgrades Read all instructions carefully before using this product. Retain this owner’s manual for future reference. NOTE: This manual may be subject to updates or changes. Up to date manuals are available through our website at www.lifespanfitness.com.au...
-
Page 2: Table Of Contents
TABLE OF CONTENTS IMPORTANT SAFETY INSTRUCTIONS CARE INSTRUCTIONS PARTS LIST ASSEMBLY INSTRUCTIONS EXPLODED DIAGRAM WARRANTY... -
Page 3: Important Safety Instructions
IMPORTANT SAFETY INSTRUCTIONS WARNING - Read all instructions before using this product. Please keep this manual with you at all times It is important to read this entire manual before assembling and using the equipment. Safe and effective use can only be achieved if the equipment is assembled, maintained and used properly. Please note: It is your responsibility to ensure that all users of the equipment are informed of all warnings and precautions. -
Page 4: Care Instructions
The equipment is not suitable for therapeutic use. CARE INSTRUCTIONS • Lubricate moving joints with grease after periods of usage • Be careful not to damage plastic or metal parts of the machine with heavy or sharp objects • The machine can be kept clean by wiping it down using dry cloth PARTS LIST Part No. -
Page 5: Assembly Instructions
ASSEMBLY INSTRUCTIONS Step 2 Step 1 Attach the front leg (1) and 1x cushion holder Insert the front leg (1) to the upper support (3), by 1x knob nut (12). The height can be frame (2) adjusted once the bench is fully assembled. Step 3 Attach 1x cushion holder (3) to the support frame (2) using the 1x knob nut (12). - Page 6 Step 4 Connect the main frame (4) to the upper support frame (2) using the Hexagonal bolt (6), nut (8) and washer (7). Insert the Safety Hook (9).
-
Page 7: Exploded Diagram
5. EXPLODED DIAGRAM... -
Page 8: Warranty
6. WARRANTY AUSTRALIAN CONSUMER LAW Many of our products come with a guarantee or warranty from the manufacturer. In addition, they come with guarantees that cannot be excluded under the Australian Consumer Law. You are entitled to a replacement or refund for a major failure and compensation for any other reasonably foreseeable loss or damage.