
Related Manuals for Aluratek ADMPF214FB


Summary of Contents for Aluratek ADMPF214FB
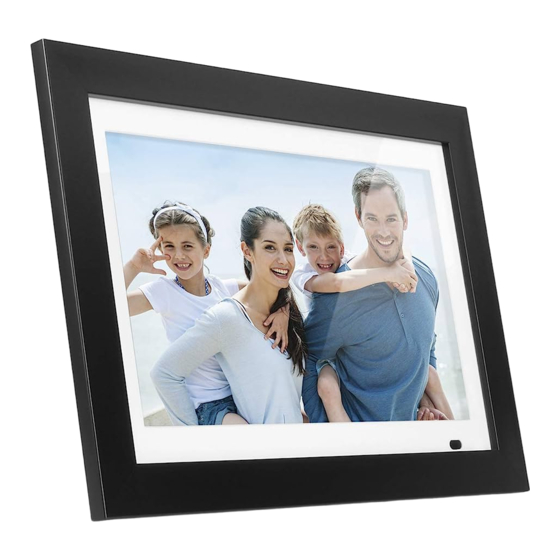
- Page 1 14” Digital Photo Frame Instructional Manual model ADMPF214FB aluratek.com mnl M10423 Copyright © 2016 Aluratek, Inc. All Rights Reserved.
-
Page 2: Table Of Contents
Table of Contents Frame Features ......................Frame Control Close-up ....................Remote Control Close-up ....................Package Contents ......................Getting Started ....................... Operating Instructions Viewing Photos ......................Screen Resolution / Aspect Ratio ................Transferring Files from your PC / Mac to the Frame’s Internal Memory....Photo Function Photo Set-up ...................... - Page 3 Table of Contents Technical Support ......................Radio and TV Interference Statement ................Warranty ........................
- Page 4 Frame Features 14” LCD Screen Power Button Mini USB Port Black Matte Frame Headphone Jack Frame Stand Remote Sensor SD/SDHC Card Slot VESA Mount White Matte USB 2.0 Port Speakers Menu Buttons Power Adapter Port Connect a USB hard drive, USB flash drive or SD/SDHC card to easily access and share your favorite pictures / video / music.
-
Page 6: Frame Control Close-Up
Frame Control Close-Up 1 - Power Button 2 - Enter Button 3 - Up 4 - Down Use to navigate your way 5 - Left through various menus 6 - Right 7 - Exit Button... -
Page 7: Remote Control Close-Up
Remote Control Close-Up 1. Power On / Off 2. SlideShow 3. Enter 16:9/4:3 MUSIC 4. Up, Down, Left, Right Arrows - Use arrow keys to navigate your way throught various menus SLIDE STEP 5. Exit - Returns to the previous menu SHOW SHOW 6. -
Page 8: Package Contents
Package Contents Your order has been carefully packaged and inspected. The following accessories should be included in your package. Please inspect the contents of the package to ensure that you have received all items and that nothing has been damaged. If you discover a problem, please contact us immediately for assistance. -
Page 9: Operating Instructions
Operating Instructions Viewing Photos • Please insert your memory card (SDHC,SD) at this time. Insert the memory card into the card slot as shown • The frame will start slideshow automatically when the card is inserted. • The slideshow can be stopped by pressing the “►||” button on the frame. -
Page 10: Screen Resolution / Aspect Ratio
Screen Resolution / Aspect Ratio For optimal full screen display of pictures, it is recommended to take pictures / video with 16:9 aspect ratio. Please check your phone / camera’s manual on how to change the setting. If your photos are in 4:3 aspect ratio it is recommended to adjust the frame’s system setting to display the pictures to “scale”... - Page 11 Operating Instructions Transferring Files from your PC / Mac to the Frame’s Internal Memory • A USB cable is included with your digital frame to connect it to your PC/ MAC. Connect the small connector to your digital frame and the larger connector to your PC / MAC. •...
-
Page 12: Photo Setup
Photo Function Photo Setup From the main menu, press the “◄” or “►” buttons to select the and press “►||” button to confirm. Press the “►||” button again to access the “Photo Setup” menu. You will see the following options: Display Mode, Background Music, Display Ratio, Slide Speed, Slideshow Repeat, Slide Mode and Photo Random Slideshow. - Page 13 Photo Function To select pictures from either the SD card or the USB drive, press the button from the Main menu. Use “◄” or “►” button to select desired media and press “►||” button to confirm. Main Menu:...
-
Page 14: Video Function
Video Function Video Setup From the main menu, press the “◄” or “►” buttons to select the and press “►||” button to confirm. Use the “▲” or “▼” button to cursor to “Video Setup” menu. Press the “►||” button again to access the “Video Setup” menu. You will see the following options: Playback Mode, and Display Ratio. -
Page 15: Music Function
Music Function Music setup From the main menu, press the “◄” or “►” buttons to select the and press “►||” button to confirm. Use the “▲” or “▼” button to cursor to “Music Setup” menu. Press the “►||” button again to access the “Music Setup” menu. You will see the following options: Play Mode and Show Spectrum To change the Play Mode option, press the “►||”... -
Page 16: System Function
System Function System Setup From the main menu, press the “◄” or “►” buttons to select the and press “►||” button to confirm. Use the “▲” or “▼” button to cursor to “System Setup” menu. Press the “►||” button again to access the “System Setup” menu. You will see the following options: Language, GrayScale, Brightness, Contrast, Saturation, Auto Power On, Auto Power On Time, Auto Power Off, Auto Power Off Time, Auto- Power Frequency, Volume, Reset Setting, System Upgrade and Start Up Mode... -
Page 17: Calendar Function
Calendar Function Calendar Setup From the main menu, press the “◄” or “►” buttons to select the and press “►||” button to confirm. Use the “▲” or “▼” button to cursor to “Calendar Setup” menu. Press the “►||” button again to access the “Calendar Setup” menu. You will see the following options: Date, Set Time Format, Clock Time, Alarm Status, Alarm Time and Alarm Frequency Use the “▲”... - Page 18 We are committed to providing the best customer service support. If you need assistance with your Aluratek product, please contact the Aluratek Technical Support department prior to returning this device. Reach out to us in any of the following ways: E-mail: support@aluratek.com...
- Page 19 Radio and TV Interference Statement WARNING!!! This equipment has been tested and found to comply with the limits of a Class B digital device, pursuant to part 15 of the FCC rules. These limits are designed to provide reasonable protection against harmful interference in a residential installation This equipment generates, uses and can radiate radio frequency energy and, if not in- stalled and used in accordance with the instruction, may cause harmful interference to radio communications.
- Page 20 Warranty Aluratek warrants this product against defect in material or workmanship for 1 Year from the date of purchase. This warranty becomes invalid if the factory-supplied serial number or “warranty void” sticker has been removed or altered on the product.
- Page 24 Aluratek, Inc. 15241 Barranca Pkwy. Irvine, CA 92618 sales@aluratek.com 714.586.8730 • office 714.586.8792 • fax...