Table of Contents
Advertisement
Quick Links
Contents
Guide to Using this Manual ............ 14
Safety Precautions ......................... 15
Application ...................................... 15
Mounting the Tool ........................... 16
Selecting and Fitting File ................ 17
Setting Up ....................................... 17
Adjustments .................................... 18
Sharpening ..................................... 20
Main Parts ...................................... 24
STIHl
FG 2
Dear Customer,
Thank you for choosing a quality
engineered STIHL product.
This machine has been built using
modern production techniques and
comprehensive quality assurance.
Every effort has been made to ensure
your satisfaction and troublefree use
of the machine.
Please contact your dealer or our
sales company if you have any
queries concerning your machine.
Hans Peter Stihl
English
13
Advertisement
Table of Contents

Related Manuals for Stihl FG 2


Summary of Contents for Stihl FG 2
-
Page 1: Table Of Contents
Guide to Using this Manual .... 14 Safety Precautions ......15 Thank you for choosing a quality Application ........15 engineered STIHL product. Mounting the Tool ......16 This machine has been built using Selecting and Fitting File ....17 modern production techniques and Setting Up ........ -
Page 2: Guide To Using This Manual
Engineering improvements in different ways: components. STIHL’s philosophy is to continually Step or procedure without direct Note or hint which is not essential improve all of its products. As a result, for using the machine, but may reference to an illustration. -
Page 3: Safety Precautions
Safety Precautions Application To reduce the risk of It is absolutely essential to comply with The STIHL filing tool can be used to personal injury, special the angles and dimensions specified in sharpen all STIHL Oilomatic saw chains safety precautions must these instructions. -
Page 4: Mounting The Tool
Make sure the studs (4) engage the holes. Fit the hex head screw (5) through the center hole from above. Fit and tighten down the wingnut (6) firmly. FG 2... -
Page 5: Selecting And Fitting File
Turn the clamping lever to the left to release the chain and to the right to lock the chain. Place the selected file (1) in the filing frame. Tighten down the screws (2) moderately. FG 2... -
Page 6: Adjustments
The procedure is the same if the master cutter is in the right-hand row. Move the chain rest to the position shown in illustration B, reset the file, adjust angle. FG 2... - Page 7 1/10 of file diameter projects above Tighten down the nut. the top plate. Position the round file (1) between the side plate and depth gauge of the master cutter by swinging and lifting the filing frame. FG 2...
-
Page 8: Sharpening
– the saw chain is locked in roller (2). position. If this is not the case, readjust the stop (3) slightly and move the chain up against it – check the stop position again. FG 2... - Page 9 Sharpen the cutter. Repeat the procedure until all Lift the guide clear of the teeth and cutters in one row have been turn it to the same filing angle on the opposite side. sharpened. Tighten down the nut. FG 2...
- Page 10 If the length is correct, sharpen all on the chain. If the depth gauge does not touch the cutting edge. cutters in the second row using this projects above the filing gauge, it setting. has to be lowered. FG 2...
- Page 11 Lubricate the guide with oil at parallel to the service mark (see regular intervals. arrow) – take care not to lower the highest point of the depth gauge in Rotate the file at regular intervals this process. while filing to avoid one-sided wear. FG 2...
-
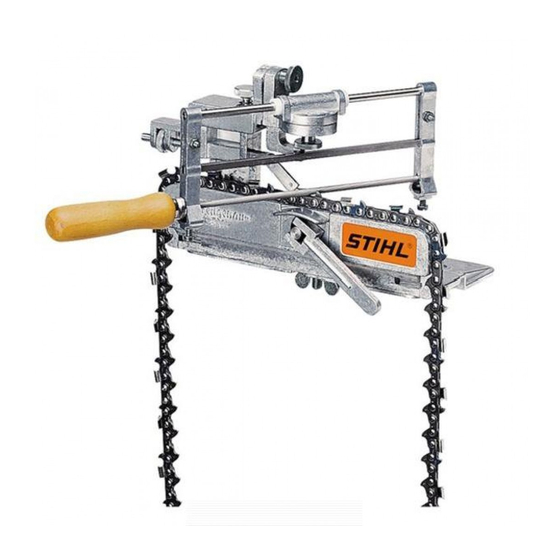
Page 12: Main Parts
Main Parts 1 Adjusting screw 2 Guide 3 Filing frame 4 Stop rail 5 Nut 6 File 7 Clamping lever 8 Knurled nut 9 Stop 10 Chain rest 11 Base plate 12 Lock nut 13 Wingnut 14 Screw FG 2...