Table of Contents
Advertisement
Quick Links
Download this manual
See also:
Operator's Manual
Advertisement
Table of Contents

Related Manuals for Stoelting E112


Summary of Contents for Stoelting E112
- Page 1 Model E112 OWNER’S MANUAL Manual No. 513613 Rev.1 October, 2006...
- Page 3 Owner's Manual For E112 Stoelting Counter Model Gravity Freezer Shake and Frozen Beverage This manual provides basic information about the freezer. Instructions and suggestions are given covering its operation and care. The illustrations and specifications are not binding in detail. We reserve the right to make changes to the freezer without notice, and without incurring any obligation to modify or provide new parts for freezers built prior to date of change.
-
Page 4: Safety Information
The instructions or warnings they give are not substitutes for proper accident prevention measures. If you need to replace a part, use genuine Stoelting parts with the correct part number or an equivalent part. We strongly recommend that you do not use replacement parts of inferior quality. -
Page 5: Table Of Contents
SECTION 1. INTRODUCTION 1.1 Description ... 1.2 Specifications ... 2. INSTALLATION INSTRUCTIONS 2.1 Safety Precautions ... 2.2 Shipment and Transit... 2.3 Freezer Installation ... 3. INITIAL SET-UP AND OPERATION 3.1 Operator's Safety Precautions ... 3.2 Operating Controls and Indicators... 3.3 Sanitizing ... 3.4 Freeze Down and Operation ... - Page 6 FIGURE TITLE Model E112 Freezer ... 1 Freezer Specifications ... 1 Warning Label Locations ... 3 Electrical Plug ... 4 Freezer Controls ... 5 Sanitizing Hopper ... 6 Mix Inlet Regulator ... 6 Spigot Assembly ... 8 Spigot and Ice Breaker Bar Removal ... 8 Removing O-ring ...
-
Page 7: Description
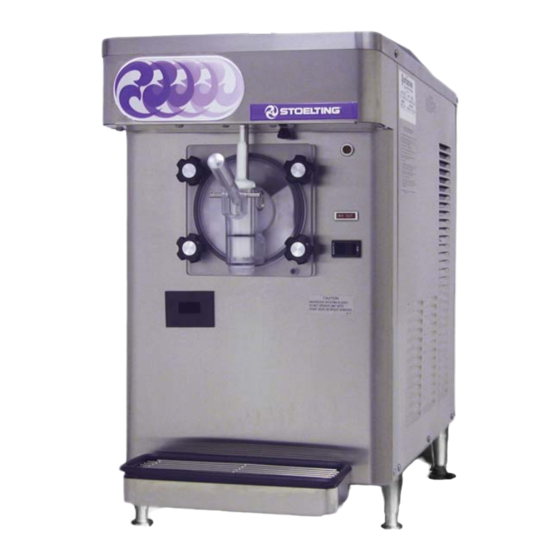
SECTION 1 DESCRIPTION AND SPECIFICATIONS 1.1 DESCRIPTION The Stoelting E112 counter freezer is gravity fed. The freezer is equipped with fully automatic controls to provide a uniform product. The freezer is designed to operate with almost any type of shake or frozen beverage mix. This... - Page 8 MODEL E112 COUNTER MODEL GRAVITY FREEZER DIMENSIONS: Freezer: 15-1/4" (33.8 cm) wide x 31-15/16" (81.1 cm) deep x 30-3/8" (77.2 cm) high Crated: 17-1/2" (44.4 cm) wide x 36-1/2" (92.7 cm) deep x 35" (88.9 cm) high WEIGHT: Freezer: 250 lbs. (140 kg)
-
Page 9: Installation Instructions
If danger, warning or caution labels are needed, indicate the part number, type of label, location of label, and quantity required along with your address and mail to: ATTENTION: Customer Service Figure 2-1 Warning Label Locations STOELTING, INC. 502 Hwy. 67 Kiel, Wisconsin 53042... -
Page 10: Shipment And Transit
10 days and request inspection. The customer must place claim for damages and/or shortages in shipment with the carrier. Stoelting, Inc. cannot make any claims against the carrier. 2.3 FREEZER INSTALLATION... -
Page 11: Initial Setup And Operation
INITIAL SETUP AND OPERATION 3.1 OPERATOR’S SAFETY PRECAUTIONS SAFE OPERATION IS NO ACCIDENT; observe these rules: Know the freezer. Read and understand the Operating Instructions. Notice all warning labels on the freezer. Wear proper clothing. Avoid loose fitting garments, and remove watches, rings or jewelry which could cause a serious accident. -
Page 12: Sanitizing
The autofill kit is used with a pump to keep the hopper filled. The autofill kit is for use with non- potentially hazardous food substances; non-dairy. Stoelting offers many pumps that work with the autofill kit, such as the flow jet pump, part 4177349. Light Kit (Part 2183800 - Optional) -
Page 13: Freeze Down And Operation
Figure 3-2 Mix Inlet Regulator After five minutes, place a bucket under the spigot and open spigot to drain sanitizing solution. Place the switch in the OFF (middle) position. Loosen freezer door and allow the freezing cylinder to drain completely. Re-tighten door. If using a shake mix, install the mix inlet regulator into hopper (Refer to Figure 3-3). -
Page 14: Disassembly Of Freezer Parts
Close the spigot and fill the hopper with 2 gallons (8 liters) of tap water. Place the switch in the CLEAN position. The auger will start to rotate. Allow the water to agitate for approximately 30 seconds. Open the spigot to drain the water. Remember to place a container under the spigot to catch the water. -
Page 15: Cleaning The Freezer Parts
Figure 3-6 Removing O-Ring Remove auger assembly from the freezing cylinder and remove auger blades. Remove rear seal and o-ring from auger. Remove drain tray, drip tray and drip tray grid. 3.9 CLEANING THE FREEZER PARTS Place all loose parts in a pan or container and take to the wash sink for cleaning. -
Page 16: Stator Assembly
CAUTION Do not place the mix inlet regulator into the hopper before installing the auger. Attempting to install the auger with the mix inlet regulator in place will dam- age the mix inlet regulator. Install the two plastic auger blades onto auger. Blades may be attached in any orientation. -
Page 17: Routine Cleaning
Do not use highly abrasive materials as they will mar the finish. 3.13 PREVENTIVE MAINTENANCE Stoelting recommends that a maintenance schedule be followed to keep the freezer clean and operating properly. Cleaning and Sanitizing Information Special consideration is required when it comes to food safety and proper cleaning and sanitizing. - Page 18 • MILKSTONE REMOVAL – Complete removal of milkstone. • SANITIZING – FDA-approved no rinse sanitizer for food contact surfaces. Additional Information THE USE OF DELIMERS A delimer is a strong acid that has the ability to dissolve milkstone. This type of chemical may become necessary once high levels of milkstone have developed.
-
Page 19: Extended Storage
To remove the condenser filter, remove the thumb screws from under the front panel. Pull down bracket and remove filter. Visually inspect for dirt. If the filter is dirty, shake or brush excess dirt off the filter and wash in warm, soapy water. Once the filter is clean rinse thoroughly in warm, clear water and shake dry, taking care not to damage the filter in any way. -
Page 20: Troubleshooting Charts
This page left intentionally blank... -
Page 21: Mix Light Indicators
4.1 MIX LIGHT INDICATORS The following chart shows all possible mix light indicator combinations along with the cause and operation of the freezer. ADD MIX MIX OUT Normal operation Conditions mode Normal Operation Corrective Action Sensors ADD MIX and MIX OUT lights will turn off as soon as mix touches deep sensor. Shallow sensor is only for autofill sensor. - Page 22 4.2 TROUBLESHOOTING - CONTINUED PROBLEM POSSIBLE CAUSE 1. No vent space for free flow of cooling air. 2. Air temperature entering condenser is above 100°F. 3. Condenser is dirty. Product is too soft. 4. Consistency setting too soft. 5. Stabilizers in mix are broken down. 6.
-
Page 23: Replacement Parts
Decal - Wired According To Decal - Adequate Ventilation 3" Decal - Danger Automatic Start Decal - Domed Stoelting Logo (Large) (Header Panel) Decal - Domed Stoelting Swirl (Header Panel) Decal - Main Freezer Power Spline Lubricant - 2 oz Squeeze Tube... - Page 24 E112 REPLACEMENT PARTS...
- Page 25 E112 REPLACEMENT PARTS Part Description 162165 Scraper Blade 336546 Molded Door 482019 Black Knob 570196 Pin - Door 624545 O-Ring - Stator Bar 624644 O-Ring - Spigot (Bottom) 624645 O-Ring - Spigot (Top) 624678 O-Ring - Rear Seal 625310 Quad Ring - Front Door...
- Page 27 Stoelting, LLC warrants to the first user (the “Buyer”) that the freezer cylinders, hoppers, compressors, drive motors, speed reducers, augers and auger flights of Stoelting soft serve / shake freezers will be free from defects in materials and workmanship under normal use and proper maintenance appearing within five (5) years, and that all other...