VeriFone V240M Installation And User Manual
Hide thumbs
Also See for V240M:
- User manual (69 pages) ,
- Getting started (42 pages) ,
- Installation manual (39 pages)
Table of Contents
Advertisement
Advertisement
Table of Contents

Related Manuals for VeriFone V240M


Summary of Contents for VeriFone V240M
- Page 1 Your Verifone V240M installation and user guide Getting Started...
-
Page 2: Table Of Contents
Contents Getting Started ......................3 Unboxing Your Terminal .................. ● How to use this guide ..................● Power Up and Activate ………................6 ● Connecting to WiFi ………....................7 Processing Transactions .................... 13 Sale Process ………....................13 ● Refund Process …....................17 ●... -
Page 3: Getting Started
Welcome to DNA Payments! Thank you for ordering the Verifone V240m payment terminal. In this guide you will find instructions on how to set up and use your V240m terminal. For security reasons, your terminal is locked. This guide explains how to unlock and activate your terminal, and how to perform transactions. -
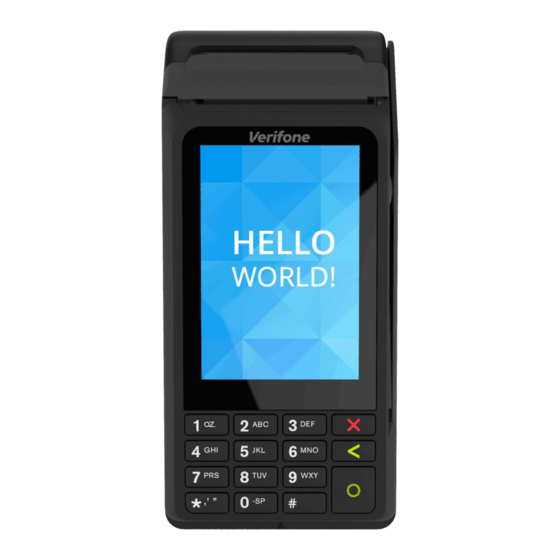
Page 4: Unboxing Your Terminal
Step 2 Unboxing Your Terminal A durable, affordable and portable device with integrated printer, the V240m expands the definition of point of sale. With flexible connectivity options to accommodate any business need, this smart and affordable touchscreen portable payment device is the perfect on-the-go solution. -
Page 5: How To Use This Guide
Step 3 How to use this guide The next few pages are designed to get your new terminal activated, connected to Wifi (optional) and processing your first transaction(s). We know that not everything goes according to plan first time, so if you experience any problems at all with your new terminal, please contact our customer support team on the details below. -
Page 6: Power Up And Activate
Step 4 Power Up and Activate Plug the power When you see the supply into the power “Terminal Locked” slot of the V240m screen, key in your base unit Merchant Number as the password and press the green Place the V240m... -
Page 7: Connecting To Wifi
Step 5 Connecting to WiFi Your V240m terminal is pre-configured to use 3G mobile network for communications. This will allow you to authorise sales immediately. You can also enable Wi-Fi as the primary communications method. This will allow the device to use Wi-Fi in preference to 3G. - Page 8 Step 5 Connecting to WiFi (continued) Press 1 on the Enter the Supervisor keypad, or select Password. The Configuration using default is 1234 the touchscreen Press 1 on the You should now see keypad, or select the Communication Communication Panel using the touchscree This is a long menu with multiple...
- Page 9 Step 5 Connecting to WiFi (continued) Drag the screen Select Network downwards (swipe up Interface using the from bottom to top) touchscreen until you see Configuration. Select this using the touchscreen Select Wi-Fi using the Select Wi-Fi Scan touchscreen...
- Page 10 Step 5 Connecting to WiFi (continued) Select your desired Select Add network from the list of networks that have been found Select Pre-Shared Key (PSK)
- Page 11 Step 5 Connecting to WiFi (continued) Using the terminal keypad, enter the WiFi password and press OK on the touchscreen to submit it. You will need to press a key several times to cycle through all assigned letters. Remember that this password will be case-sensitive. Check the network details are correct and press Add on the touch screen Select Save Select OK...
- Page 12 Step 5 Connecting to WiFi (continued) Select Yes Select OK Press the RED Cancel button 6 times until you reach the Sale screen...
-
Page 13: Processing Transactions
Step 6 Processing Transactions Once you have powered up and activated your V240m, charged it sufficiently and established a connection, you are now ready to take your first payment. To do so, please follow the steps outlined below: Sale Process While the terminal is If Tip is configured,... - Page 14 Step 6 Sale Process (continued) If you selected it, Total = Amount + Tip enter the tip amount Insert chip card or If Cashback is swipe card or tap enabled, you will be contactless card. prompted to ask if Cashback is required. The remainder of these steps assume This will only show if...
- Page 15 Step 6 Sale Process (continued) If selected, enter Total = Amount + Cashback amount Cashback If the card was The terminal inserted, enter the connects to your PIN number Acquirer and provides a result of the Authorisation; Approved, Declined...
- Page 16 Step 6 Sale Process (continued) The first receipt You can then choose printed is your whether to print Merchant Copy, a Cardholder Copy which should be retained for your records When all required receipts have been confirmed and printed, the terminal will prompt to remove the card.
-
Page 17: Refund Process
Step 6 Refund Process Touch the main logo This will show the at the top of the main menu, select screen Onetime Transactions then Select Refund Enter the Supervisor Enter the Refund password amount and press... - Page 18 Step 6 Refund Process (continued) Present, insert or The refund will be swipe the payment presented to the card, or, key enter Acquirer and the card number for approved MOTO You will need to If selected, the retain the first receipt second receipt is to for your records be given to the...
- Page 19 Step 6 Refund Process (continued) If the card was The terminal will inserted, it should return to the main now be removed screen...
-
Page 20: Performing A Reconciliation
Step 7 Performing a Reconciliation BEST PRACTICE You should complete a Reconciliation at the end of every trading day. This will help to ensure that the transactions you have processed are settled into your bank account as quickly as possible Touch the main logo at Select Reports from the top of the screen... - Page 21 Step 6 Refund Process (continued) Select the Acquirer(s) The terminal will to reconcile connect to each of the Acquirers..and will transmit A summary report your totals in turn will then be printed for your records...
- Page 22 Helping our customers’ businesses thrive DNA Payments Customer Support support@dnapaymentsgroup.com 0208 102 8100 DNA Payments Limited (Company No.11154668 /FCA No.806630). Registered office: 123 WeWork 123 Buckingham Palace Road, London, SW1W 9SH. DNA Payments Limited is authorised by the Financial Conduct Authority under the Payment Service Regulations 2017 for the provision of payment services...