
Related Manuals for Russell Hobbs RHM2013


Summary of Contents for Russell Hobbs RHM2013
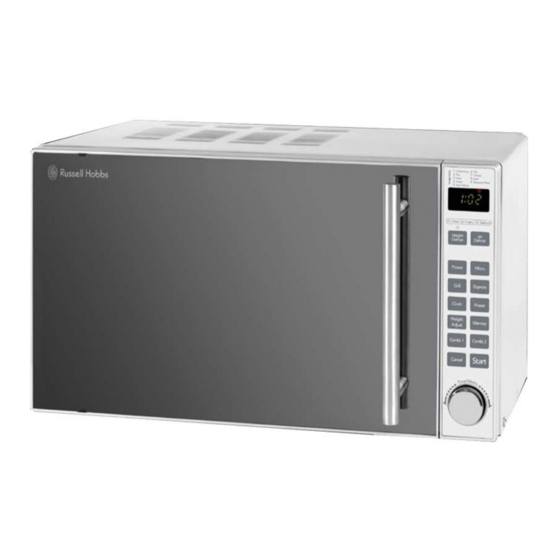
- Page 1 20 Litre silver digital microwave with grill User's manual Model number: RHM2013 Please read these instructions carefully and keep for future reference.
-
Page 2: Table Of Contents
About this microwave oven... Safety instructions... 2 Microwave oven Installation... 4 Feature diagram... 5 Control panel... 6 Knowing your microwave oven... 7 Using your microwave oven... 7 Setting the clock... 7 Express cooking... 7 Cooking with different power levels... 8 Using the grill... -
Page 3: About This Microwave Oven
If you can see any damage do not use the oven ➢ This microwave oven weighs approximately 12.5kg so you must put it on a horizontal surface that is strong enough to support this weight. The oven must be placed away from high temperatures and steam. -
Page 4: Safety Instructions
Use this microwave oven for only its ➢ intended use as described in this instruction manual. Do not operate the microwave oven if it has ➢ a damaged power cord or plug, if it is not working properly, or if it has been damaged or dropped. - Page 5 Safety instructions Do not store anything ➢ in the oven, such as papers, cookbooks and so on. Do not use the oven for any reason other than preparing food, such as for drying clothes, paper or any other non- food items, or for sterilising purposes. Cooking utensils may ➢...
-
Page 6: Microwave Oven Installation
7.5cm Knowing you microwave oven Do not operate the microwave oven unless the turntable is securely in place and can rotate freely. It is normal for the turntable to rotate in either direction. Make sure the turntable is the correct side up. Carefully place cookware onto the turntable to avoid possible breakage. -
Page 7: Feature Diagram
Feature diagram Your microwave oven is designed to make cooking an enjoyable and productive experience. To get you up and running, the following is a list of the oven's basic features: Door safety lock system Oven window Turntable support Control panel... -
Page 8: Control Panel
Touch this pad to program the oven to automatically start at 100% microwave power. See page 7. Preset This function allows you to set the microwave oven to start at a later time. See page 9. Memory Used when setting a multi-stage cooking program. See page 10. -
Page 9: Knowing Your Microwave Oven
Using your microwave oven Setting the clock When your microwave oven is plugged in for the first time, or if there has been a power failure, the display will show '1 :01' and the clock symbol will be displayed. These will stay on the display until the clock or another function is set. -
Page 10: Cooking With Different Power Levels
Cooking pot roasts, simmering stews and heating pastries. Softening butter, cheese and ice cream. Your microwave oven can be used as a kitchen timer. This is useful if you want to set a reminder. When 00% is chosen no microwaves are present but the fan will still be heard. -
Page 11: Defrosting Foods
'Cancel' pad is touched. Preset function The preset function allows you to preset the microwave oven to start at a later time. The correct time of day must be set when using this function. The following example shows you how to preset the microwave oven to cook food on power level 80% and for 5 minutes. -
Page 12: Combination Cooking
'Cancel' pad is touched. Multi-stage cooking Your microwave oven can be programmed for up to 3 automatic sequences. For example, if you want to defrost food for 10 minutes, microwave food for 5 minutes and then grill... -
Page 13: Using The Auto Menus
This is called standing time. The standing time varies according to the volume and density of the food. -
Page 14: Auto Menu Chart
Weights 200g Put in a suitable container and place on the center of 300g the turntable. After removing from the microwave oven, 400g leave to stand before adding anything. 150g, 300g Put in a suitable container and place on the center of 450g, 600g the turntable. -
Page 15: Cooking Utensils
TV or equipment as far away from your microwave oven as possible. Cleaning and care To make sure your microwave oven looks good and works well for a long time, you should follow these instructions: Unplug from the mains supply before ➢... -
Page 16: Use This Page For Your Recipes
Use this page for your recipes... -
Page 17: Connection To The Mains Supply
Connection to the mains supply WARNING- THIS APPLIANCE MUST BE EARTHED This appliance is designed to operate from a mains supply of AC230V ~ 50HZ. Check that the voltage marked on the product corresponds with your supply voltage. This product is fitted with a 13A plug complying with BS1363. If this plug is unsuitable or needs to be replaced, please note the following:Important: The wires in the mains lead are Coloured in accordance with the following code:... - Page 18 0844 8793277 Monday-Thursday: 9am until 5pm Friday: 9am until 4pm...