Table of Contents
Advertisement
Quick Links
Advertisement
Table of Contents

Related Manuals for Pyle view PYLE VIEW PLRDVD10


Summary of Contents for Pyle view PYLE VIEW PLRDVD10
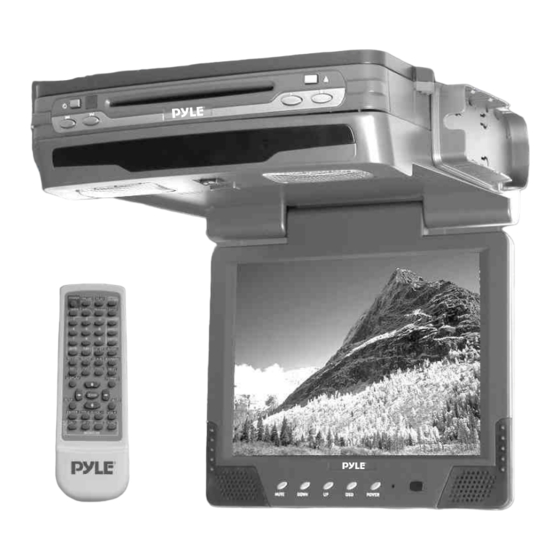
- Page 1 10.4" TFT-LCD Flip-Down Monitor with Built-in DVD Player PLRDVD10...
-
Page 2: Table Of Contents
Operation Manual Table of Contents Welcome! ------------------------------------------------------------------------------------------------------- 2 Precautions --------------------------------------------------------------------------------------------------------3 Installation Where to Install -------------------------------------------------------------------------------------------------- 4 Installation -------------------------------------------------------------------------------------------------------- 5 Setting Up Dome Lamps ---------------------------------------------------------------------------------------- 6 Operation Monitor Section -------------------------------------------------------------------------------------------------- 7 OSD menu --------------------------------------------------------------------------------------------------------- 8 DVD Section ------------------------------------------------------------------------------------------------------ 9 Remote Control --------------------------------------------------------------------------------------------------10 Connections Connection Diagram -------------------------------------------------------------------------------------------- 12 10.4”... -
Page 3: Welcome
Welcome! Thank you for purchasing the 10.4” flip-down TFT-LCD Monitor with DVD Player. For Maximum enjoyment and prolonged life of the DVD player, we strongly recommend that you read the instruction manual carefully before attempting to operate the unit. Please store this manual in a safe place for future reference. Digital Video Discs is the best source of movies for your life. -
Page 4: Precautions
Precautions To avoid the risk of serious injury or accident, read the following precautions before installing and operation the unit. On Safety Comply with your local traffic rules and regulation. While driving The driver must not watch or operate the monitor. It may lead to distraction and cause an accident. -
Page 5: Where To Install
Where to Install Before installing this unit, please check your local traffic rules and regulations. Follow the diagram below to install this unit in a suitable position in your car. Do not install this unit where: It will obstruct the driver’s view when the monitor is in either the open or closed position. -
Page 6: Installation
Installation Roof-mount Installation/Installation on ceiling Securlock Press the RELEASE BUTTON to open the Display Monitor... -
Page 7: Setting Up Dome Lamps
Setting Up Dome Lamps *Operating the dome There are there function buttons for the Dome lamps operation: OFF, DOOR, and ON. (Refer to the following figure) A. OFF: To turn off the lamps. B. DOOR: To make the lamps turned on only when car doors are opened. C. -
Page 8: Monitor Section
MONITOR SECTION ①IR Sensor ②Power ③OSD ④UP ⑤Down ⑥Mute Remote Control Holder... -
Page 9: Osd Menu
* OSD MENUS IN A/V SOURCE * Quick Adjustment OSD Menus press “ MENU” button, to open the MAIN MENU, using “ + “ or “ - “ buttons to select OSD functions. In order to select desire options, it is necessary to press ”MENU” Again to enter each mode, then use”... -
Page 10: Dvd Section
DVD SECTION To operate DVD by pressing the buttons on front panel: ①Eject: Ejecting a Disc, Press (EJECT) button to eject the disc ②Stop: Stopping Play, Press the (STOP) button to stop the unit playback, when you press the (PLAY) button it will continuous normal playback. Press the (STOP) button twice, it will stop the playback and go back to initial Track/Chapter. -
Page 11: Remote Control
To Operate DVD by Remote Control 1. OPEN/CLOSE: Open or close disc tray. 2. PLAY: Press one time to play. 3. PAUSE: Press one time to stop 4. POWER: To turn the unit ON or OFF. 5. MENU: Enter to menu playback. 6. -
Page 12: Preparing The Remote Control
19. MODE: Switch video input AV1/AV2 20. VOL+: rise current volume 21. VOL-: debase current volume 22. MUTE: Turn off sound. 23. DIRECTION KEY: Remove cursor direction. 24. FORMAT: Switch video output PAL/NTSC. 25. PREV/NEXT: Press NEXT to skip to the next track & PREV to skip back on e track. -
Page 13: Connections
. Connection Diagram Refer to the connection diagram for the proper connections. You can make connections shown as below. Please ask a qualified technician for the other connections. -
Page 14: Troubleshooting
TROUBLE SHOOTING Symptom and Solution: When having problem with the unit, please check this list for a possible solution before asking for service. -
Page 15: Specifications
SPECIFICATION DVD PLAYER Power Supply Power Consumption Weight Dimension Video System Laser Frequency Response S/N Ratio Rotating Ratio Operation Condition MONITOR Screen Size Resolution Brightness Contrast Video Input Audio Output Power ACCESSORIES 12V DC 3.1KG 282X86X320 (W/H/D) NTSC/PAL SL Beam, wave length: 650nm, 780nm DVD Audio: 45KHz PCM4 Hz~22Hz 96KHz PCM4 Hz~44KHz Audio CD 4Hz~20KHz...