Table of Contents
Advertisement
Available languages
Available languages
Quick Links
Advertisement
Table of Contents

Related Manuals for Oster GCSTCW-317-013


Summary of Contents for Oster GCSTCW-317-013
- Page 1 GCSTCW-317-013 MODELO GCSTCB-200-013 MODEL Manual de Instrucciones PLANCHA DE VAPOR LEA TODAS LAS INSTRUCCIONES ANTES DE USAR ESTE APARATO Instruction Manual STEAM IRON READ ALL INSTRUCTIONS BEFORE USING THIS APPLIANCE GCSTCW-317_GCSTCB-200_19ESM2 (LA).indd 1 9/11/19 08:52...
-
Page 2: Precauciones Importantes
• Si la plancha no funciona normalmente, desconéctela del tomacorriente y hágala revisar por un centro de servicio autorizado. • Su plancha Oster está diseñada para apoyarse en el talón de apoyo. No deje la ® plancha sin vigilancia. No apoye la plancha sobre una superficie no protegida, aun cuando sea sobre el talón de apoyo. - Page 3 • Este artefacto eléctrico no esta diseñado para ser usado por personas (incluyendo niños) cuyas capacidades físicas, sensoriales o mentales estén disminuidas, o carezcan de experiencia y conocimiento, a menos que una persona responsable por su seguridad les haya supervisado o instruido en el uso de este electrodoméstico. Los niños deberán estar bajo supervisión para cerciorarse de que NO jueguen con el artefacto eléctrico.
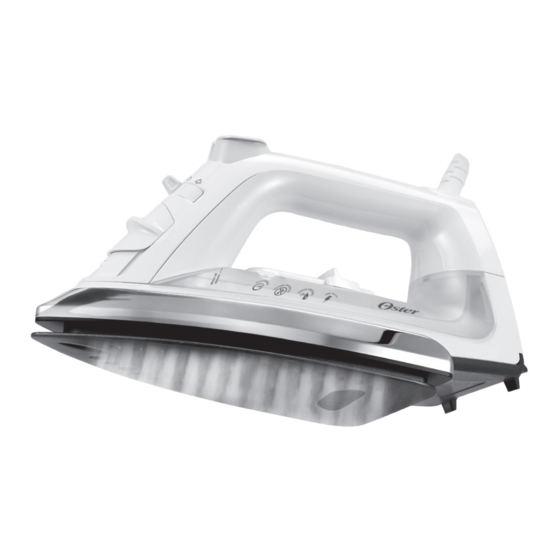
- Page 4 CARACTERÍSTICAS DE SU PLANCHA OSTER® 1. Boquilla de rociado SPRAY MIST 7. Cable Eléctrico ® 2. Conducto para abastecimiento de 8. Selector de Tela agua 9. Enrollado del Cable (debajo) 3. Palanca de Vapor 10. Suela 4. Botones de chorro de vapor SHOT OF 11.
-
Page 5: Planchando En Seco
Llenado del depósito de agua (usar agua de la llave) 1. Gire la Palanca de Vapor a la posición (Seco) y el Selector de Tela a la posición Off. Cerciórese de que la plancha esté desenchufada. 2. Deslice la Tapa del Orificio de Llenado de Agua. Sostenga la plancha con una inclinación de 45 ° y utilice una taza de medir para llenar el tanque a través del orificio con agua de chorro. No llene el depósito de agua por encima del nivel de llenado máximo. - Page 6 NOTA: la función Shot of Steam para comenzar a funcionar por primera vez, pueda que necesite apretarse firmemente el botón de 10-15 veces repetitivamente. LA FUNCIÓN DE VERTICAL SHOT OF STEAM permite planchar verticalmente tal ® como una plancha de vapor vertical. CONSEJO ÚTIL: al usar la función de vapor vertical, cuelgue la prenda de vestir en una percha para obtener los mejores resultados.
-
Page 7: Mantenimiento De La Plancha
Almacenamiento de la plancha 1. Apague la plancha y deje que se enfríe. 2. Vacíe el depósito de agua después de cada uso para prolongar la vida de la plancha. 3. Utilice el Enrollado del Cable y enrolle holgadamente alrededor del Asa, después guarde la plancha sobre su apoyo. - Page 8 Tipo de Residuos Limpieza Recomendada Sucio Ligero Use un paño de algodón o toalla de felpa para limpiar la base con agua tibia jabonosa. Depósitos del Agua Use un paño de algodón o toalla de felpa para limpiar la base con una mezcla de 50/50 de vinagre y agua. Almidones Pesados Utilice Limpiador para Planchas Calientes o Mr.Clean ®...
- Page 9 • Cerciórese de que las cremalleras estén cerradas y que la solapa esté plana. Planche sobre la solapa, manteniendo estirada la prenda de vestir. • Los aerosoles de almidón facilitan la tarea de planchado. PLANCHADO DE CAMISAS • Comience por el cuello y avance hacia el centro desde los bordes exteriores. Planche a lo largo, no en círculos.
-
Page 10: Localización Y Solución De Fallas
Localización y solución de fallas PROBLEMA CAUSA/SOLUCIÓN El indicador de • La luz parpadea para indicar que se ha activado la función encendido parpadea de apagado automático de la plancha • Presiónelo para restablecerla • Para que la luz deje de parpadear y la plancha se restablezca, agítela hacia adelante y hacia atrás, y déjela recalentar durante 2 min La plancha no se... -
Page 11: Important Safeguards
– there may be hot water in the reservoir. • If the iron is not operating normally, disconnect from the power supply and have the iron serviced by an authorized service center. • Your Oster iron is designed to rest on the heel rest. Do not leave the iron unattended. ® Do not set the iron on an unprotected surface, even if it is on the heel rest. •... -
Page 12: Spray Mist
FEATURES 1. SPRAY MIST Nozzle 7. Power Cord ® 2. Water Fill Hole 8. Fabric Select Setting 3. Steam Lever 9. Cord Wrap (undernelth) 4. SHOT OF STEAM and SPRAY MIST 10. Soleplate ® ® Buttons 11. Self Clean Button 5. -
Page 13: Dry Ironing
Filling Water Reservoir (use tap water) 1. Turn Steam Lever to (Dry) and Fabric Select Setting to Off. Unplug. 2. Raise the Water Fill Hole Cover. Hold the iron at a 45 degree angle and use any easy-pour measuring cup to fill the water reservoir with tap water through the water fill hole. Do not fill water reservoir beyond maximum fill line. WARNING: To prevent the risk of burns, be careful when filling a hot iron with water. Hot metal parts, hot water and steam can cause injuries. Dry Ironing 1. -
Page 14: Caring For Your Iron After Use
TIP: When using vertical steam, hang clothing on a hanger for best results. Hanging curtains and drapes may also be steamed. TO USE: 1. Hold iron vertically near, but not touching the fabric you want to steam. Pull the fabric tight. -
Page 15: Anti-Calcium System (Select Models Only)
5. Unplug iron. Holding iron over a sink in a horizontal position, press Self-Clean Button and hold. Water will begin dripping from the steam vents. Slowly rock iron side to side and front to back for 30 seconds. Dip nose of the iron slightly below the rear to circulate water. Release Self-Clean Button after one minute. 6. O pen fill cap and empty remaining water. Carefully dry soleplate with a towel. 7. Plug in iron and set Fabric selection to Linen and Heat for 2 minutes to dry out completely. -
Page 16: Ironing Tips
Ironing Tips • Before ironing, check the garment label and follow manufacturer’s instructions. If no instructions, start with a low-heat setting and test by ironing a small area, and gradually increase heat. • Sort garments by fabric type. Iron articles requiring a low-temperature setting and gradually work up the temperature range. • When changing from a high-temperature setting to a lower one, allow 5 minutes for change. • When steam ironing, use long, slow passes over the fabric to allow the steam to penetrate the fabric and the heat of the soleplate to dry the moisture. -
Page 17: Troubleshooting
Trouble Shooting PROBLEM CAUSE/SOLUTION Power indicator is • The light blinks to indicate that the iron auto-off function blinking has been activated • Press it to restart • To stop blinking and reset, move the iron back and forth and allow to re-heat for 2 minutes Iron is not heating • Ensure the iron is on and power light is illuminated •... - Page 18 NOTE English - 8 GCSTCW-317_GCSTCB-200_19ESM2 (LA).indd 8 9/11/19 08:52...
- Page 19 NOTE English - 9 GCSTCW-317_GCSTCB-200_19ESM2 (LA).indd 9 9/11/19 08:52...
- Page 20 XXX where X is any number between 0 and 9 or any letter between A and Z. La siguiente información es para México solamente. The following information is intended for Mexico only. PLANCHA DE VAPOR MODELOS: GCSTCW-317-013 , GCSTCB-200-013 IMPORTADOR: NEWELL BRANDS DE MÉXICO S.A. DE C.V. AV. JUÁREZ NO. 40-201, EX–HACIENDA DE SANTA MÓNICA, TLALNEPANTLA, ESTADO DE MÉXICO,...