Advertisement
Quick Links
The battery pack is not fully charged out of the carton. Before
using the battery pack and charger, read the safety instructions
in the Safe Operation Practices section and then follow charging
procedures outlined in this section. When ordering replacement
battery packs, be sure to include the catalog number and
voltage.
Important Charging Notes
1. Longest life and best performance can be obtained if
the battery pack is charged when the air temperature
is between (65° F - 75° F (18° C - 24° C). DO NOT charge
when the battery pack is below +40° F (+4.5° C), or above
+104° F (+40° C). This is important and will prevent
serious damage to the battery pack.
2. The charger and battery pack may become warm to the touch
while charging. This is a normal condition, and does not
indicate a problem. To facilitate the cooling of the battery
pack after use, avoid placing the charger or battery pack in a
warm environment such as in a metal shed or an uninsulated
trailer.
3. If the battery pack does not charge properly:
a. Check operation of receptacle by plugging in a lamp or
other appliance;
b. Check to see if receptacle is connected to a light switch
which turns power off when you turn out the lights;
c. Move the charger and battery pack to a location where
the surrounding air temperature is approximately 65°
F - 75° F (18° C - 24° C);
d. If charging problems persist, take the tool, battery pack
and charger to your local service center.
4. The battery pack should be recharged when it fails to produce
sufficient power on jobs which were easily done previously.
Do not CONTINUE to use under these conditions. Follow the
charging procedure. You may also charge a partially used
pack whenever you desire with no adverse effect on the
battery pack.
5. Foreign materials of a conductive nature such as, but not
limited to, grinding dust, metal chips, steel wool, aluminum
foil or any buildup of metallic particles should be kept away
from charger cavities. Always unplug the charger from the
power supply when there is no battery pack in the cavity.
Unplug the charger before attempting to clean.
6. Do not freeze or immerse the charger in water or any other
liquid.
BATTERIES & CHARGERS
Charging a Battery
NOTE: Use battery charger CC602 ONLY to charge the batteries
used with this mower.
NOTE: To ensure maximum performance and life of lithium-ion
battery packs, charge the battery pack fully before first use.
1. Plug the charger into an appropriate outlet before inserting
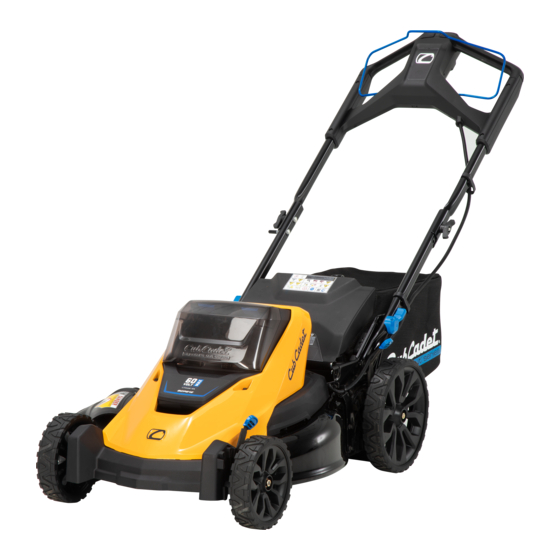
2. Connect the charger and battery pack (Figure 1), making
3. The completion of charge will be indicated by the light
NOTE:
battery pack release button to be pressed.
A charger will not charge a faulty battery pack. The charger
refusing to light could indicate a problem with the charger.
NOTE:
battery pack to be tested at an authorized service center.
HOT/COLD PACK DELAY
When the charger detects a battery pack that is too hot or too
cold, it automatically starts a Hot/Cold Pack Delay, suspending
charging until the battery pack has reached an appropriate
temperature. The charger then automatically switches to the
pack charging mode. This feature ensures maximum battery
pack life.
A cold battery pack may charge at a slower rate than a warm
battery pack.
9
battery pack.
sure the battery is fully seated. The (charging) light will blink
continuously indicating that the charging process has started.
Figure 1
remaining ON continuously. The battery pack is fully charged
and may be removed and used at this time or left in the
charger.
To remove the battery pack, some chargers require the
Indicators
Charging
Fully Charged
Hot/Cold Pack Delay
If the charger refuses to light, take the charger and
LEDs
Advertisement

Related Manuals for Cub Cadet SCP21E


Summary of Contents for Cub Cadet SCP21E
- Page 1 BATTERIES & CHARGERS Charging a Battery The battery pack is not fully charged out of the carton. Before using the battery pack and charger, read the safety instructions NOTE: Use battery charger CC602 ONLY to charge the batteries in the Safe Operation Practices section and then follow charging used with this mower.
-
Page 2: Batteries And Chargers
BATTERIES & CHARGERS Battery and Battery Charger Care Transportation WARNING STORAGE RECOMMENDATIONS 1. The best storage place is one that is cool and dry, away Fire hazard. Do not store or carry the battery pack so that from direct sunlight and excess heat or cold. metal objects can contact exposed battery terminals. - Page 3 ASSEMBLY AND SET-UP NOTE: Reference to right and left hand side of the Lawn Mower is 5. Securely tighten the wing knobs to secure the upper handle observed from the operating position. to the lower handle. 6. Rotate the handle adjustment levers to release the handle Unpacking adjustment pins from the handle bracket.
- Page 4 ASSEMBLY AND SET-UP GRASS CATCHER ASSEMBLY GRASS CATCHER 1. Follow steps below to assemble the grass catcher (if needed). 1. Lift mower rear discharge door. (Figure 8). Make certain bag is turned right side out before assembling 2. Place grass catcher into the slots in the handle brackets. (warning label will be on the outside) (Figure 6).
-
Page 5: Cutting Height
ASSEMBLY AND SET-UP CUTTING HEIGHT INSTALLING BATTERY The cutting height adjustment lever is located above the front IMPORTANT: Use only with series CC6050 or CC6025 batteries. and rear left wheel. 1. Lift up the battery housing lid. 1. Pull the cutting height adjustment lever towards wheel. 2.