Table of Contents
Advertisement
Quick Links
o o o o o o o o o o o o o o o o o o o o o o o o o o o o o o o o o o o o o o o o o o o o o o o o o o o o o o o o o o o o o o o o o o o o o o o o o
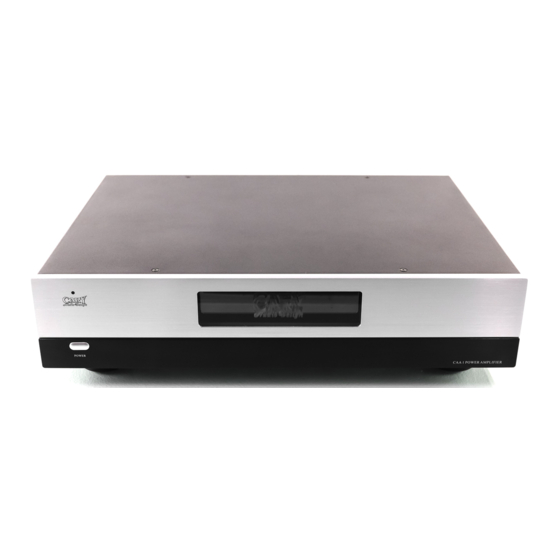
CAA 1
Full Balanced Power Amplifier
NOTE: Before installing your new component, please read this manual carefully
as it will inform you of the product specifications, proper installation and correct
operating procedures for your unit. Also included in this manual are guidelines
on how to service and care for your new Cary Audio Design product.
Advertisement
Table of Contents

Related Manuals for Cary Audio Design CAA 1


Summary of Contents for Cary Audio Design CAA 1
- Page 1 NOTE: Before installing your new component, please read this manual carefully as it will inform you of the product specifications, proper installation and correct operating procedures for your unit. Also included in this manual are guidelines on how to service and care for your new Cary Audio Design product.
-
Page 2: Table Of Contents
TABLE OF CONTENTS Important Safety Instructions ... 2-4 Welcome Thank You ... 5 Unpacking and Installation ... 5 Specifications Basic Specifications ... 6 Operation Connections ... 7 Switching On ... 7 Controls & Displays Front Panel ... 8 Rear Panel ... 9-10 Service and Care Care and Cleaning ... -
Page 3: Important Safety Instructions
WARNING: To reduce the risk of fire or electric shock, do not expose this appliance to rain or moisture. The lightning flash with arrowhead symbol within an equilateral triangle is intended to alert the user to the presence of un-insulated dangerous voltage within the product’s enclosure that may be of sufficient magnitude to constitute a risk of electric shock to persons. - Page 4 14. LIGHTNING: For added protection for the unit during a lightning storm, or when it is left unattended and unused for long periods of time, unplug it from the wall outlet and disconnect the antenna or cable system. This will prevent damage to the unit due to lightning and power line surges.
- Page 5 26. FCC INFORMATION FOR USER: CAUTION: ANY changes or modifications not expressly approved by the party responsible for compliance could void the user's authority to operate the equipment. NOTE: This equipment has been tested and found to comply with the limits for a Class B digital device pursuant to Part 15 of the FCC Rules.
-
Page 6: Welcome
CAA 1 power amplifier design offers high output power and high efficiency in an attractive small chassis. The CAA 1 is rated at 125 watts per channel into an 8 ohm load and it is capable of doubling the output power to 250 watts into a 4 ohm load. This type of performance is only possible with rugged, over designed power supplies. -
Page 7: Specifications
The following section describes the CAA 1’s basic specifications. The specifications are subject to change without notice or obligation. BASIC SPECIFICATIONS Inputs Input Sensitivity Controller Connectors Input Impedance Rated Power Output Rated THD Frequency Response Damping Factor Signal-to-Noise Ratio Voltage Gain... -
Page 8: Operation
• The indicator lights when the power amplifier is switched to standby mode. BREAKING-IN • The CAA 1 requires at least 100 hours of continuous operation after it is first turned on to sound its best. This gives the materials in various circuit components a chance to "form"... -
Page 9: Controls & Displays
FRONT PANEL 1. POWER button • Press once to turn the power “ON”. • Press again to set to the "OFF" position and turn the power off. The amplifier will enter into Standby and the blue LED will light. 2. POWER ON indicator •... -
Page 10: Rear Panel
DO NOT OVERTIGHTEN the CAA 1 binding posts. Tight, high-contact pressure connections can be achieved with finger-tightening. DO NOT FORCE the CAA 1 binding post "wings" up and over a bent or oversized connector. Doing so may result in binding post damage. If the connector obstructs "wing"-turning, slide it into place when the binding post opening provides a snug fit. - Page 11 4. BALANCED INPUTS Accepts right-channel and left-channel balanced signals from the associated • preamplifier with balanced outputs. The pin assignments of these XLR-type female input are: • Pin 1: Signal ground Pin 2: Signal + (non-inverting) Pin 3: Signal - (inverting) Connector ground lug: chassis ground Refer to your preamplifier's operating manual to verify that the pin assignments of its input connectors correspond to this unit.
-
Page 12: Service And Care
Please retain and always use the original shipping carton for shipping the player. NON-WARRANTY REPAIRS Cary Audio Design will provide repair service for its products charging on a time and expense basis. At this time, the standard non warranty service bench fee is $125 with all parts used for repair charged extra. -
Page 13: United States Limited Warranty
CAVT 300B vacuum tube which has a (1) one year from purchase date exchange policy. Any digital drive design, whether a Cary Audio Design CD or SACD player or a Cary Cinema DVD player, has a limited one year parts and labor warranty against defects in manufacture. This is a limited warrant, for the original purchaser only and does not transfer to any subsequent owner. - Page 14 CARY AUDIO DESIGN 1020 Goodworth Drive, Apex, NC 27539 phone 919-355-0010 fax 919-355-0013 www.caryaudio.com o o o o o o o o o o o o o o o o o o o o o o o o o o o o o o o o o o o o o o o o o o o o o o o o o o o o o o o o o o o o o o o o o o o o o o o o o...