Table of Contents
Advertisement
Quick Links
Installation Guide
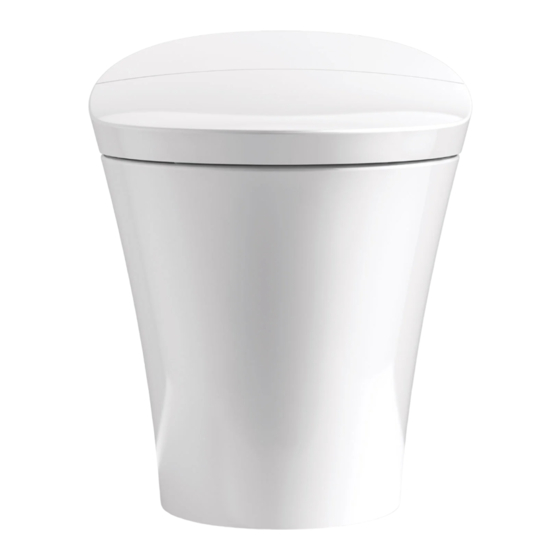
VEIL INTELLIGENT TOILET
K-5401IN-0
Kohler China Investment Co., Ltd.
No.158, Jiangchangsan Road, Jing'An District, Shanghai, PRC Post Code : 200436
Manufacturer: Shanghai Kohler Electronics., Ltd.
No. 1955, Fengxiang Road, Baoshan Area, Shanghai, PRC Post Code : 200444
1373184-IN01-A
Advertisement
Table of Contents

Related Manuals for Kohler K-5401IN-0


Summary of Contents for Kohler K-5401IN-0
- Page 1 Installation Guide VEIL INTELLIGENT TOILET K-5401IN-0 Kohler China Investment Co., Ltd. No.158, Jiangchangsan Road, Jing'An District, Shanghai, PRC Post Code : 200436 Manufacturer: Shanghai Kohler Electronics., Ltd. No. 1955, Fengxiang Road, Baoshan Area, Shanghai, PRC Post Code : 200444 1373184-IN01-A...
-
Page 2: Before You Begin
These instructions contain important care, cleaning, and warranty information - please leave instructions for the consumer. We appreciate your commitment to Kohler quality. Pleas e take a few minutes to review this manual before installation. If you encounter any installation or performan ce problems, please don't hesitate to contact us.Thanks again for choosing Kohler Company. - Page 3 WARNING: Risk of electric shock,fire or personal injury. This product must be installed safely. Connect only to dedicated 220-240V~, 50/60Hz, 10A circuit protected by Ground-Fault Circuit- Interrupters (GFCI’s) or Earth-Leakage Circuit-Breakers (ELCB’s). WARNING: Must use 10A receptacle. Kohler Co. 1373184-IN01-A...
-
Page 4: Specifications
Bidet inlet hose Tee valve (G3/4) Front of Bowl Bottom View Fig.#3 Kohler reserves the right to change marked dimensions without prior notice. SPECIFICATIONS Average 3.6L, Full flush 4.8L, ECO flush 3.0L Water supply volume Roughing 305mm Min water pressu re 0. 1Mpa (dynamic pressure ) Water pressure Max water pressure 0.74Mpa... -
Page 5: Preparations Before Installation
Hold the rim of the vitreous shell and take out the toilet. WARNING: Risk of personal injury and product damage!Please do not hold the rim of the bidet seat when lifting the the toilet. As the toilet is heavy, please seek help if necessary. Toilet Fig.#5 Kohler Co. 1373184-IN01-A... -
Page 6: Installation
(GFCI's) or Earth-Leakage Circuit-Breakers (ELCB's). Keep bath and shower away from electrical parts (such as remote controller, receptacle,etc). When the electrical supply is mounted on the wall, a GFCI or ELCB protected and water proof receptacle is required. 1373184-IN01-A Kohler Co. - Page 7 Make sure the toilet side mark symbol is align to the drain hole centerline on the finished floor.Mark down the left and right holes. Hole(two sides) Mark symbol Fig.#9 D. Drill two holes and insert plastic inserts and T-bolts (Purchased by customer) 10mm Fig.#10 Bolt Kohler Co. 1373184-IN01-A...
- Page 8 Position the floor flange align the drain hole, and press it onto the finished floor . Silica gel Fig.#11 Remove side plates Unscrew the nut cap on the tee joint. Nut cap Side Plate Fig.#12 1373184-IN01-A Kohler Co.
- Page 9 CAUTION: Risk of product damage . Do not move the toilet after the trap way is properly seated to avoid the wax seal invalidated, Change the wax ring if it is needed to move. WARNING: Risk of personal injury or product damage. Overtightening may cause breakage or chipping. Fig.#14 Kohler Co. 1373184-IN01-A...
- Page 10 Wrong inlet hoses connection sequence is not allowed. NOTE: Please do not reuse the old angle valve. G1/2 valve should be purchased by customers. Recommend to use Kohler valve (1305032-sp). Close by rotating the handle clockwise and open counterclockwise Handle of angle valve...
- Page 11 M. Caulk along the toilet bottom (except for the side plates). Finish installation by fixing the side plates. Projecting portion Coated with silica gel Side plate (two sides) of silica gel are cut off (two sides) Fig.#18 Kohler Co. 1373184-IN01-A...
-
Page 12: Installation Steps
Install the screw so it is covered. Place the remote controller on the holder. Fig.#19 Installation Steps: Public anti-loss installation Screw Hook Expansion Remove the Expansion screw pipe silicome plug Remove the Hook plate silicome plug Remote control Dock Seat gasket Fig.#20 1373184-IN01-A Kohler Co. - Page 13 Function of auto flushing: On Water temp: mid ● Auto UV function: On Pressure: mid ● Sterilized water function: On Position: level 3 ● Deodorization: On Spiral: Water temp: mid ● Pressure: mid ● Pressure: mid ● Kohler Co. 1373184-IN01-A...
-
Page 14: Troubleshooting
Trouble shooting This guide of trouble shooting is for general help only. Authorised representatives or qualified electricians of Kohler Company shall be able to solve all electrical failures. If you want to know about the service of warranty, please contact local dealers or wholesalers. - Page 15 If this toilet is to be repaired and maintained, firstly you have to: Disconnect the power plug of toilet. If necessary, turn off the water valve. Kohler Co. 1373184-IN01-A...
-
Page 16: Important Consumer Information
Do not use abrasive cleaners or solvents. WARN ING: Risk of property or product damage. Kohler Co mpany shall not be responsible or liable for any damage to these fittings caused by the use of cleaners containing chlorine (calcium hypochlorite).