Advertisement
Quick Links
Advertisement

Summary of Contents for LG Studio MHES173 Series
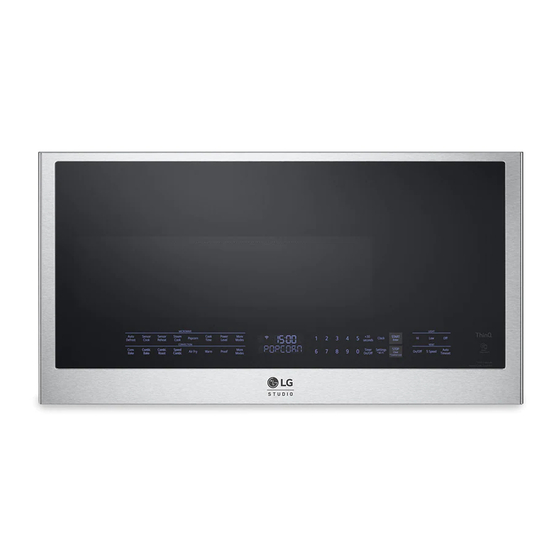
- Page 1 INSTALLATION MANUAL MICROWAVE OVEN Read this installation manual thoroughly before installing the appliance and keep it handy for reference at all times. ENGLISH MHES173** MHEC173** www.lg.com MFL06208713 Copyright © 2021 LG Electronics Inc. All Rights Reserved. Rev.01_112521...
-
Page 2: Table Of Contents
TABLE OF CONTENTS IMPORTANT SAFETY INSTRUCTIONS READ ALL INSTRUCTIONS BEFORE USE WARNING INSTALLATION Before Installing Installing the Microwave Oven 15 APPENDIX Checking Operation... -
Page 3: Important Safety Instructions
IMPORTANT SAFETY INSTRUCTIONS IMPORTANT SAFETY INSTRUCTIONS READ ALL INSTRUCTIONS BEFORE USE Safety Messages Your safety and the safety of others are very important. We have provided many important safety messages in this manual and on your appliance. Always read and follow all safety messages. - Page 4 IMPORTANT SAFETY INSTRUCTIONS • Place the plug into a properly installed and grounded outlet Three-pronged (grounding) plug Properly polarized and grounded outlet • Do not use an extension cord. • Keep the power cord dry and do not pinch or crush it. Failure to follow this instruction may cause a fire hazard.
-
Page 5: Installation
INSTALLATION INSTALLATION Before Installing • Be sure you have enough space (minimum vertical and horizontal clearance). Before You Start Be sure to read the following safety instructions Read the entire manual before you begin. The model number plate is located on the oven front. - Page 6 INSTALLATION Parts Tools and Materials You will need the following tools and materials for Included Parts the installation: NOTE • Depending on your ventilation requirements, you may not use all of these parts. Power cord clamp bushing (1ea): for the cord hole in a metal upper cabinet 1/4"...
-
Page 7: Installing The Microwave Oven
INSTALLATION • The ductwork you need for the installation is not Do not, under any circumstances, remove the included. All wall and roof caps must have a power supply cord grounding prong. back-draft damper (shown in Parts section). • Wear proper gloves to protect your hands from Step 2: Prepare the Venting System injury. - Page 8 INSTALLATION 3 1/4" x 10" to 6" round duct transition NOTE Roof Venting • The ductwork you need for outside ventilation is not included with your oven. See the standard The oven is located on an outside wall near the ductwork fittings.
- Page 9 INSTALLATION the front, unplug the range before covering 6 ft the cooktop to prevent risk of fire and damage if the knobs are accidentally activated while installing the OTR. 2 ft = 25 ft 1/4" x 10" 90° elbow (1ea) = 40 ft Wall cap (1ea)
- Page 10 10 INSTALLATION and one or two blower unit mounting screw(s) Rotate and reinstall the blower unit so that the exhaust ports face the rear of the cabinet and are aligned with the rear knockouts. When you insert the blower unit, the blower wire must be routed as shown.
- Page 11 INSTALLATION Roof-Venting Installation provided. Make sure that the damper swings freely. Follow steps 1 and 2 under Wall-Venting Installation. Rotate and reinstall the blower unit so that the exhaust ports face the top of the cabinet. When you insert the blower unit, the blower wire must be routed as shown.
- Page 12 12 INSTALLATION WARNING • To avoid risk of personal injury, electric shock or death: - Note where electrical outlets and electrical wires are before you drill into the wall. - Locate and disconnect power to any electrical circuits that could be affected by installing this oven.
- Page 13 INSTALLATION hole with the power supply cord bushing (supplied) to prevent damage to the cord from the rough metal edge. Cut out the venting areas (with the saber saw) • Roof-venting: cut out the shaded area marked L on the upper cabinet template. •...
- Page 14 14 INSTALLATION Step 6: Attach the Oven to the Wall supply cord clamp to the inside of the cabinet using a screw. WARNING • To avoid risk of personal injury or property damage, you will need two people to install this microwave oven.
-
Page 15: Appendix
APPENDIX APPENDIX Checking Operation Before Using the Oven Plug in the power supply cord. Read your Owner’s Manual, and then check the operation of your oven.


