
Related Manuals for Honeywell Home Pro Series


Summary of Contents for Honeywell Home Pro Series
-
Page 1: Table Of Contents
T6 Pro USER MANUAL/USER GUIDE Honeywell Home Pro Series Contents hide 1 Optional Cover Plate installation 2 UWP Mounting System installation 3 Power options 4 Setting Slider Tabs 5 Thermostat mounting 6 System operation settings 7 Fan operation settings 8 Installer setup (ISU) -
Page 3: Optional Cover Plate Installation
• T6 Pro Thermostat • UWP Mounting System • Honeywell Standard Installation Adapter (J-box adapter) • Honeywell Decorative Cover Plate – Small; size 4-49/64 in x 4-49/64 in x 11/32 in (121 mm x121 mm x 9 mm) • Screws and anchors •... -
Page 5: Uwp Mounting System Installation
Use the Optional Cover Plate when: • Mounting the thermostat to an electrical junction box • Or when you need to cover paint gap from old thermostat. 1. Separate the Junction Box Adapter from the Cover Plate. See Figure 1. 2. -
Page 7: Power Options
Before starting, turn the power off at the breaker box or switch. Open package to find the UWP. See Figure 5. Position the UWP on wall. Level and mark hole positions. See Figure 6. Drill holes at marked positions, and then lightly tap supplied wall anchors into the wall using a hammer. - Page 9 Set R Slider Tab. • Use built-in jumper (R Slider Tab) to differentiate between one or two transformer systems. • If there is only one R wire, and it is connected to the R, Rc, or RH terminal, set the slider to the up position (1 wire).
-
Page 10: Thermostat Mounting
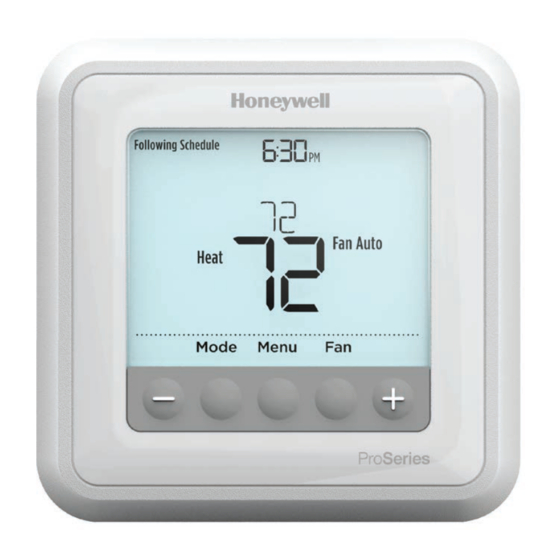
Thermostat mounting 1.Push excess wire back into the wall opening. 2. Close the UWP door. It should remain closed without bulging. 3. Align the UWP with the thermostat, and push gently until the thermostat snaps in place. 4. Turn the power on at the breaker box or switch. System operation settings 1 Press the Mode button to cycle to the next available System mode. -
Page 11: Fan Operation Settings
activate. NOTE: Available System modes vary by model and system settings. System modes: ‒ Auto ‒ Heat ‒ Cool ‒ Em Heat ‒ Off Fan operation settings 1 Press the Fan button to cycle to the next available Fan mode. 2 Cycle through the modes until the required Fan mode is displayed and leave it to activate. -
Page 12: Installer Setup (Isu)
Installer setup (ISU) 1 Press and hold CENTER and buttons for approximately 3 seconds to enter advanced menu. 2 Press Select to enter ISU. 3 Press Select to cycle through menu setup options. 4 Press or to change values or select from available options. 5 Press Select and confirm your settings or press Back to ignore changes and return to ISU menu screen to continue editing another setup option. - Page 13 through page 10.
-
Page 15: Installer System Test
Installer system test To perform a System Test: 1 Press and hold CENTER and buttons for approximately 3 seconds to enter advanced menu. 2 Use to go to TEST. Press Select to enter System Test. 3 Use to change between Heat, Cool, Fan, Em Heat, or Ver (thermostat version information). -
Page 17: Documents / Resources
Documents / Resources Read More About This Manual & Download PDF: Honeywell Series Pro Thermostat [pdf] User Guide/Manual No related articles...