
Summary of Contents for Studer Xtender-WeCo 5k3
- Page 1 Quick Installation Guide Studer Xtender-WeCo batteries READ THE MANUAL BEFORE INSTALLING THE BATTERY WeCo www.wecobatteries.com...
- Page 2 STUDER Xtender WeCo HeSU Battery STUDER Xcom-CAN STUDER RCC-02 www.wecobatteries.com WeCo...
- Page 3 Configuring Studer + Weco This document describes the configuration of Studer’s devices from the xtender range when used with Weco batteries. The xtender range is compatible with following Weco batteries using the xcom CAN through communication with the BMS. Studer xtender range...
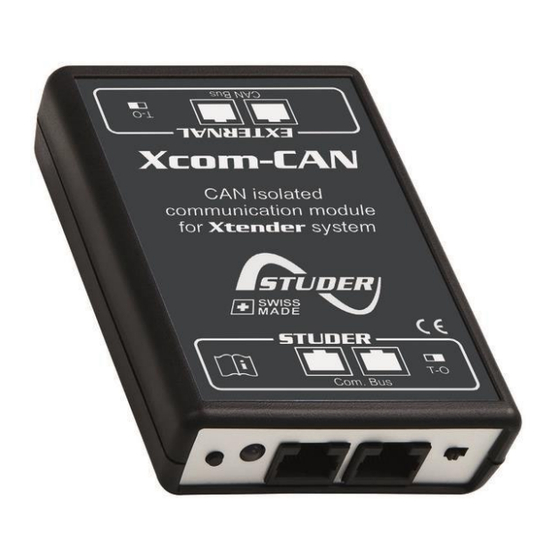
- Page 4 Configurations Remove the back cover of the Xcom-CAN by loosening the two screws on the back side Change the DIP switch settings match the picture and the image below Jumper position as per below scheme (3 are used on a total of 4 jumpers kit) WeCo www.wecobatteries.com...
-
Page 5: Cabling Overview
Cabling Overview Overall Connection Remove the plastic Cover from the bottom side of the Xtender Inverter and remove the front cover of the RCC-02 (1 screw) Remove the back cover of the Xcom-CAN (2 back screws) A- CAN Port 1 of the Inverter (Connects to RCC-02 Port-1) B- CAN Port 2 of the Inverter (Connects to Xcom COM Port-1) C- CAN Port 1 of Xcom-CAN Connects to the battery CAN RJ45 WeCo... -
Page 6: Led Green
Cabling of the devices Xtender Bottom Side A- CAN Port 1 of the Inverter RJ45 Port B- CAN Port 2 of the inverter RJ45 Port Termination Switch to the right of the two RJ45 Ports Set Switch to the right. Xcom-CAN COM Bus Side B- CAN Port 2 of the inverter to RG45 COM Port 1 of Xcom... - Page 7 Cabling of the devices Overall Connection A- CAN Port 1 of the Inverter RJ45 Port B- CAN Port 2 of the inverter RG45 Port Termination Switch to the right of the two RJ45 Ports A- COM Port 1 of the RCC-02 *RCC-02 COM Port 2 is not used B- COM Port 1 of the Xcom (ComBus Side) C- CAN Port 1 of the Xcom (CAN Side)
- Page 8 RCC-02 Battery Infos RCC-02 must show the information as per the picture above www.wecobatteries.com WeCo...
- Page 9 Communications Common Error If the DIP switch are in the wrong position the RCC-02 display Will show only limited battery information or N.A. Once the communication is correct try to disconnect the CAN cable from the battery to the X-Com, must show a RED BACKGROUND Reconnect the CAN cable and the RCC-02 Display must show the info 226 (communication restored, see pic.
- Page 10 www.wecobatteries.com WeCo...
-
Page 11: Battery Overview
BATTERY OVERVIEW Keep the battery OFF Press the ON/OFF button for 10 seconds and make sure that all the LED are OFF and measure the terminal output with a Volt meter. No LED lights should be visible in when the battery is in OFF MODE status Make sure the output is ZERO Volts with a Voltmeter before operating on the battery terminal block WeCo... - Page 12 Cabling of the devices 4K4 PRO BATTERY BOTTOM SIDE CONNECTION From the original position of the DIP switch, move it as shown in the picture, 5 PIN enable the CAN In-Out comm CAN /BMS PORT Attention: any action on the DIP Switch must be followed by a reset of the battery with a long press of the ON/OFF button www.weco.uk.com WeCo...
- Page 13 www.wecobatteries.com WeCo...
-
Page 14: Low Voltage
BATTERY BOTTOM SIDE CONNECTION From the original position of the DIP switch, move it as shown in the picture, 5 PIN enable the CAN In-Out comm HIGH VOLTAGE CONNECTION LOW VOLTAGE DO NOT USE WITH STUDER TERMINAL INVERTER www.wecobatteries.com WeCo...