Viessmann P10 Installation And Service Instructions Manual
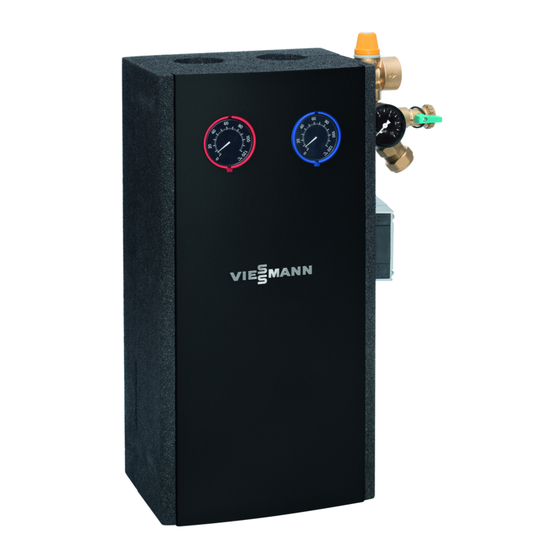
Solar-divicon and solar pump
Hide thumbs
Also See for P10:
- Installation and service instructions manual (16 pages) ,
- Installation and service instructions manual (28 pages) ,
- Installation and service instructions manual (36 pages)

Related Manuals for Viessmann P10


Summary of Contents for Viessmann P10
- Page 1 VIESMANN Installation and service instructions for contractors Solar-Divicon and solar pump assembly Solar-Divicon and solar pump assembly Please keep safe. 5838732 GB 3/2021...
-
Page 2: Safety Instructions
Safety instructions Safety instructions Please follow these safety instruc- tions closely to prevent accidents and material losses. Safety instructions explained Danger Note This symbol warns against the risk Details identified by the word "Note" of injury. contain additional information. Please note This symbol warns against the risk of material losses and environmen- tal pollution. -
Page 3: Repair Work
Please note Repairing components that fulfil a safety function can compromise the safe operation of the system. Replace faulty components only with genuine Viessmann spare parts. Auxiliary components, spare and wearing parts Please note Spare and wearing parts that have... - Page 4 Index Index Information Disposal of packaging ................Symbols ....................Product information ................Spare parts lists .................. ■ Preparing for installation Dimensions .................... Solar-Divicon ..................■ Solar pump assembly ................. ■ Connections and internal components ..........Function of internal components ............■...
-
Page 5: Disposal Of Packaging
Information Disposal of packaging Please dispose of packaging waste in line with statu- tory regulations. Symbols Symbol Meaning Reference to other document containing further information Step in a diagram: The numbers correspond to the order in which the steps are carried out. Warning of material losses and environ- mental pollution Live electrical area... - Page 6 Solar control unit, subject to version ■ page 10. ■ Ball valve with integrated check valve in flow and return lines Spare parts lists Information about spare parts can be found at www.viessmann.com/etapp or in the Viessmann spare part app.
- Page 7 Preparing for installation Dimensions Solar-Divicon Fig. 1 Solar pump assembly Fig. 2...
- Page 8 Preparing for installation Connections and internal components Fig. 3 Solar-Divicon Shut-off valve Solar pump assembly Drain valve Thermometer Flow indicator Safety assembly (safety valve 6 bar, pressure Air separator gauge 10 bar) Fill valve Circulation pump Expansion vessel connection Shut-off valves RL Return Non-return valves VL Flow...
-
Page 9: Preparing For Installation
Preparing for installation Connections and internal components (cont.) Air separator Fig. 4 Air vent valve Hose connection Function of internal components Function of the shut-off and non-return valves Left: Flow line Right: Return line Operating position Vertical position Filling/flushing 90° 45°... -
Page 10: Minimum Clearances
Preparing for installation Connections and internal components (cont.) Shut-off valve and flow rate indicator Checking the flow rate at the top edge of the float l/min Fig. 5 Fig. 6 Shut-off valve (adjusting screw) 1 Flushing 2 Draining 3 Flow rate regulation 4 Operating position (depicted in the diagram) Flow indicator Minimum clearances... -
Page 11: Installation Sequence
Use only bronze, brass or stainless steel fittings, ■ ■ unsuitable for direct contact with swimming pool copper or stainless steel pipes or Viessmann stain- water. less steel solar circuit pipes for the installation. ■ Every time the system is drained, flush the system Use hemp only in conjunction with pressure and tem- with heat transfer medium. - Page 12 Installation sequence Installing the Solar-Divicon Ø10 Fig. 9 1. Remove the insulation shell and cardboard trans- 3. In addition, with type PS20: port protection. Remove the spring clip before removing the flow and return lines.
- Page 13 Installation sequence Installing the Solar-Divicon (cont.) Fig. 10 ■ Installation with copper pipe: Insert the support sleeve into the solar circuit pipework. Secure it to the fitting connections. ■ Installation with stainless steel solar circuit pipe: Trim and deburr in a valley of the corrugation. Do not damage the peak of the corrugation.
- Page 14 Installation sequence Installing the solar pump assembly (cont.) Ø10 Fig. 11 2. In addition, with type PS20: Remove the spring clip before removing the return line. Fig. 12 ■ For installation with copper pipe Insert the support sleeve into the solar circuit pipework.
-
Page 15: Electrical Connections
Installation sequence High limit safety cut-out (accessories) Systems with DHW heating: High limit safety cut-out installation instructions A high limit safety cut-out (accessories) must be instal- led on the DHW side. The high limit safety cut-out must be set to 95 °C. Electrical connections Solar-Divicon: Other electrical connections:... -
Page 16: Replacing The Circulation Pump
Maintenance Maintenance and service work Information on the Solar-Divicon, type PS10 with solar control unit For maintenance and service work, the solar control unit can be hooked into the side of the circulation pump. Replacing the circulation pump 1. Close shut-off valve in the return line (see Fig. -
Page 17: Maintenance
Maintenance Replacing the circulation pump (cont.) Pump curves HE circulation pump with PWM control, types PS 10 and P 10 Pump rate in m³/h Pump rate in l/s Fig. 14 Residual head Maximum output Pressure drop curve Minimum power HE circulation pump with PWM control, types PS 20 and P 20 Pump rate in m³/h 16.7 33.2... - Page 18 Maintenance Replacing the circulation pump (cont.) LED on the HE circulation pump Meaning Cause Remedy Illuminates green Circulation pump in opera- — — tion Flashes green in short in- Circulation pump in stand- — — tervals. Fault indications Flashes red and green Circulation pump is ready Undervoltage (<...
-
Page 19: Specification
Specification Specification Type PS 10, P 10 PS 20, P 20 Wilo circulation pump High efficiency circulation pump PARA ST 15-130/7 PARA 15/7.5 Energy efficiency index EEI 0.21 ≤ ≤ Rated voltage Power consumption Min. ■ Max. 50.0 ■ Flow indicator l/min 1 to 13 5 to 35... - Page 20 Disposal Final decommissioning and disposal Viessmann products can be recycled. Components and substances from the system are not part of ordi- nary domestic waste. For decommissioning, isolate the system from the power supply and allow components to cool down where appropriate.
- Page 21 Keyword index Keyword index Air separator..............9 Minimum clearances..........10 Circulation pump replacement........16 Non-return valve............9 Components.............6, 8 Connections..............8 Pump curves.............. 17 Disposal..............20 Shut-off valve............... 9 Solar-Divicon Electrical connections..........15 – Dimensions............... 7 Explanation symbols............ 5 – Installation............... 12 Solar pump assembly –...
- Page 24 Viessmann Climate Solutions SE Viessmann Limited 35108 Allendorf Hortonwood 30, Telford Telephone: +49 6452 70-0 Shropshire, TF1 7YP, GB Fax: +49 6452 70-2780 Telephone: +44 1952 675000 www.viessmann.com Fax: +44 1952 675040 E-mail: info-uk@viessmann.com...