Advertisement
Quick Links
Installation Guide
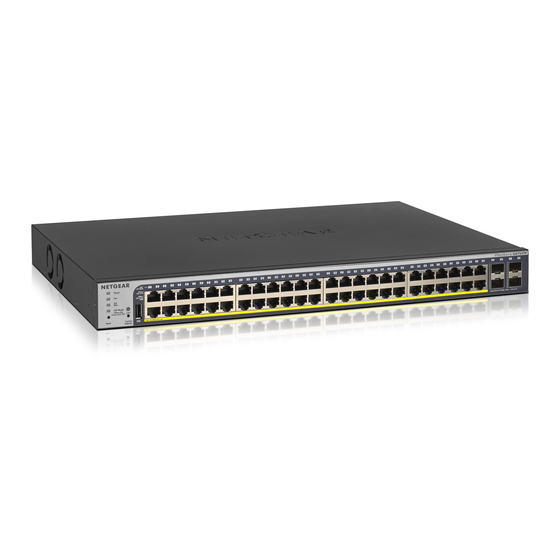
NETGEAR 24-Port Gigabit PoE+ Smart Managed Pro
Switch With 4 SFP Ports
Model GS728TPv2 and GS728TPPv2
Package contents
•
NETGEAR Gigabit PoE+ Smart Managed Pro Switch
•
AC power cord (varies by region)
•
Rubber footpads for tabletop installation
•
19-inch rack-mount kit for rack installation
•
Installation guide
Note:
For more information about installation, see the hardware installation
guide, which you can download from https://www.netgear.com/support/.
1. Connect the switch
Switch
PoE+ access points
1. Connect devices to the RJ-45 PoE+ network ports on the switch front panel.
Use Category 5e (Cat 5e) Ethernet cables terminated with RJ-45 connectors
to make Gigabit connections.
2. Connect an RJ-45 port or SFP port on the switch to a network that includes a
DHCP server.
Note:
In a small office or home office network, connect the switch to the LAN
port of a router that is connected to a modem.
If you use an SFP port, you must insert an SFP transceiver module, which you
can purchase from NETGEAR.
3. Power on the switch and wait two minutes.
If you connected the switch to a network with a DHCP server such as a router,
the switch is automatically assigned a new IP address. (The default switch IP
address is 192.168.0.239.)
2. Check the PoE status
The switch can supply up to 30W PoE+ (IEEE 802.3at) to each port. The maximum
PoE power budget across all active PoE+ ports is 190W for model GS728TPv2
switch and 380W for model GS728TPPv2.
The PoE Max LED indicates the status of the PoE budget on the switch:
•
Off. Sufficient (more than 7W of) PoE power is available.
Sample connections
•
Solid yellow. Less than 7W of PoE power is available.
Blinking yellow. At least once during the previous two minutes, less than
•
7W of PoE power was available.
Network
Internet
router
3. Discover and register the switch with the
NETGEAR Insight app
PoE conference phone
If the switch is connected to a WiFi router or access point and to the Internet, you
can use the NETGEAR Insight app to discover the switch in your network, register
the switch with NETGEAR, and activate your warranty.
1. Connect your iOS or Android mobile device to the same WiFi network as the
switch.
2. On your mobile device, visit the app store, search for NETGEAR Insight, and
download the latest version of the app.
3. Open the NETGEAR Insight app.
4. If you did not set up a NETGEAR account, tap Create NETGEAR Account
and follow the onscreen instructions.
5. Enter the email address and password for your account and tap LOG IN.
After you log in to your account, the switch displays in the devices list. *
6. Write down the switch IP address for future use.
7. In the devices list, select the switch, and tap the ADD DEVICE button.
8. Select a network location, or create and select a new network location.
The switch is registered and added to your account.
* If the switch does not display in the devices list, do the following:
Tap + in the upper-right corner. Either use your phone's camera to scan the QR
code or serial number bar code, or type in the serial number. Tap GO (this is not
necessary if you scanned the QR code). Follow the onscreen instructions to add
your switch to a network location.
Advertisement

Related Manuals for NETGEAR GS728TPv2


Summary of Contents for NETGEAR GS728TPv2
- Page 1 If the switch is connected to a WiFi router or access point and to the Internet, you Switch With 4 SFP Ports can use the NETGEAR Insight app to discover the switch in your network, register 1. Connect devices to the RJ-45 PoE+ network ports on the switch front panel.
- Page 2 You can change the management mode so that you can manage the switch remotely from the cloud with the NETGEAR Insight app, or, if you are an Make sure that the switch is connected to the Internet. During the initial login, the...