Table of Contents
Advertisement
Region number
The player plays DVD-Video marked with labels containing the
region number "1" or "ALL".
Example:
A s a n E N E R G Y S T A R
Panasonic has determined that this
product meets the ENERGY STAR
guidelines for energy efficiency.
1
For Canada only:
The word "Participant" is used in
place of the word "Partner".
P
PC
Dear customer
Thank you for purchasing this product. For optimum performance
and safety, please read these instructions carefully before
connecting, operating or adjusting this product. Please keep this
manual for future reference.
Table of contents
IMPORTANT SAFETY INSTRUCTIONS .................................. 2
Accessories ............................................................................. 3
Disc information ...................................................................... 4
Tray/disc handling procedure ................................................ 5
Simple setup
STEP 1 Positioning and connecting the speakers ......... 6
STEP 2 Television .............................................................. 7
STEP 3 Connecting the antennas and AC power supply
STEP 4 The remote control ............................................... 8
STEP 5 QUICK SETUP ....................................................... 9
STEP 6 Setting the time ..................................................... 9
DEMO function ...................................................................... 9
Control guide: main unit ....................................................... 10
Control guide: remote control .............................................. 11
Discs — Basic play ................................................................ 12
Discs — Convenient functions ............................................. 14
Discs — Using navigation menus ........................................ 16
Discs — Using On-screen menus ........................................ 18
Discs — Changing the player's settings ............................. 21
The radio ................................................................................ 23
Cassette tapes — Play and Recording ................................ 24
Sound field and sound quality ............................................. 26
Convenient functions
Auto-off function/Dimming the display/Muting the volume/
The sleep timer ..................................................................... 27
The play/record timer ............................................................ 28
Using other equipment
Home Theater — Enjoying more powerful sound ................. 29
Using an external unit ........................................................... 29
Operating a television ........................................................... 29
Enjoying more powerful bass/Changing the remote control
code/Other antenna connections .......................................... 30
Glossary ................................................................................. 31
Troubleshooting guide .......................................................... 32
Product Service ..................................................................... 34
Listening caution ................................................................... 34
Maintenance ........................................................................... 34
P a r t n e r
,
1
®
When moving the unit ........................................................... 34
Limited Warranty (ONLY FOR U.S.A.) .................................. 35
®
Specifications ......................................................... Back cover
Operations in these instructions are described mainly
for the remote control, but you can do the operations
on the main unit if the controls are the same.
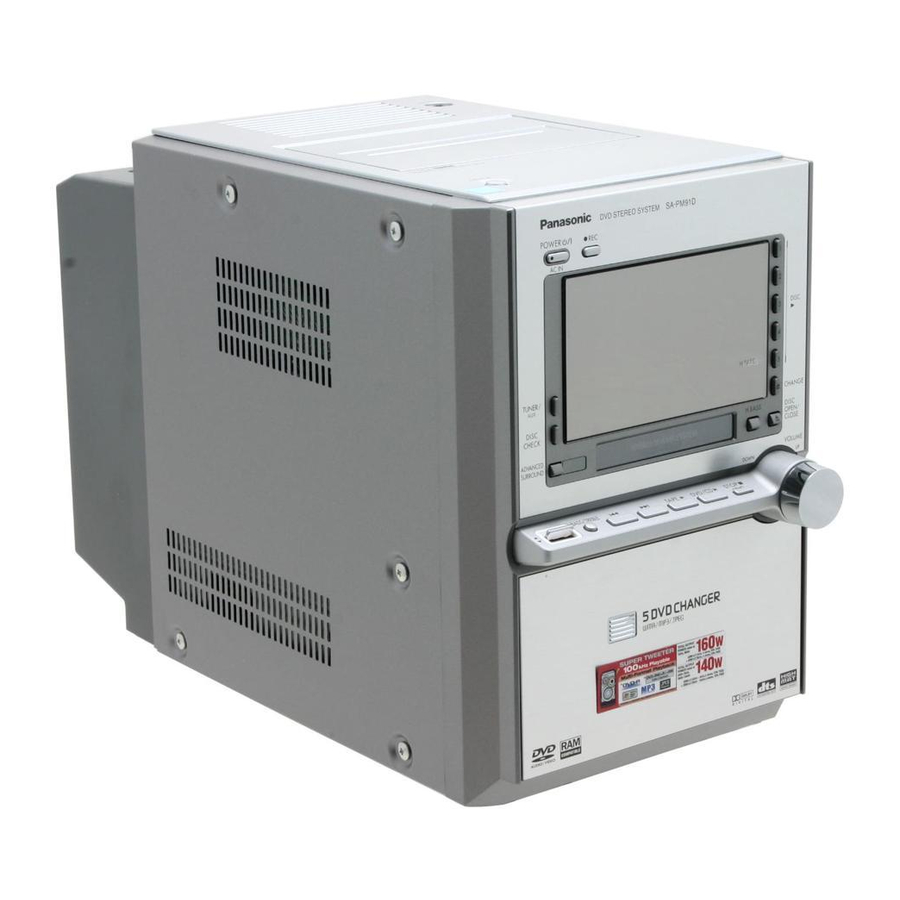
Operating Instructions
DVD Stereo System
SC-PM91D
Model No.
cord ........................................................................ 8
RQT7932-3P
Advertisement
Table of Contents

Related Manuals for Panasonic SC-PM91D


Summary of Contents for Panasonic SC-PM91D
- Page 1 The player plays DVD-Video marked with labels containing the region number “1” or “ALL”. Example: A s a n E N E R G Y S T A R Panasonic has determined that this product meets the ENERGY STAR guidelines for energy efficiency. For Canada only: The word “Participant”...
-
Page 2: Important Safety Instructions
IMPORTANT SAFETY INSTRUCTIONS Read these operating instructions carefully before using the unit. Follow the safety instructions on the unit and the applicable safety instructions listed below. Keep these operating instructions handy for future reference. Read these instructions. Keep these instructions. Heed all warnings. -
Page 3: Telephone Number
Please note them in the space provided below and keep for future reference. MODEL NUMBER SERIAL NUMBER SC-PM91D SA-PM91D SB-PM91 Please check and identify the supplied accessories. Use numbers indicated in parentheses when asking for replacement parts. -
Page 4: Disc Information
Disc information Discs that can be played Disc Logo DVD-RAM DVD-Audio DVD-Video DVD-R/ DVD-RW +R (Video)/ — (Video) Video CD SVCD CD-R — CD-RW A process that allows play on compatible equipment. • It may not be possible to play the above discs in all cases due to the type of disc or condition of the recording. ■... -
Page 5: Tray/Disc Handling Procedure
Tray/disc handling procedure Adhere to the following to avoid problems. Opening/closing a disc tray Open/close the tray only with [;, DISC OPEN/CLOSE]. PO WE R AC I N DISC TUNER/ DISC CHANGE CHECK H. BASS DISC OPEN/ ADVANCED CL OSE SURROUND VO L UM E DO W N... -
Page 6: Positioning And Connecting The Speakers
Simple setup STEP a. Positioning Speaker Main unit Place the speakers so that the tweeters are on the inside. Caution • Use the speakers only with the recommended system. Failure to do so can damage the amplifier and speakers, and can cause fire. Consult a qualified service person if damage occurs or if a sudden change in performance is apparent. - Page 7 2. Select “480p” for Video Output Mode (Picture Menu, ➡ page 19). • All televisions manufactured by Panasonic and that have 480P input connectors are compatible. Consult the manufacturer if you have another brand of television.
-
Page 8: Connecting The Antennas And Ac Power Supply Cord
Connecting the antennas and AC power supply cord STEP Connect the AC power supply after all other connections are complete. AM loop antenna Conserving power The unit consumes power (approx. 0.4 W) even when it is turned off with [^]. To save power when the unit is not to be used for a long time, unplug it from the household AC outlet. -
Page 9: Demo Function
STEP Turn on the television and select the appropriate video input on the television to suit the connection for the unit. Setting the time STEP Select “CLOCK”. Set the time (press within 6 seconds or so). • This is a 12-hour clock. •... -
Page 10: Control Guide: Main Unit
Control guide: main unit Cassette lid OPEN ; (➡ 24, 25) AC IN (AC supply indicator) This indicator lights when the unit is connected to the AC power supply. POWER 8 (standby/on switch) Press to switch the unit from on to standby mode or vice versa. -
Page 11: Control Guide: Remote Control
Control guide: remote control CLOCK/TIMER, SLEEP (➡ 9, 27, 28) ^, TV ^ (➡ 9, 29) H.BASS, SUBWOOFER (➡ 26, 30) DISC, ALL DISC, disc buttons 1 to 5 (➡ 13) GROUP (➡ 13) REPEAT (➡ 14) PLAY MODE (➡ 14, 23) g, STOP (➡... -
Page 12: Discs - Basic Play
Discs — Basic play Open the disc tray. • T h e u n i t t u r n s o n automatically and a tray opens. Volume adjustment VOLUME The stopped play position is memorized when “RESUME” is displayed. STOP Stop •... - Page 13 RAM DVD-A DVD-V VCD Example: To select 12: [ > 10] ➡ [1] ➡ [2] with playback control • Press [g, STOP] then press the Enter numbered buttons. number WMA MP3 JPEG Example: To select 123: [1] ➡ [2] ➡ [3] ➡ [ENTER] •...
-
Page 14: Discs - Convenient Functions
Discs — Convenient functions Soundtracks RAM DVD-A DVD-V VCD (Discs with multiple soundtracks) During play Press [FUNCTIONS] then [e, r] to select “Audio”. Use the Functions menu to change the soundtrack to the one you want (➡ Audio, page 18). RAM VCD You can also select “L”, “R”... - Page 15 Program play (up to 32 items) Programming from a single disc DVD-A DVD-V VCD WMA MP3 JPEG During stop Example: Press [PGM]. Program Playback “PGM” appears. Press the numbered buttons to select the items ( then WMA MP3 JPEG press [ENTER]). •...
-
Page 16: Discs - Using Navigation Menus
Discs — Using navigation menus Playing data discs CD WMA MP3 JPEG • You can play JPEG files on DVD-RAM or play HighMAT discs without using the HighMAT function (➡ Other Menu, page 19). • Only a content list appears when playing CDs, but information for CD- Text discs is correctly displayed. -
Page 17: Playing The Programs On Dvd-Ram
Playing the programs on DVD-RAM Press [DIRECT NAVIGATOR] to show DIRECT NAVIGATOR the program list. Press [e, r] or the Date numbered buttons to 1 11/ 1(WED) 12:05 Friends of a feather select the item. 1/ 1(MON) 2/ 2(TUE) The selected program plays 3/ 3(WED) in the background. -
Page 18: Discs - Using On-Screen Menus
Discs — Using On-screen menus To get disc information or to play from a specified item Select Return to the previous menu Show the Select the menu. FUNCTIONS screen Actual items depend on the disc. Program, Group, Title, Track, Chapter, Play list, Content To start from a specific item. -
Page 19: Advanced Surround
Play Menu Repeat (➡ Repeat play, page 14) A-B Repeat DVD-A DVD-V VCD WMA MP3 Except still picture part on Repeat a section between points A and B within an item. [ENTER] (start point) ➡ [ENTER] (finish point) To cancel: [ENTER] •... - Page 20 Discs — Using On-screen menus To show disc information and play position — QUICK OSD DVD-A DVD-V VCD WMA MP3 Press [SHIFT]+ [QUICK OSD] to show information about the disc playing. Current playback item Condition: play, pause or slow/search • To exit the screen Press [SHIFT]+ [QUICK OSD].
-
Page 21: Discs - Changing The Player's Settings
Discs — Changing the player’s settings Select ENTER Show the Select the Setup menu. menu tab. • The settings remain intact even if you switch the unit to standby. • Underlined items are the factory preset. ■ “Disc” tab—To choose the language and set a rating level Audio Choose the audio language. -
Page 22: Language Code List
Discs — Changing the player’s settings ■ “Audio” tab—To make settings to suit your digital connection and other audio settings PCM Digital Output Select the maximum sampling frequency of PCM digital output. Check the digital input limitations of the equipment you connect. Dolby Digital DTS Digital Surround IMPORTANT... -
Page 23: The Radio
The radio SUBWOOFER H.BASS SOUND ALL DISC DISC GROUP STOP QUICK REPLAY CM SKIP • Press and hold [t] or [y] until the frequency starts scrolling to start automatic tuning. Tuning stops when a station is found. QUICK OSD “ST” is displayed when a stereo FM broadcast is being received. FUNCTIONS If noise is excessive in FM Press [PLAY MODE] to display “MONO”. -
Page 24: Cassette Tapes - Play And Recording
Cassette tapes — Play and Recording Play Press to open and insert a cassette. Make sure that the cassette is fully inserted and close the lid by hand. Volume adjustment Stop Cassette tape selection and care Use normal position tapes. High position and metal position tapes can be played, but the unit is not able to do full justice to the characteristics of these tapes. - Page 25 Recording Recording from disc(s) • Insert the cassette (➡ page 24) • Insert the disc(s) you want to record (➡ Discs—Basic play, page 12). Press to stop playback. Select the disc. Recording specific disc(s) or tracks • Insert the cassette (➡ page 24) Program the tracks (➡...
-
Page 26: Sound Field And Sound Quality
Sound field and sound quality POWER AC IN TUNER/ ADVANCED DISC CHECK SURROUND ADVANCED SURROUND BASS/TREBLE BASS TREBLE TAPE and EQ jog H.BASS Enhancing the bass Press [H.BASS] to select a setting. Every time you press the button: H.BASS LVL 1 H.BASS LVL 2 H.BASS OFF •... -
Page 27: Convenient Functions
AUDIO ONLY — To enjoy even higher quality sound You can enjoy higher quality audio by stopping the video output. During play Press [SHIFT] + [A.ONLY]. • AUDIO ONLY cancels if you press [SHIFT]+[A.ONLY] again or switch the unit to standby. •... - Page 28 Convenient functions The play/record timer You can set the timer to come on at a certain time to wake you up (play timer) or to record a radio station or from the external source (record timer). The play and record timers cannot be used together. •...
-
Page 29: Using Other Equipment
Using other equipment Before connection • Disconnect the AC power supply cord. • Turn off all equipment and read the appropriate operating instructions. • The equipment connections described are examples only. Home Theater — Enjoying more powerful sound Enjoy the powerful movie theater and hall-like sound available with multiple channel audio found on DVD-Video by connecting an amplifier DVD-A and speakers. - Page 30 Using other equipment Enjoying more powerful bass • Connect an active subwoofer (not included). • Place the subwoofer as close as possible to the front center. AM ANT FM ANT LOOP 75 Ω Audio cable SUBWOOFER AC IN OPTICAL HIGH (6Ω) LOW (6Ω) SPEAKERS (SB-PM91D) Adjusting the bass HAUT-PARLEURS...
-
Page 31: Glossary
Glossary Decoder A decoder restores the coded audio signals on DVDs to normal. This is called decoding. Dolby Digital This is a method of coding digital signals developed by Dolby Laboratories. Apart from stereo (2-channel) audio, these signals can also be multi-channel audio. A large amount of audio information can be recorded on one disc using this method. -
Page 32: Troubleshooting Guide
Troubleshooting guide Before requesting service, make the following checks. If you are in doubt about some of the check points, or if the remedies indicated in the chart do not solve the problem, refer to the “Customer Services Directory” on page 35 if you reside in the U.S.A., or refer to “Product information” on page 34 if you reside in Canada. - Page 33 Sound • Check the connections. (6) • Turn the volume up. • Turn muting off. (27) • Turn Advanced surround off if it causes distortion. (26) No sound. • Switch off the unit, determine and correct the causes, then switch the unit on. Distorted sound.
-
Page 34: Product Service
For product information or assistance with product operation: In the U.S.A., refer to “Customer Services Directory” on page 35. In Canada, contact the Panasonic Canada Inc. Customer Care Centre at 1-800-561-5505, or visit the website (www.panasonic.ca), or an authorized Servicentre closest to you. -
Page 35: Limited Warranty
Monday-Friday 9 am-9 pm; Saturday-Sunday 10 am-7 pm, EST. For hearing or speech impaired TTY users, TTY: 1-877-833-8855 Accessory Purchases Purchase Parts, Accessories and Instruction Books online for all Panasonic Products by visiting our Web Site at: http://www.pasc.panasonic.com or, send your request by E-mail to: npcparts@us.panasonic.com... -
Page 36: Specifications
Terminal Pin jack (Y:green, P : blue, P Panasonic Consumer Electronics Company, Division of Panasonic Corporation of North America One Panasonic Way Secaucus, New Jersey 07094 http://www.panasonic.com 2005 Matsushita Electric Industrial Co., Ltd. Printed in Malaysia...