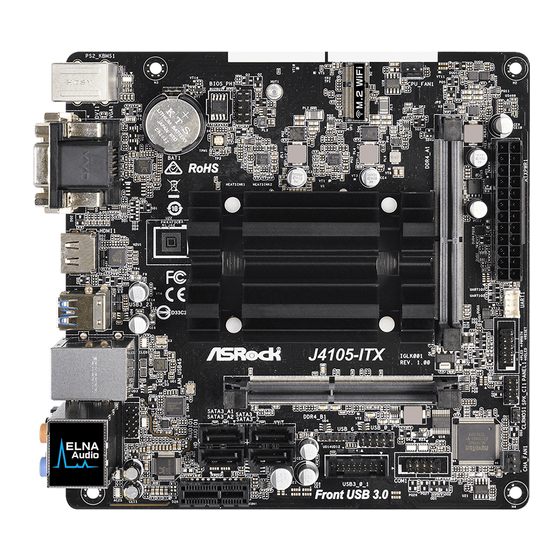
Summary of Contents for ASROCK J4105-ITX
- Page 1 Asrock J4105-ITX HHP Setup Connect the 24-pin power, SATA cable, HDMI, P3-ROC USB, and analog audio as shown. Install the memory DIMM in the slot shown above. (Slot 1) Connect the other side of the SATA cable to the SSD, and plug power into the SSD. ...
- Page 2 To power on the system for the first time, short these two pins with a screwdriver or other metallic object, switch, etc: This will only be required the first time you boot the system ...
- Page 3 Boot the system and enter the BIOS by pressing < DEL> on the keyboard On the Advanced tab, select C PU Configuration Set C PU C States Support to D isabled ...
- Page 4 Back out using < ESC> and enter the C hipset Configuration menu Set R estore on AC Power Loss to P ower On (this is what will make the board power on automatically) ...
- Page 5 Set A smedia SATA3 Mode to D isabled Back out and select S uper I/O Configuration ...
- Page 6 Set S erial Port 1 to D isabled Back out and select A CPI Configuration ...
- Page 7 Make sure S uspend to RAM is set to D isabled Optionally, you can enable USB Keyboard Power on and USB Mouse Power On. This probably isn’t necessary. If you have issues with the board turning on automatically, enable these. ...
- Page 8 On the B oot tab, set F ull Screen Logo to D isabled . Finally, go to the last tab, s ave and exit . On this board, you can select the boot device if needed by pressing F 11 during startup. ...


