Table of Contents

Related Manuals for Neilsen CT0676


Summary of Contents for Neilsen CT0676
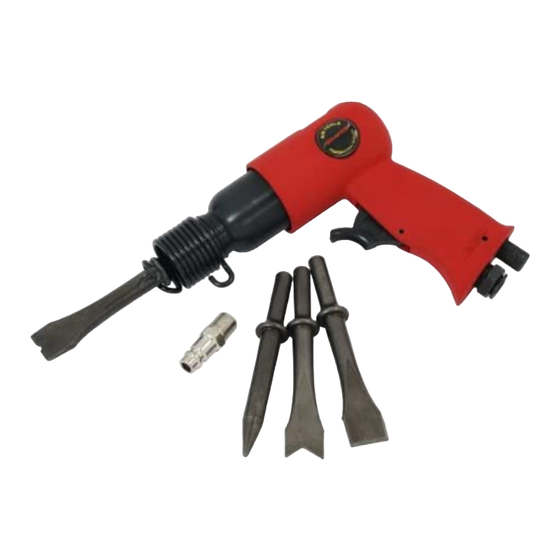
- Page 1 150MM AIR HAMMER CT0676 ORIGINAL INSTRUCTIONS Cannon Tools Limited Address: 20 Station Road, Rowley Regis, West Midlands, B65 0JU.U.K. SAVE THESE INSTRUCTIONS AND PRECAUTIONS. READ ALL PRECAUTONS AND INSTRUCTIONS BEFORE USE.
-
Page 2: Ec Declaration Of Conformity
In case of alteration of the machine, not agreed upon by us, this declaration will lose its validity. Product description:150MM AIR HAMMER Model: CT0676 Applicable EC Directives: EC Machinery Directive 2006/42/EC Harmonized standards EN ISO 11148-4 20 Station Road, Rowley Regis, West Midlands, B65 0JU.U.K. -
Page 3: General Safety Instructions
GENERAL SAFETY INSTRUCTIONS Important! When using equipment, a few safety precautions must be observed to avoid injuries and damage. Please read the complete operating manual with due care. Keep this manual in a safe place, so that the information is available at all times. If you give the equipment to any other person, give them these operating instructions as well. - Page 4 and gloves away from moving parts. Loose clothes, jewelry, or long hair increases the risk of injury to persons as a result of being caught in moving parts. Avoid unintentional starting. Be sure the switch is off before connecting to the air supply. Do not carry the tool with your finger on the switch or connect the tool to the air supply with the switch on.
-
Page 5: Specific Safety Instructions
When servicing a tool, use only identical replacement parts. Use only authorized parts. Use only the lubricants supplied with the tool or specified by the manufacturer. Never connect to an air source that is capable of exceeding 200 PSI. Over pressurizing the tool may cause bursting, abnormal operation, breakage of the tool, or serious injury. -
Page 6: Specifications
6. Grip the tool as lightly as possible (while still maintaining a secure hold). Let the tool do the work. 7. To reduce vibration, maintain tool as explained in this manual. If abnormal vibration occurs, stop immediately. SPECIFICATIONS Blow per minute: 4500bpm Max operating pressure: 6.2bar Avg. - Page 7 6. Adjust the air compressor’s output regulator so that the air output is enough to properly power the tool, but the output will not exceed the tool s maximum air pressure at any time. Adjust the pressure gradually, while checking the air output gauge to set the right pressure range.
- Page 8 TOOL SET-UP WARNIN NG: To preven nt serious inju ry from accide ental operation n, turn off the tool, detach th he air supply, s safely dischar rge any residu al air pressure e in the tool, a and release th e trigger befor performi ing any inspec...
- Page 9 2. Install the chisel. 3. Adjust the air regulator on the bottom of the air hammer handle as needed. 4. Hold the tool with both hands and place the tip of the chisel on the work piece. 5. Squeeze the trigger to start the tool. 6.
-
Page 10: Troubleshooting Guide
3. Quarterly (every 3 months) - Tool disassembly, cleaning, and inspection: Have the internal mechanism cleaned, inspected, and lubricated by a qualified technician. If the vanes need replaced, replace them as a set. TROUBLESHOOTING GUIDE Symptom Possible Cause(s) Corrective Action Check for loose connections and make sure Not enough air pressure and/or air that the air supply is providing enough air flow... -
Page 11: Assembly Diagram And Parts List
ASSEMBLY DIAGRAM AND PARTS LIST 11 ... - Page 12 CANNON TOOLS LTD Add: 20 station road, Rowley Regis, west midlands,B65 0JU.U.K. Made in China 12 ...