Advertisement
Quick Links
Advertisement

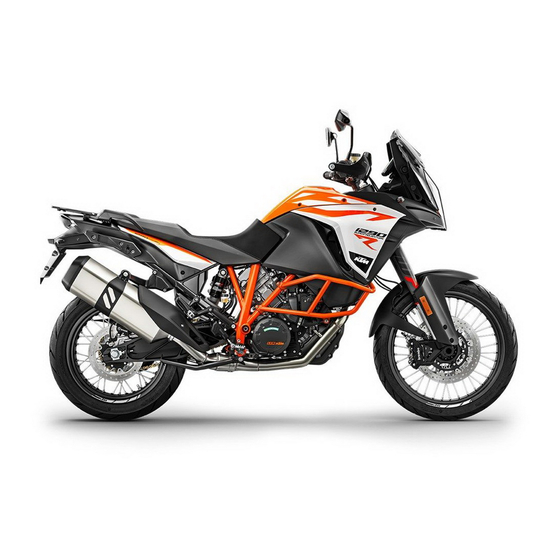
Summary of Contents for KTM 1290 Super Adventure R 2017
- Page 1 SETUP INSTRUCTIONS 2017 1290 Super Adventure R Art. no. 3213630en...
- Page 3 KTM accepts no liability for delivery options, devi- ations from illustrations and descriptions, misprints, and other errors.
-
Page 4: Means Of Representation
MEANS OF REPRESENTATION Symbols used The meaning of specific symbols is described below. Indicates an expected reaction (e.g. of a work step or a function). Indicates an unexpected reaction (e.g. of a work step or a function). Indicates a page reference (more information is provided on the specified page). Indicates information with more details or tips. - Page 5 SETUP Unpacking and setting up the vehicle – Remove the straps and box. V00717-10 – Remove the adhesive tape in the upper area of the motorcycle. F01003-01 – Roll down the film at the sides. Info To avoid damaging the motorcycle during unpacking, leave the other films on the vehicle until you have finished work on the vehicle.
- Page 6 SETUP – Check the throttle grip for smooth operation. – Mount and tighten the rear mirror on both sides. F00997-01 – Mount reflector with spring washers on holding plate – Mount the holding plate on the license plate bracket. (All EU/AU/JP models) –...
- Page 7 SETUP – Mount the frame protector elements on both sides. – Position the left crash bar with frame protector and attach the clamp to the frame tube. Info Cover the components to protect them against damage. – Mount screws but do not tighten yet. Guideline Remaining chassis screws 10 Nm (7.4 lbf ft)
- Page 8 F01008-10 – Apply radio certification sticker to the rear of the combination instrument in area Info If the function KTM MY RIDE is enabled, the sticker must be applied. – Plug in connector – Mount and tighten screws with the sleeves.
- Page 9 Recharge the battery. ( p. 8) – Remove the remaining films. – Check the headlight setting. ( p. 12) – Refuel. ( p. 14) – Prepare the vehicle according to the specifications in the KTM Dealer.net for han- dover to the customer.
-
Page 10: Recharging The Battery
WORK Installing the wind shield – Position wind shield – Mount and tighten screws Guideline Screw, wind shield 3.5 Nm (2.58 lbf ft) K00846-11 Removing the seat – Insert the Race‑on key or the black ignition key into the seat lock and turn clockwise. - Page 11 WORK Info Even when there is no load on the battery, it discharges steadily. The charging level and the method of charging are very important for the service life of the battery. Rapid recharging with a high charging current shortens the service life of the battery. If the charging current, charging voltage, and charging time are exceeded, the battery will be destroyed.
- Page 12 WORK Preparatory work – Switch off all power consumers and switch off the engine. – Remove the seat. ( p. 8) Main work – Pull locking mechanism in the direction of the arrow. – Fold open cover M00632-10 – Disconnect negative cable from the battery.
- Page 13 WORK – Close the cover and push down slightly. The cover engages with an audible click. M00632-11 Finishing work – Mount the seat. ( p. 8) – Set the time and date. Setting the time and date Condition The motorcycle is stationary. –...
-
Page 14: Checking The Headlight Setting
WORK Checking the headlight setting – Park the vehicle on a horizontal surface in front of a light-colored wall and make a mark at the height of the center of the low beam headlight. – Make another mark at a distance under the first mark. - Page 15 WORK – Take the motorcycle off side stand and sit in the motorcycle. – Bring the Race-on key within range of the antenna. – Ensure that the Race-on key stays in range while riding. Guideline Maximum range of the Race-on key 1.5 m (4.9 ft) around the antenna Info...
- Page 16 WORK Warning Danger of poisoning Fuel is poisonous and a health hazard. – Avoid skin, eye and clothing contact with fuel. – Immediately consult a doctor if you swallow fuel. – Do not inhale fuel vapors. – In case of skin contact, rinse the affected area with plenty of water. –...
- Page 17 WORK Warning Danger of poisoning Fuel is poisonous and a health hazard. – Avoid skin, eye and clothing contact with fuel. – Immediately consult a doctor if you swallow fuel. – Do not inhale fuel vapors. – In case of skin contact, rinse the affected area with plenty of water. –...
-
Page 18: Technical Data
TECHNICAL DATA Chassis tightening torques Loctite ® 2701™ Nut, tire pressure sensor (All EU/AU ISO 10V2 12 Nm (8.9 lbf ft) models, US) Nut, valve (Super Adventure R TKC JP) ISO 10V2 12 Nm (8.9 lbf ft) Loctite ® 2701™ –... - Page 19 TECHNICAL DATA – Remaining chassis nuts 25 Nm (18.4 lbf ft) – Remaining chassis screws 25 Nm (18.4 lbf ft) – Screw, bottom triple clamp 12 Nm (8.9 lbf ft) Screw, foot brake lever 25 Nm (18.4 lbf ft) Loctite ®...
- Page 20 SUBSTANCES Super unleaded (ROZ 95/RON 95/PON 91) Standard/classification – DIN EN 228 (ROZ 95/RON 95/PON 91) Guideline – Only use unleaded super fuel that matches or is equivalent to the specified fuel grade. – Fuel with an ethanol content of up to 10 % (E10 fuel) is safe to use. Info Do not use fuel containing methanol (e.
- Page 21 *3213630en* 3213630en 02/2017 KTM Sportmotorcycle GmbH 5230 Mattighofen/Austria Photo: Mitterbauer/KTM http://www.ktm.com...


