Fishman Loudbox Performer User Manual
Fishman loudbox performer: user guide
Hide thumbs
Also See for Loudbox Performer:
- User manual (21 pages) ,
- Features (1 page) ,
- Owner's manual (16 pages)
Table of Contents
Advertisement
Advertisement
Table of Contents

Related Manuals for Fishman Loudbox Performer


Summary of Contents for Fishman Loudbox Performer
- Page 1 USER GUIDE LOUDBOX PERFORMER...
-
Page 2: Table Of Contents
Read Me! Take a few minutes to read through this manual before you power up the Loudbox Performer. To jump in immediately, start with the Important Safety Instructions and the Getting Started sections. While this information will get you on your way, it is not considered a substitute for reading the entire manual. -
Page 3: Safety Warnings
CAUTION Risk of electric shock. Do not open. No user serviceable parts inside. Refer servicing to qualified personnel. Do not expose to rain or moisture. Important Safety Instructions To ensure your personal safety and the safety of others, operate this apparatus only after reading these instructions and heeding the warnings listed below. - Page 4 Hear This! The Loudbox Performer amplifi er is capable of cleanly reproducing the sound of your instrument at very high volume levels. Prolonged repeated exposure to high sound pressure levels (SPLs) without protection can cause permanent hear- ing loss.
-
Page 5: Welcome
Welcome ..and thank you for choosing the Fishman Loudbox Performer! Our passion for acoustic instruments inspired us to create this amp—it is our sincere wish that the Loudbox Performer will inspire you as well! With its unique tri-amplifi... -
Page 6: Getting Started
1. Locate the Power switch (above the rear panel power cord terminal) and switch it off (down position), then connect the power cord. 2. Plug the Loudbox Performer into an electrical outlet with the appropriate AC voltage. NOTE: Operate the amplifi er only at the voltage indicated in the check box on the rear panel. -
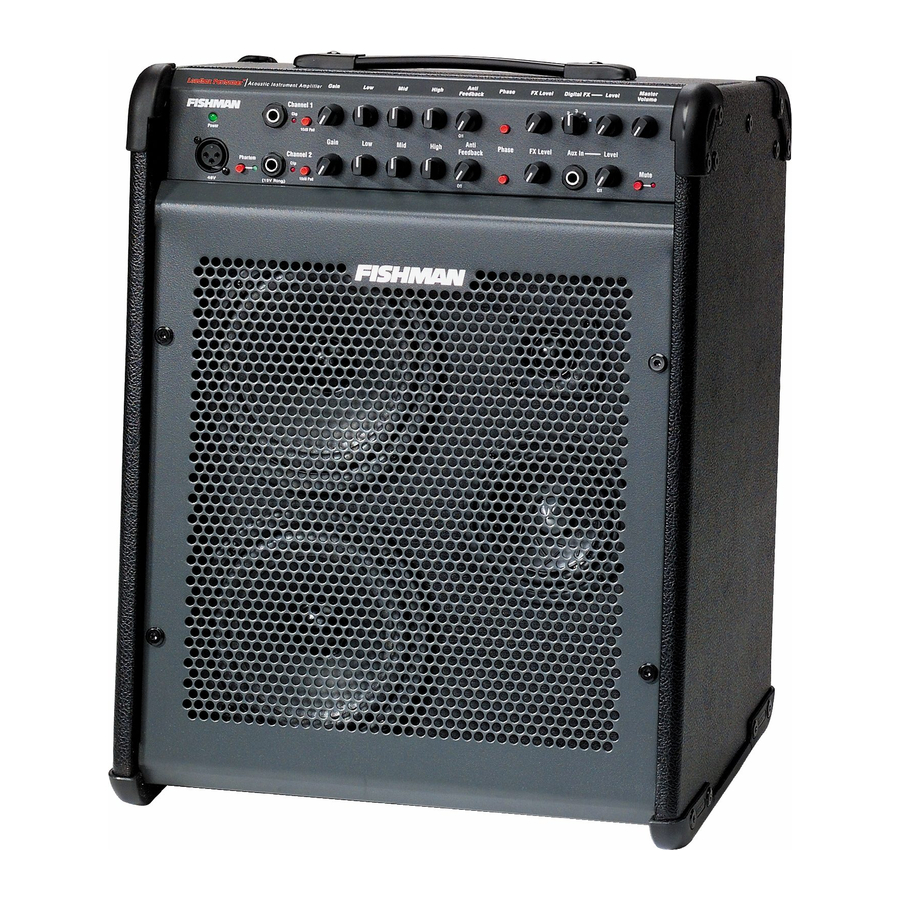
Page 7: Front Panel
Front Panel 1. Power Lights up when the amplifi er power is on. The Power switch is located behind the amp above the AC power cord terminal. 2. Channel 1 input Accepts all types of passive or active acoustic pickups. - Page 8 Wire the mini-mic to Ring and the pickup to Tip and follow the manufacturer’s instructions. Turn on Phantom 15V power if your mini-mic requires it. Stereo cables are available through your Fishman dealer. Note: Items 6–14 are identical for both channels.
- Page 9 Channel 1 and 2 FX Levels. 17. Master Volume Set the overall level of the Loudbox Performer with the Master Volume. In general put the Master Volume as high as possible (2 o’clock to 5 o’clock) to achieve the cleanest sound.
-
Page 10: Rear Panel
Rear Panel 1. Tweeter Level Set the front panel controls fl at and adjust the tweeter level to where it sounds best to you. 2. Aux Input Plug in a line level stereo audio source such as a CD or MP3 player in this input. The ¼”... - Page 11 Power switch Lower the master volume or engage the Mute switch before you turn on the amp. Flip the power switch to the up position and it will light, indicating the amp is on. AC power Operate the amplifi...
-
Page 12: Tone Tips
218001 or equivalent 5 x 20mm, 1A, 250V, time-delay fuse. Tone Tips You can fi nd a balanced tone with the Loudbox Performer when you hear how tone changes as the volume rises. Set up For reference, start with the tone controls fl at (straight-up, twelve o’clock). In this position, there is no equalization applied to your sound. - Page 13 1. Low volume At a low volume (just above conversation level) our ears are not very sensitive to bass and treble, so give the Low and High controls a good boost. Try three o’clock on the dial. 2. Medium volume At intermediate levels, when you need to raise your voice to be heard over the music, the human ear is quite sensitive to midrange.
-
Page 14: About Acoustic Feedback
We have found that it is effective to tune out an instrument’s cavity reso- nance feedback with the Anti Feedback (notch fi lter) in the Loudbox Performer. For acoustic guitar this occurs at G# on the low E-string, or at about 100Hz. Turn the Anti Feedback knob to about 11 o’clock to dial out this resonance. -
Page 15: Phantom Power Faqs
A: All the following can be used safely with phantom power: 1. All balanced condenser microphones. 2. All balanced dynamic microphones. 3. Many new wireless units. Check with the manufacturer for compatibility. 4. A preamp / D.I. designed for phantom-power operation, such as the Fishman Pro-EQ Platinum. -
Page 16: Stereo Blending
Mic (Ring) is routed to Channel 1. 3) Turn on phantom power if mini-mic requires it. Pickup (tip) Turn on Phantom if mini-mic requires it. Mic (ring) Loudbox Performer STEREO CABLE Mic (ring) feeds Channel 1 Pickup (tip) feeds Channel 2 Anti Master... -
Page 17: Block Diagram
Block Diagram... -
Page 18: Specifi Cations
Technical Specifi cations Rated power: Cumulative Woofer Amp Midrange Amp Tweeter Amp All measurements @ nominal line 120V, 60Hz Acoustic response: SPL @ 1 Meter Frequency Response Power consumption: Input impedance: Ch. 1 Ch. 2, ¼”Jack (Tip) Ch. 2, ¼”Jack (Ring) Ch. - Page 19 Program 4 Program 5 Headphone Jack Output Impedance Max Output Level Nominal Output Level Channel 1 & 2 D.I. Out Output Impedance Channel 1 & 2 Effects Sends: Output Impedance Output Voltage Channel 1 & 2 Effects Returns: Input Impedance...
- Page 20 Fishman and Fishman Transducers are trademarks or tradenames of Fishman Transducers Inc. 513-000-021 Rev E 2-09...