
Related Manuals for JVC KD-R746BT


Summary of Contents for JVC KD-R746BT
- Page 1 ENGLISH KD-R746BT CD RECEIVER Please read all instructions carefully before operation to obtain the best possible performance from the unit. INSTRUCTION MANUAL GET0928-001A [U]...
-
Page 2: Table Of Contents
CONTENTS BEFORE USE BEFORE USE Warning Do not operate any function that takes your attention away from safe driving. BASICS Caution GETTING STARTED Volume setting: • Adjust the volume so that you can hear sounds outside the car to prevent accident. RADIO •... -
Page 3: Basics
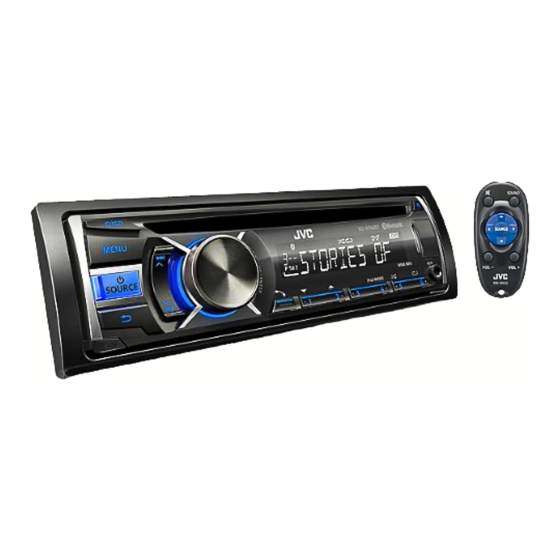
BASICS Faceplate Remote control (RM-RK52) Remote sensor Attach (Do not expose to bright sunlight.) Volume knob (turn/press) Loading slot Display window Detach Pull out the insulation sheet when using for the first time. Detach button How to reset How to replace the battery Your preset adjustments will also be erased. -
Page 4: Getting Started
GETTING STARTED Default: XX CLOCK CLOCK DISP ON: The clock time is shown on the display even when the unit is turned off. ; OFF: Cancels. DIMMER DIMMER SET Selects the display and button illumination adjusted in the [BRIGHTNESS] setting. AUTO: Changes between the day and night adjustments when you turn off or on the car headlights. -
Page 5: Radio
RADIO Other settings “ST” lights up when Press and hold MENU. receiving an FM stereo Turn the volume knob to select [TUNER], then press the knob. broadcast with sufficient signal strength. Turn the volume knob to make a selection (see the following table), then press the knob. -
Page 6: Cd / Usb / Ipod
Turn the volume knob to make a selection, then press the knob. • MP3/WMA file: Select the desired folder, then a file. The source changes to USB and playback • iPod or JVC Playlist Creator (JPC) / JVC Music Control (JMC) file* : Select starts. -
Page 7: Aux
Bluetooth device for more information. playback. Press and hold L SOURCE to turn on the unit. Adjust the microphone angle Search and select “JVC UNIT” on the Bluetooth Use a 3-core plug head stereo mini plug device. for optimum audio output. - Page 8 BLUETOOTH® Perform (A) or (B) depending on what scrolls on the display. Bluetooth mobile phone • For some Bluetooth devices, pairing sequence may vary from the steps described below. (A) “[Device Name]” ] “XXXXXX” ] “VOL – YES” ] “BACK – NO” •...
- Page 9 BLUETOOTH® DIAL NUMBER 1 Turn the volume knob to select a number (0 to 9) or character ( , #, +). Do this 2 Press E / F to move the entry position. Set the echo Press E / F during a call. Repeat steps 1 and 2 until you finish entering the phone number.
- Page 10 “BLUETOOTH” Ô “CHECK MODE” appears. Turn the volume knob to select [RECENT CALL], [PHONEBOOK], or [DIAL NUMBER], Search and select “JVC UNIT” on the Bluetooth device within 3 minutes. then press the knob. “PAIRING OK” appears and Bluetooth compatibility check starts.
- Page 11 [CONNECT] will not be displayed if two Bluetooth phones are connected at the same time. JVC Smart Music Control is designed to view JVC car receiver status and perform simple control operations on Android smart phones. For JVC Smart Music Control operations, visit JVC website: <http://www3.jvckenwood.com/english/car/index.html>...
-
Page 12: Audio Settings
AUDIO SETTINGS Default: XX Other settings AUDIO Press and hold MENU. FADER * R06 — F06 (00): Adjusts the front and rear speaker output balance. Turn the volume knob to select [EQ SETTING] or [AUDIO], then press the knob. Turn the volume knob to make a selection (see the following table), then BALANCE * L06 —... -
Page 13: More Information
JVC Music Control. malfunction. files per folder including folder without unsupported files), and of • When you play audio file with song data added using the JVC • DualDisc playback: The Non-DVD side of a “DualDisc” does 8 hierarchies. -
Page 14: Troubleshooting
TROUBLESHOOTING Symptom Remedy Symptom Remedy Sound cannot be heard. • Adjust the volume to the optimum level. “PAIRING FULL” appears. The number of registered devices has reached its limit. Retry • Check the cords and connections. after deleting an unnecessary device. •... -
Page 15: Specifications
SPECIFICATIONS Maximum Power Output 50 W per channel USB Standard USB 1.1, USB 2.0 Continuous Power Output (RMS) 20 W per channel into 4 Ω, 40 Hz to 20 000 Hz at Data Transfer Rate (Full Speed) Max. 12 Mbps less than 1% total harmonic distortion Compatible Device s Mass storage class... -
Page 16: Installation / Connection
Installing the unit (in-dash mounting) Warning • The unit can only be used with a 12 V DC power supply, negative ground. • Disconnect the battery’s negative terminal before wiring and mounting. • Do not connect Battery wire (yellow) and Ignition wire (red) to the car chassis or Ground wire (black) to prevent a short circuit. - Page 17 Wiring connection Part list for installation Signal cord (not supplied) A Faceplate JVC Amplifier MIC (Microphone input terminal) (➜ 7) Front Rear/subwoofer output output Fuse (10 A) Vehicle dashboard ( ×1 ) Rear ground terminal B Mounting sleeve Remote wire...
- Page 18 • Android is trademark of Google Inc. • The Bluetooth® word mark and logos are registered trademarks owned by Bluetooth SIG, Inc. and any use of such marks by JVC KENWOOD Corporation is under license. Other trademarks and trade names are those of their respective owners.