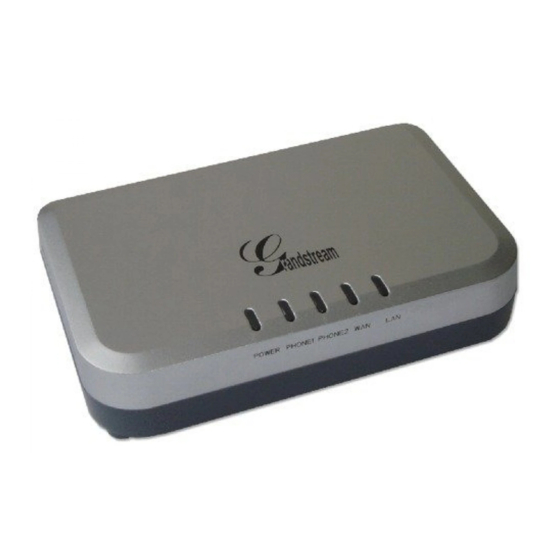
Grandstream Networks HT502 Configuration Manual
Freephoneline
Hide thumbs
Also See for HT502:
- User manual (70 pages) ,
- Quick start manual (8 pages) ,
- Installation manual (2 pages)
Advertisement
Quick Links
Grandstream HT502 Configuration Guide for FreePhoneLine
Official FPL guidelines you can find at: http://support.freephoneline.ca/entries/23120323-VoIP-Unlock-Key-Credentials
All the settings were default on the device before configuration.
Step 1.
Plug all the appropriate wires to your Grandstream HT502 device.
• Internet cable
[Note: Connect Ethernet cable to WAN port of your Grandstream HT502 device and
• Phone line (attached to the phone)
another end to your Internet rack/router]
• Power
Step 2.
By default settings Grandstream HT502 WAN access is disabled.
You have to enable this setting before you access web-based utility.
From the phone attached to Grandstream HT502 device:
• Dial '***' (to access IVR menu)
• Then dial '12' (to check your WAN Port Web Access status)
• Then press '9' (to toggle between enable/disable)
• Hang up the phone
Now, you have to figure out IP address to access web-based utility. From your phone dial:
• '***'
• Then dial '02'
Write down your IP address.
Step 3.
On the PC/Mac connected to the same network as your Grandstream HT502 device, go to your browser
(Internet Explorer; Chrome; Firefox; Opera; Safari, etc.).
In the URL bar put your IP address from Step 2.
[Note: I am using 192.168.23.95 for my IP,
Web-based utility will appear.
Now you have to login.
Default
Password: admin
Software Version: 1.0.12.1
[Note: Use Phone1 port]
your IP address might be
[Note: Your WAN Port Web Access should be enabled]
different!]
1
Advertisement

Summary of Contents for Grandstream Networks HT502
- Page 1 Write down your IP address. Step 3. On the PC/Mac connected to the same network as your Grandstream HT502 device, go to your browser (Internet Explorer; Chrome; Firefox; Opera; Safari, etc.). In the URL bar put your IP address from Step 2.
- Page 2 Step 4. Go to ‘BASIC SETTINGS’ tab and fill in the following settings: Time Zone: [Choose appropriate time zone, depending where you are located] Then click ‘Apply’ button at the bottom After you click ‘Apply’ button, device should ask you to reboot. If so – click on ‘Reboot’ button to apply the changes you have made.
- Page 3 Step 5. Go to ‘FXS PORT 1’ tab and change the following settings: Primary SIP Server: voip.freephoneline.ca OR voip2.freephoneline.ca [Note: For ROGERS Internet provider customers use voip4.freephoneline.ca:6060] NAT Traversal: Keep-Alive SIP User ID: [Your FPL number 1xxxxxxxxxx] Authenticate Password: [Your SIP password] Name: [Your first and last name] Outgoing Call without Registration: No Use Random Port: Yes...
- Page 4 Allow Incoming SIP Messages from SIP Proxy Only: Yes Preferred DTMF method: (in listing order) Priority 1: RFC2833 Priority 2: In-audio Priority 3: SIP INFO Enable Call Features: No Preferred Vocoder: (in listed order): Choice 1: PCMU Choice 2: G729 Choice 3: PCMU Choice 4:...
- Page 5 The device might not ask you for reboot. In this case – after you applied changes, go back to ‘FXS PORT 1’ tab and click ‘Reboot’ at the bottom. Wait while device is rebooting. Step 6. Go to ‘FXS PORT 2’ tab and change the following settings: Account Active: No Then click ‘Apply’...


