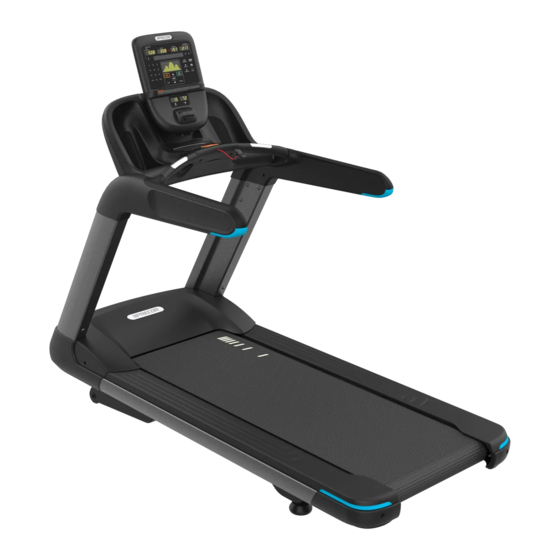
Precor 800 Line Assembly Manual
Hide thumbs
Also See for 800 Line:
- Product owners manual (14 pages) ,
- User's reference manual (11 pages)
Advertisement
Quick Links
Treadmill 800 Line Assembly Guide
Assembly requirements
Precor recommends at least two people for this installation. DO NOT
attempt assembly by yourself.
Follow the steps in the order listed in this assembly guide. Be sure to:
Assemble the equipment close to where you plan to use it.
l
Assemble the equipment on a solid, flat surface, so that it remains level and stable.
l
Locate the equipment a minimum of .6 m (23.6 in.) on either side of the equipment and 2
l
m (79 in.) behind the treadmill. DO NOT move the equipment without assistance.
Hardware kit
Required Tools
Hex wrenches: 5/32, 3/16, and 7/32-inch
7/16-inch-pound torque wrench
Roll of string or fish tape
3/4-inch open end wrench
#3 Phillips screwdriver
Component
Buttonhead screw (3/8-inch x 1-inch
Narrow flat washer (3/8- inch)
Buttonhead screw (3/8-inch x 1-inch)
Buttonhead screw (1/4-inch x 1-inch)
Begin assembly
IMPORTANT After unpacking, follow the ramp assembly instructions (included)
on how to build and use a ramp to safely and securely roll the treadmill base off
the shipping pallet.
1. Ensure the treadmill is sitting on the ground.
2. Remove the hood off the treadmill base and set aside
3. Place the upright support (right side) onto its base frame
side bracket. Route the data cable from the treadmill drive
unit through the smaller channel opening in the upright
support, from bottom to top (Figure 1).
4. Secure the upright support to its side bracket using three
screws and three washers . Partially tighten the fasteners
using a 7/32-inch hex wrench.
5. Repeat Step 4 to attach the other upright support on the
right.
6. Lower the treadmill back (dash assembly) over the upright
supports, then remove the dash cover (Figure 2).
7. Route the data cable, as shown, securing it behind each
cable clip (Figure 3). Ensure there is enough cable to reach
the top right of the console.
|
©2020 Precor Incorporated
Description
|
800 Treadmill Assembly Guide
P/N 305032-101D
Quantity
12
12
6
4
Figure 1
Figure 2
Figure 3
|
|
23 October 2020
1
Advertisement

Summary of Contents for Precor 800 Line
- Page 1 Buttonhead screw (3/8-inch x 1-inch) Assembly requirements Buttonhead screw (1/4-inch x 1-inch) Precor recommends at least two people for this installation. DO NOT attempt assembly by yourself. Begin assembly Follow the steps in the order listed in this assembly guide. Be sure to: Assemble the equipment close to where you plan to use it.
- Page 2 The Precor Figure 5 Limited Warranty does not cover cables damaged by improper installation.
- Page 3 Figure 12 Adjust the running belt tracking All Precor treadmills contain an inactive safety code feature that requires activation to prevent unauthorized use. If you wish to activate this safety code, read it online in the Assembling and Maintaining TRM 800-Series Treadmills Guide at www.precor.com.
- Page 4 (after two minutes). This might occur if an exerciser steps off the treadmill before the end of a workout and leaves the treadmill running. IMPORTANT The default setting for this feature is ON. An administrator can turn off this feature in the System Settings; however, Precor recommends it remain ON.


