
Related Manuals for Timex T2351


Summary of Contents for Timex T2351
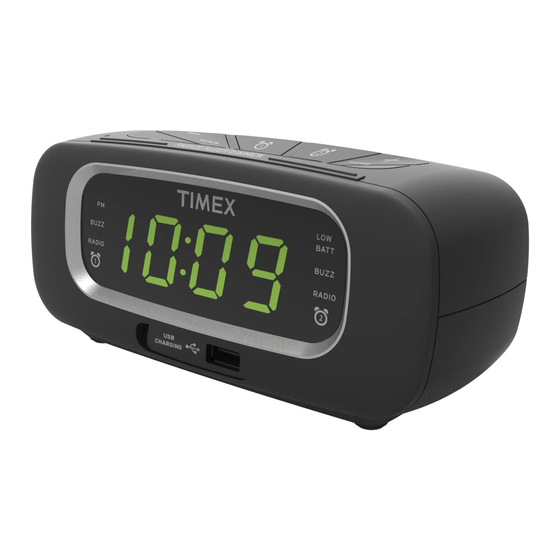
- Page 1 Model T2351 FM Dual Alarm Clock Radio with USB Charging For additional information, online registration, and exclusive special offers visit our website: Questions? Contact Customer Service at 1-800-888-4491...
-
Page 2: Table Of Contents
What’s in the Box This product ships with the following items. Make sure all are present. 3. AC adaptor 1. T2351 Alarm Clock 2. Instruction book Product Care • Place the unit on a level surface away from sources of direct sunlight or excessive heat. -
Page 3: Controls Overview
Controls Overview Top Panel Alarm 1 Clock/Presets Alarm 2 Button Button Button Minutes/Minus Hours/Plus Button Button MINS HOURS Power/Alarm Reset Mode Button MODE ALM RESET Button SNOOZE/SLEEP/DIMMER Decrease Volume Snooze/Sleep Increase Volume Button Button Display Dimmer Button Rear Panel AUX IN 5V/1.5A FM Antenna Aux-in Jack... -
Page 4: Display
Alarm 2 is not armed armed Installing and Replacing Backup Batteries Your new Timex Clock Radio includes a battery backup system that will maintain the time and alarm settings during a temporary power interruption. OPEN Press 1. Keep unit connected to AC power when changing batteries to avoid losing your settings. -
Page 5: Set Up
Set Up Connecting to Power Source Connect the AC adapter to the DC jack on the back of the unit and plug into a working wall outlet that is not controlled by a wall switch. The unit does not operate on batteries (the battery back up system maintains clock settings during power failures). - Page 6 2 SECS LOW BATT BUZZER BUZZER RADIO RADIO Press and hold the Clock/Presets Button until the time flashes on the display. PM indicator HOURS LOW BATT BUZZER BUZZER RADIO RADIO Press and release the Hours/Plus Button to adjust the HOUR. NOTE: The PM indicator will light when the hour is set for PM.
-
Page 7: Setting And Using Alarms
Setting and Using Alarms This unit has two independent alarms, Alarm 1 and Alarm 2. Each is set and operates in the same way. Instructions below show Alarm 1. Follow the same method to set Alarm 2. 2 SECS LOW BATT BUZZER BUZZER RADIO... - Page 8 LOW BATT BUZZER BUZZER RADIO RADIO Press and release the Alarm 1 Button to complete alarm time setting. SELECTING YOUR ALARM SOURCE/DISARMING THE ALARM Alarm set to Buzzer BUZZER Set alarm to Buzzer RADIO Set alarm to Radio BUZZER Alarm set to Radio RADIO Alarm OFF BUZZER...
-
Page 9: Setting And Using The Radio
SNOOZE Press and release the Snooze/Sleep/ SNOOZE/SLEEP/DIMMER Dimmer Button when the alarm sounds to silence it for 9 minutes. Snooze can be used several times during alarm. Setting and Using the Radio BASIC RADIO OPERATION TIP: Extend FM antenna for best reception. MODE ALM RESET Press and release the Power/Alarm Reset Button to turn unit On. - Page 10 PRESET RADIO SETTING AND OPERATION SETTING RADIO PRESETS This unit will store up to 10 FM station presets. MODE ALM RESET Press and release the Power/Alarm Reset Button to turn unit On. Then press and release the Mode Button as needed to select FM radio band. HOURS MINS Press and release the Hours/Plus Button or Minutes/Minus Button to...
-
Page 11: Using In Aux-In Audio
Press and release the Clock/Presets Button to confirm the preset number (P01 - P10) you want to assign to the current station. Continue steps 1- 5 to set all desired presets. PRESET RADIO OPERATION To listen to a preset FM station at any time, press and release the Clock/Presets Button as needed to select the desired preset station. -
Page 12: Sleep Mode/Dimmer
It allows you to fall asleep while listening to the radio or a device that is connected to the Aux In Jack. NOTE: It will power off the Timex unit, but it will not power off your AUX device. -
Page 13: Usb Charging
USB Charging BATT BUZZ BUZZ RADIO RADIO CHARGING Connect a USB cable (not included) to the USB Charging Port on front of the unit and connect the other end to the device you wish to charge. Monitor charging on your device. Battery Cautions and Tips •... -
Page 14: Safety Information
CAUTION RISK OF ELECTRIC SHOCK. DO NOT OPEN CAUTION: TO REDUCE THE RISK OF ELECTRIC SHOCK, DO NOT REMOVE COVER (OR BACK). NO USER-SERVICEABLE PARTS INSIDE. REFER SERVICING TO QUALIFIED SERVICE PERSONNEL. WARNING: TO REDUCE THE RISK OF FIRE OR ELECTRIC SHOCK, DO NOT EXPOSE THIS APPLIANCE TO RAIN OR MOISTURE. AVERTISSEMENT: POUR RÉDUIRE LE RISQUE D’INCENDIE OU DE CHOC ÉLECTRIQUE, NE PAS EXPOSER CET APPAREIL SOUS LA PLUIE ET L’HUMIDITÉ... -
Page 15: Troubleshooting
Troubleshooting 1. The unit does not power ON. The unit is not connected to AC outlet, the AC outlet has no power, or is controlled by a wall switch that is “OFF”. Check AC outlet and wall switch. 2. Alarm does not come on. The alarm time AM or PM incorrectly set, Alarm was OFF, etc. -
Page 16: Warranty Information
Limited 90 Day Warranty Information Timex Audio Products, a division of SDI Technologies Inc. (hereafter referred to as SDI), warrants this product to be free from defects in workmanship and materials, under normal use and conditions, for a period of ninety (90) days from the date of original purchase.