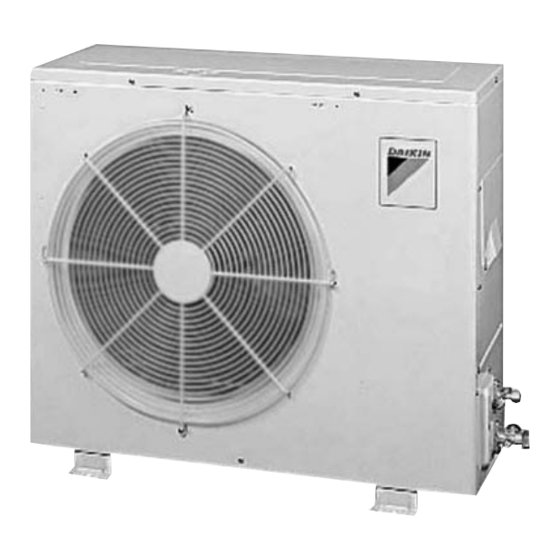
Summary of Contents for Daikin R50BV1
- Page 1 Si01-779 REMOVAL PROCEDURE S E R V I C E M A N U A L 5.0/6.0 kW Class Outdoor Unit Non-Inverter Pair Type...
- Page 2 Service Manual Removal Procedure Outdoor Unit Cooling Only R50BV1 R60BV1 R60BVL R50CV1A R60CV1A RD50FV1K...
- Page 3 Si01-779 Table of Contents 1. Removal of Outer Panels ................2 2. Removal of Electrical Components ASSY ..........3 3. Removal of Compressor .................6 Note: The illustrations may be slightly different depending on the model. Removal Procedure...
- Page 4 Removal of Outer Panels Si01-779 1. Removal of Outer Panels Procedure Warning Be sure to wait 10 minutes or more after turning off all power supplies before disassembling work. Step Procedure Points Remove the 4 screws (A) and remove the Top panel top panel.
- Page 5 Si01-779 Removal of Electrical Components ASSY 2. Removal of Electrical Components ASSY Procedure Warning Be sure to wait 10 minutes or more after turning off all power supplies before disassembling work. Step Procedure Points Disconnect the relay connector for the fan motor.
- Page 6 Removal of Electrical Components ASSY Si01-779 Step Procedure Points Remove the sound blanket (top). (R2355) Remove the terminal The designs of terminal cover. cover and compressor terminal vary depending on the model. (R2356) Remove the overload M: red protector and the 3 lead S: yellow wires for the C: blue...
- Page 7 Si01-779 Removal of Electrical Components ASSY Step Procedure Points Remove the screw. (R2360) Lift up and remove the electrical components ASSY. (R2361) Removal Procedure...
- Page 8 Removal of Compressor Si01-779 3. Removal of Compressor Procedure Warning Be sure to wait 10 minutes or more after turning off all power supplies before disassembling work. Step Procedure Points Before working, make sure that the refrigerant is Warning empty in the circuit. Be careful not to get yourself Be sure to apply nitrogen burnt with the pipes and other...
- Page 9 Si01-779 Removal of Compressor Step Procedure Points Remove the 3 nuts of Note: the compressor. Do not use a metal saw for cutting pipes by all means because the sawdust comes into the circuit. When withdrawing the pipes, be careful not to pinch them firmly with pliers.
- Page 10 Revision History Month / Year Version Revised contents 07 / 2013 Si01-779 First edition...
- Page 11 Improper installation can result in water or refrigerant leakage, electrical shock, fire or explosion. Use only those parts and accessories supplied or specified by Daikin. Ask a qualified installer or contractor to install those parts and accessories. Use of unauthorised parts and accessories or improper installation of parts and accessories can result in water or refrigerant leakage, electrical shock, fire or explosion.


