Makita DFS452 Instruction Manual
Hide thumbs
Also See for DFS452:
- Instruction manual (57 pages) ,
- Instruction manual (56 pages) ,
- Instruction manual (49 pages)
Table of Contents
Advertisement
Available languages
Available languages
Quick Links
Advertisement
Table of Contents

Related Manuals for Makita DFS452


Summary of Contents for Makita DFS452
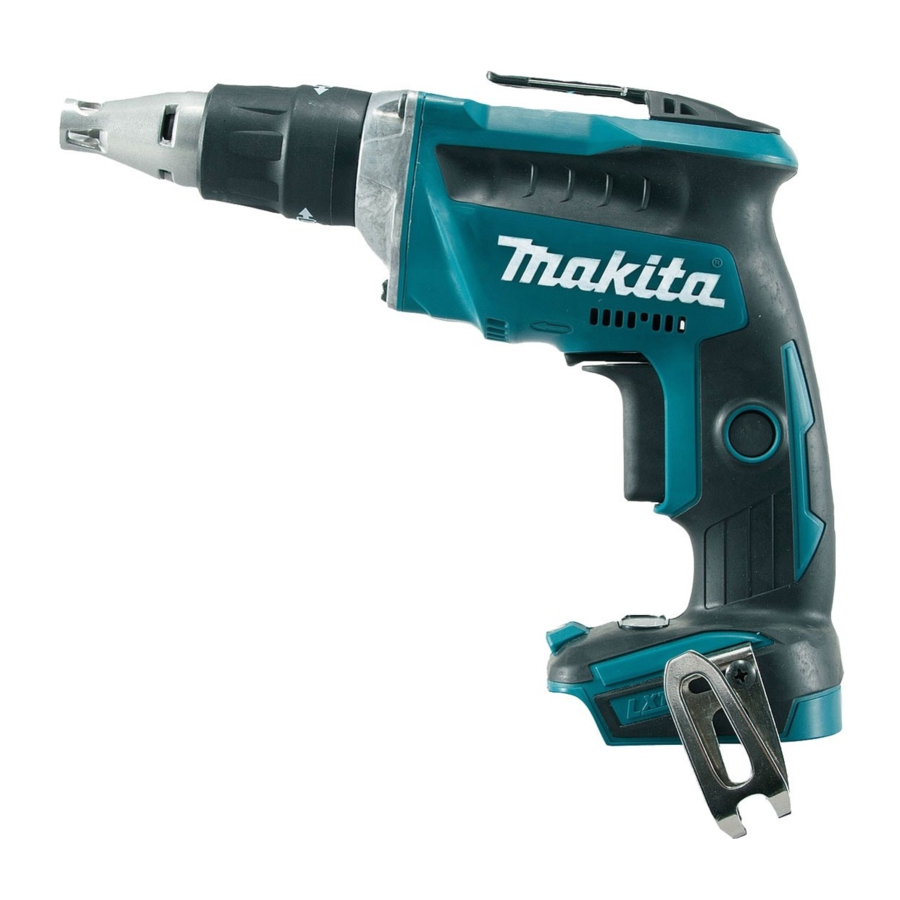
- Page 1 INSTRUCTION MANUAL MANUEL D'INSTRUCTION MANUAL DE INSTRUCCIONES Cordless Screwdriver Visseuse sans Fil Atornillador Inalámbrico DFS452 IMPORTANT: Read Before Using. IMPORTANT : Lire avant usage. IMPORTANTE: Lea antes de usar.
-
Page 2: Specifications
ENGLISH (Original instructions) SPECIFICATIONS Model DFS452 Capacities Self drilling screw 6 mm (1/4") Drywall screw 5 mm (3/16") No load speed (RPM) 0 - 4,000 /min Overall length 251 mm (9-7/8") Net weight 1.5 kg ( 3.2 lbs) 1.7 kg ( 3.8 lbs) Rated voltage D.C. - Page 3 Power tool use and care CORDLESS SCREWDRIVER 17. Do not force the power tool. Use the correct SAFETY WARNINGS power tool for your application. The correct power tool will do the job better and safer at the Hold power tool by insulated gripping sur- rate for which it was designed.
-
Page 4: Functional Description
Use of non-genuine Makita batteries, or batteries that have been altered, may result in the battery burst- ing causing fires, personal injury and damage. It will also void the Makita warranty for the Makita tool and ► 1. Red indicator 2. Button 3. Battery cartridge charger. -
Page 5: Electric Brake
Electric brake This tool is equipped with an electric brake. If the tool consistently fails to quickly stop after switch trigger release, have tool serviced at a Makita service center. Lighting up the lamp ► 1. Switch trigger 2. Lock button To start the tool, simply pull the switch trigger. -
Page 6: Overload Protection
Overheat protection for tool Indicating remaining battery capacity When the tool is overheated, the tool stops automati- (Country specific) cally and the battery indicator shows following state. In this situation, let the tool cool before turning the tool on again. Battery indicator Blinking Tool is overheated... -
Page 7: Depth Adjustment
Reversing switch action 3 mm (1/8") CAUTION: • Always check the direction of rotation before operation. • Use the reversing switch only after the tool comes to a complete stop. Changing the direc- tion of rotation before the tool stops may dam- age the tool. -
Page 8: Operation
To maintain product SAFETY and RELIABILITY, repairs, carbon brush inspection and replacement, any other maintenance or adjustment should be performed by Makita Authorized or Factory Service Centers, always using Makita replacement parts. ► 1. Groove 2. Hook 3. Screw The hook is convenient for temporarily hanging the tool. -
Page 9: Optional Accessories
CAUTION: • These accessories or attachments are recom- mended for use with your Makita tool specified in this manual. The use of any other accessories or attachments might present a risk of injury to persons. Only use accessory or attachment for its stated purpose. -
Page 10: Spécifications
FRANÇAIS (Mode d’emploi original) SPÉCIFICATIONS Modèle DFS452 Capacités Vis taraudeuse 6 mm (1/4") Vis de plaque de plâtre 5 mm (3/16") Vitesse à vide (RPM) 0 - 4 000 /min Longueur totale 251 mm (9-7/8") Poids net 1,5 kg (3,2 lbs) - Page 11 12. Évitez les démarrages accidentels. Assurez- 22. Maintenez les outils tranchants bien aiguisés et propres. Un outil tranchant dont l'entretien est vous que l’interrupteur soit en position d'arrêt avant de brancher l'outil à la prise électrique et/ effectué correctement et dont les bords sont bien ou au bloc-piles, avant de prendre ou de trans- aiguisés risquera moins de se coincer et sera plus porter l’outil.
- Page 12 Makita d'origine. L'utilisation de batteries autres que les batteries d'ori- Les symboles utilisés pour l'outil sont indiqués gine Makita ou de batteries qui ont été modifiées peut ci-dessous. entraîner l'explosion de la batterie et provoquer des incendies, blessures et autres dommages. Cela annu- volts lerait également la garantie de Makita s'appliquant à...
-
Page 13: Description Du Fonctionnement
Interrupteur DESCRIPTION DU FONCTIONNEMENT ATTENTION : • Avant d'insérer la batterie dans l'outil, vérifiez toujours que la gâchette fonctionne bien et ATTENTION : revient en position d'arrêt lorsque relâchée. • Assurez-vous toujours que l'outil est hors • Pour rendre le travail de l'utilisateur plus confor- tension et que sa batterie est retirée avant de table lors d'une utilisation prolongée, l'interrup- l'ajuster ou de vérifier son fonctionnement. - Page 14 Le tableau suivant indique la capacité restante de la reprises l'outil ne s'arrête pas rapidement après le batterie. relâchement de la gâchette, faites-le réparer dans un centre de service après-vente Makita. État de l’indicateur de batterie Puissance restante de la Allumage de la lampe batterie...
-
Page 15: Réglage De La Profondeur
Dispositif de protection contre la NOTE : surcharge • Selon les conditions d'utilisation et la température ambiante, il est possible que la capacité relevée soit Lorsque l’outil reçoit une tension trop élevée au cours de légèrement différente par rapport à la capacité réelle. son utilisation, il s’arrête sans aucune indication. - Page 16 Installation et retrait du foret 3 mm (1/8") ► 1. Positionneur Réglez le positionneur de sorte que la distance entre ► 1. Positionneur le bout du positionneur et la tête de la vis soit d'environ 3 mm (1/8"), tel qu'illustré. Serrez une vis d’essai dans Pour retirer l'embout, tirez sur le positionneur.
-
Page 17: Accessoires En Option
ATTENTION : • Ces accessoires ou pièces complémentaires sont recommandés pour l'utilisation avec l'outil Makita spécifié dans ce mode d'emploi. L'utilisation de tout autre accessoire ou pièce complémentaire peut comporter un risque de blessure. N'utilisez les accessoires ou pièces qu'aux fins auxquelles ils ont été conçus. -
Page 18: Especificaciones
ESPAÑOL (Instrucciones originales) ESPECIFICACIONES Modelo DFS452 Capacidades Tornillo de autoperforación 6 mm (1/4") Tornillo para pared "sheetrock" 5 mm (3/16") Velocidad sin carga (RPM) 0 - 4 000 r/min Longitud total 251 mm (9-7/8") Peso neto 1,5 kg (3,2 lbs) 1,7 kg (3,8 lbs) Tensión nominal... - Page 19 12. Impida el encendido accidental. Asegúrese 22. Mantenga las herramientas de corte limpias de que el interruptor esté en la posición de y filosas. Si recibe un mantenimiento adecuado apagado antes de conectar a la alimentación y tiene los bordes afilados, es probable que la eléctrica y/o de colocar el cartucho de la herramienta se atasque menos y sea más fácil batería, así...
- Page 20 PRECAUCIÓN: Use solo baterías auténticas de nes personales. Makita. El uso de baterías no auténticas de Makita, o baterías Símbolos que hayan sido alteradas, puede que resulte en la explosión de la batería, originando un incendio, así...
-
Page 21: Descripción Del Funcionamiento
Accionamiento del interruptor DESCRIPCIÓN DEL FUNCIONAMIENTO PRECAUCIÓN: • Antes de insertar el cartucho de batería en la herramienta, compruebe siempre y cerció- PRECAUCIÓN: rese de que el gatillo interruptor se acciona • Asegúrese siempre de que la herramienta esté debidamente y que vuelve a la posición apagada y el cartucho de batería extraído antes "OFF"(apagado) cuando lo suelta. - Page 22 Esta herramienta está equipada con un freno eléc- trico. Si la herramienta dejase de parar enseguida repetidamente después de soltar el gatillo interruptor, pida a un centro de servicio Makita que le hagan el mantenimiento. Encendido de la luz indicadora ►...
-
Page 23: Protección Contra Sobrecarga
Sistema de protección de la Luces indicadoras Capacidad herramienta / batería restante Encendido APAGADO Intermitencia La herramienta está equipada con un sistema de pro- 75% a 100% tección de la herramienta / batería. Este sistema corta en forma automática el suministro de energía al motor para prolongar la vida útil de la herramienta y batería. -
Page 24: Ajuste De La Profundidad
Ajuste de la profundidad ► 1. Gancho El gancho es conveniente para cuando desea colgar la ► 1. Localizador herramienta temporalmente. La profundidad puede ajustarse al girar el localizador Gírelo a la dirección “B” para menor profundidad, y ENSAMBLE hacia la dirección “A” para mayor profundidad. Un giro completo del localizador equivale a un cambio de 2 mm (1/16") en la profundidad. -
Page 25: Mantenimiento
Centros o Servicios de fábrica Autorizados por Makita, empleando siempre piezas de repuesto de Makita. ► 1. Ranura 2. Gancho 3. Tornillo El gancho resulta útil para colgar temporalmente la... - Page 26 GARANTÍA LIMITADA DE MAKITA Ésta Garantía no aplica para México Consulte la hoja de la garantía anexa para ver los términos más vigentes de la garantía aplicable a este producto. En caso de no disponer de esta hoja de garantía anexa, consulte los detalles sobre la garantía descritos en el sitio web de su país respectivo indicado...
- Page 28 Para reducir la exposición a estos productos químicos: trabaje en un área bien ventilada y póngase el equipo de seguridad indicado, tal como las máscaras contra polvo que están especialmente diseñadas para filtrar partículas microscópicas. Makita Corporation 3-11-8, Sumiyoshi-cho, 885373D935 Anjo, Aichi 446-8502 Japan...