Advertisement
Quick Links
1. Please read before using
1. Please do not directly touch the sensor element. If neces-
sary, use a soft cloth moistened with alcohol to wipe off
any dust.
2. Please be extra careful not to shake the camera.
3. Please avoid places where there is direct sunlight.
4. When the camera is not in use, keep the lens or the lens
cap attached to protect the sensor.
5. Don't attempt to service this unit yourself unless you are
authorized to do so. This may exposure you to dangerous
voltage or other hazards. Refer all servicing to qualified
personnel only.
6. Please don't use the camera under the following abomi-
nable environments. Temperature is lower than -10
degrees Centigrade, or is higher than +50 degrees Centi-
grade.
– 1 –
4. Product Specification
General
Image pick-up device
1/3" SONY Super HAD (Hi-Res.) CCD
NT: 768(H) x 494(V)
Effective Pixels
PA: 752(H) x 582(V)
Horizontal Resolution
550 TVL
Lens
4.3 mm, F2.0
Min. Illuminator
0.3 Lux / F2.0 ; 0 Lux ( IR on )
NTSC: 1/60s~1/100,000s
Auto Electronic Shutter
PAL: 1/50s~1/110,000s
S/N Ratio
More than 48 dB
Gamma Characteristic 0.45
White Balance
Auto
Gain Control
Auto
Flickless Mode
On / Off ( NT:1/100, PA: 1/120 )
Back Light Comp.
On / Off
Synchronous System
Internal
Video Output
Composite 1.0 Vp-p, 75 ohm
View Angle
H: 58.3 Degree V: 45.4 Degree
Back Light Comp.
On / Off
IR LED
24 pieces
IR Wavelength
850 nm
IR Distance
20~25 meters
Vandal Resistant
10 pounds
Water Resistant
IP-66
Environment
DC 12V
Power Requirement
IR on: 400mA max. / IR off: 200mA max.
Dimensions
145 x 110 mm (Φ x H)
Weight
1.03 kg
Operating Temperature -10 ~ 50 Degree C
– 3 –
2. Package Contents
• 1 x CAM-IVP55
• 1 x Quick Installation Guide
• 1 x Wrench
• 4 x Screw
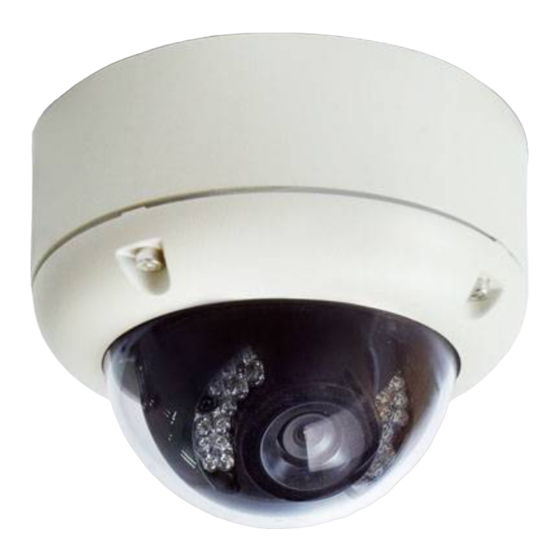
3. Overview
Power Input
Video Output
Connector Definition
Connector
Description
Power Input
Connect to a DC 12V power adapter.
Video Output
BNC connector for analog video output.
– 2 –
5. Physical Installation
1. Use the provided wrench to loose the tamper-resistant
housing cover with screws still attached on the cover.
During the installation, please take care and
avoid crash. That may cause people hurt and
this device damage
Note
2. Set the mounting base onto the wall or ceiling and
center it over the mounting hole, using the supplied four
retaining screws to secure the main body.
3. Set proper image by moving the camera module and set
the focus by turning the lens to the left or right direction.
– 4 –
Advertisement

Related Manuals for Planet CAM-IVP55


Summary of Contents for Planet CAM-IVP55
- Page 1 1. Please read before using 2. Package Contents 1. Please do not directly touch the sensor element. If neces- • 1 x CAM-IVP55 sary, use a soft cloth moistened with alcohol to wipe off • 1 x Quick Installation Guide any dust. • 1 x Wrench 2. Please be extra careful not to shake the camera. • 4 x Screw 3. Please avoid places where there is direct sunlight. 4. When the camera is not in use, keep the lens or the lens 3. Overview cap attached to protect the sensor. 5. Don’t attempt to service this unit yourself unless you are authorized to do so. This may exposure you to dangerous...
- Page 2 4. When the camera focus adjustment has been completed, 6. DIP Switch Setting use the provided wrench to fasten the tamper-resistant housing to the main body. • Flickerless Function Set switch-OFF/ F.L. to Flicker to enable flickerless func- tion, in this mode, the switch-AES/ OFF is auto disabled. • AGC-Hi/ AGC-Lo Function Adjust the switch to AGC indicates AGC-Hi and OFF indi- cates AGC-Low. AGC-Hi mode--The maximum AGC gain is approximately 26dB. AGC-Lo mode--The maximum AGC 5. Besides the waterproof connector, when using the side...